IdleOn is an insanely addictive idle game with a plethora of content to unlock (and you always get more and more as you progress). While the game has been around for a while, I only recently discovered it on Steam and played it like a mad man.
But I still remember how confused I was at first, how difficult and overly-complicated everything seemed… and for that reason – to help you feel more at home and progress as quickly as possible – I decided to come and share a full guide for IdleOn, perfect for beginners.
NOTE: There might be some useful tips for more experienced players, too, so make sure to read on to guarantee you’re not missing out on anything important. Let’s begin!
1. Creating characters & choosing classes
First of all, you will have to create a character (and, as you play, you will unlock the ability to create even more). When you create one, you have to choose the character’s name, as well as the “Star Sign,” which helps give a small boost based on the character class you will choose later:

Here are the boosts you can get:
- The Buff Guy: +1% Total Damage & +3 STR (best for Warriors)
- Flexo Bendo: +2% Movement Speed & +3 AGI (best for Archers)
- The Book Worm: +1% Class XP & +3 WIS (best for Mages)
- The Fuzzy Dice: +3 Talent Points & +3 LUK (for a jack of all trades)
You can also choose to begin with a starting hat (I recommend doing so for a small boost in stats) and your new character’s gender (which doesn’t influence the game at all).
Eventually, as you play, after clearing a few areas, you will get to a point where you will get to choose your class, as seen below.

There are three classes in the game:
- Warrior: Specializes in Mining, is all about close combat.
- Archer: Specializes in Smithing, is all about fighting from a distance.
- Mage: Specializes in Chopping, is all about dealing massive amounts of damage.
In order to get to this point, you will have to fight and unlock the new portals with each new character. Since each new character is stronger, this shouldn’t take long and it should be the first thing you do to unlock more options for that particular character.
Also read: Galaxy Idle Clicker Guide
What character class to choose?
Based on late-game usefulness, you choose your first three IdleOn characters in this order: Warrior, Mage and Archer.
Make sure to decide what class you will choose when creating the character and getting the appropriate Star Sign for the bonus.
Starting with the 4th character, you can choose any class you enjoy playing or keep the same route (Warrior, Mage, Archer) to keep things easier to manage.
Can you delete a character in IdleOn?
At the moment, you don’t have the option to delete any character you have previously created.
However, you can always create more as you level up, so if something went terribly wrong with a character, you will be able to create a new one eventually and get things right there.
2. Focus on completing the quests
Early on, interact with all NPCs wherever you find them, collect as many quests as possible, and complete them. This helps move the game forward and eventually unlock new worlds, as well as new mechanics.
When completing quests, always focus on the easiest ones first. If a quest requires you to defeat a large number of enemies or a specific one (and that feels difficult), play the game a bit more and return – it will be a lot easier.
Being an idle game, you can imagine that there’s a lot of grinding involved, but this also helps you progress, so the more time you spend playing, the better you will ultimately become, making things that seemed impossible – trivial.
NOTE: You don’t HAVE to complete the quests all over again with each new character, but it helps because you will receive various rewards and goodies as a result.
Remember! When starting quests with new characters, the NPCs will no longer display the exclamation mark above their heads, so you will have to keep track of them via Codex – Quests.
Also read: Melvor Idle Guide: Tips & Strategies for Beginners
3. Play the Minigames
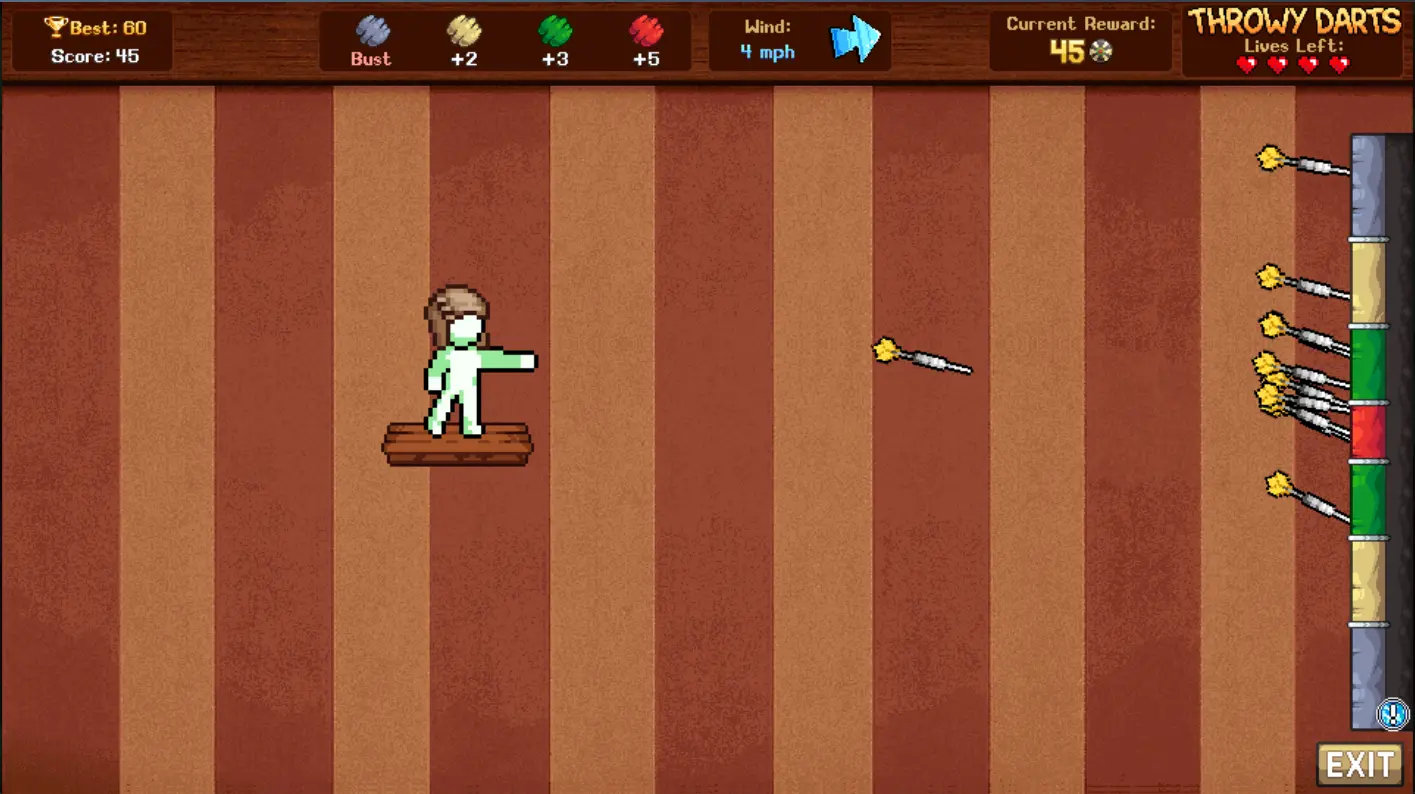
There are various minigames you will discover in IdleOn, and I recommend playing them often, even if you suck at them.
Each minigame gives you points based on your performance, and you can spend those points to boost your skills or get various bonuses in the game. So play them, do your best and remember to also visit the minigame’s store regularly to improve your skills.
NOTE: There are items that allow you to play the minigames from any location, but the store of each minigame can only be visited by traveling to its location.
4. How to invest your Talents

You can invest your skill points in Talents in various categories, such as your base Talents, Class Talents, Star Talents and so on. They each boost various stats of your character, allowing for further specialization.
With your first character, you should focus on improving talents that make you a better fighter, no matter what class you chose. You will also be able to unlock the capability to create character builds that you can switch between (fighter – resource gatherer) later on.
But when you start, focus on working on the talents that directly affect your combat performance. Here is an example of what to unlock and upgrade for the Warrior class:
- First, put at least 1 point in the following (to unlock special attacks): Power Strike, Whirl, Firmly Grasp It, and Double Strike (passive) in your Warrior class Talents.
- In the regular Talents area, focus on investing in the following: Health Booster and Mana Booster (mana is used by all classes to activate their special attacks); Fist of Rage and Book of the Wise (to improve Strength and Wisdom for damage and accurracy), Gilded Sword, Buckled Up, and Sharpened Axe.
Don’t spend too much time trying to debate where to put your skill points – you will get plenty of free items that will allow you to reset them and re-assign them later on, when you know better what you need.
IMPORTANT: Remember that each character class specializes in a certain thing unrelated to battle (like Warrior – Mining?). This means that each character class can master these faster, and that it would make little sense to make your warrior a wood gatherer, for example. Keep this in mind when assigning skills and letting your characters idle.
Also read: Risk of Rain 2 Tier List
5. Mining & Wood Cutting
In World 1 in IdleOn, there are two main resource-collecting opportunities you have, usually best left for the characters you’re not actively playing or when you log out for longer periods of time: mining and wood cutting.
In both cases, you can collect various resources (like different log types), and you will need plenty of them all to upgrade and unlock new things.
The basic rule of thumb is to collect first as many resources as you need for (in this order):
- completing quick quests
- crafting new items at the Anvil
- leveling up stamps (more on this below)
As the game progresses, you will eventually end up using these base materials to create more advanced ones that you will also use to upgrade things around. The endless grind of an idle game.
I recommend keeping at least one character mining and one gathering wood at all times.
IMPORTANT: Don’t sell any base resources early on, even if you feel that you have too many of a specific type. Wait at least until you unlock World 2 (maybe even longer) before you start selling these base resources, as you will need huge amounts of each at a specific point.
6. The City
Each World has a main Town area where you can interact with various characters and items (such as the Shop, the Anvil, the Forge, the Statue and so on).
You should always keep those working for you or work on improving them. Here are, for World 1, a few specifics:
Stamps

The pig-fellow (which can also be accessed through Codex – Stamps) is also an important one to keep an eye on.
First, you will collect stamps while playing (with some available in stores), and then, after delivering the stamps to the pigman, you will be able to upgrade them to get various boosts.
This is where you will spend a huge amount of resources, and it’s a good idea to plan for this before logging in, letting your characters AFK in the areas required for these upgrades if you don’t have other priorities.
Bribes

Also from the pigman, you can select the “Bribes” tab in the upper left corner, from where you can buy various boosts with in-game coins. Make sure to always purchase them, as they give solid boosts overall.
The Statue
You will collect Statue parts as you play, and/or buy them from Shops. The Statue is not shared by all your characters, so you should either focus on building a mega-statue for your main (first character, usually) or – which is better – focus on specific upgrades for each character class.
The latter is a better option because the Warrior, for example, will have few benefits from the Speed boosts the Statue will offer, while the Archer and the Mage will get a lot more from it.
Also read: Best RPGs with Romance and Relationship Options
7. Visit all shops & buy limited items
Apart from the main shop in each city, you will find at least one additional shop in each world – I am talking about those where you can buy items with regular coins, not the premium “pay to win” shop.
You should constantly visit these and focus on purchasing the special items: those that give you more inventory slots, special items and unique ones.
There are just a few on sale each time, so getting all your characters to benefit from them will also be a grind, but if you constantly visit all of them and shop smart, you will have a lot of benefits.
8. The Colosseum

Another goodie in World 1 is the Colosseum, a place where you have to defeat waves of increasingly difficult enemies for great rewards.
You get free Colosseum tickets daily, so make sure to visit the man near it to collect them and play the minigame with your best heroes as often as possible for some amazing loot.
9. Boss Fight: Amarok

Amarok is the first world boss you will fight. Even though you will reach him relatively early in your game, you won’t be able to defeat him just then.
I wanted to learn his move patterns and attacks and guide you through a close fight, but in all honesty – it’s pointless.
It won’t be long before you will be strong enough to take Amarok out easily with Auto Combat on, so if the first time you visit him he seems invincible, simply grind a bit more, invest in those talents and upgrades and come back after.
In the screenshot above, you can see my build with which I easily defeated him first, without taking any real damage, so it’s not a long wait.
10. Equip Cards!

As you defeat enemies or perform various activities in the game, you will collect cards. The more cards of the same type you have, the bigger and better its bonuses.
I have to admit that this is a feature I constantly forget about – but you shouldn’t! These cards can help you improve your character even further and spec it even more, by giving boosts in the skills that matter.
I recommend buying at least a couple of extra card slots for your main character only, as these are expensive and the others can still do without them.
11. Join a solid Guild!

As is the case with all games of this type, being part of a solid guild comes with huge advantages.
Not only that, if you really find an active guild with many members that play when you are alone, you can take on the party dungeons easily and team up with ease, but you also get a ton of benefits from the guild points earned by its members.
These will boost various stats and make life a lot easier for you in the short and long term. So if your guild is starting to be inactive, don’t hesitate to leave it and find a new better one.
Wrapping up
As you play the game more and more, you will see that all these things that seem overwhelming will start to make sense and you will notice true progress sooner rather than later.
Do you have additional tips and tricks for fellow IdleOn players? Let us all know by sharing your thoughts below!
Now, I’ve also been playing Europa Universalis 5 a lot lately, so if you want something a bit different (but totally awesome), I have some guides for you: Europa Universalis V: Guide to Ages and Institutions | Europa Universalis V: All Formable Countries and How to Get Them.

- Re Rangers X Tier List (Formerly Anime Rangers X) - July 7, 2026
- Star Sailors Tier List: All Battle & Assist Partners Ranked - July 7, 2026
- Star Savior Tier List (Post-Carnelia Update) - July 7, 2026