I absolutely love Super Fantasy Kingdom – and I’m not a guy who falls for roguelikes or roguelites easily. But here, I love everything from the visuals to the game’s complexity and charm. And today, I am here to tell you everything I have learned about it in a quest to help you play better.
Super Fantasy Kingdom blends roguelite replayability with the methodical strategy of a city builder and the spectacle of tactical auto-combat. There’s a lot to learn and master, plenty of content to unlock and tons of things to know. So… let’s start learning!
Understanding the Core Loop
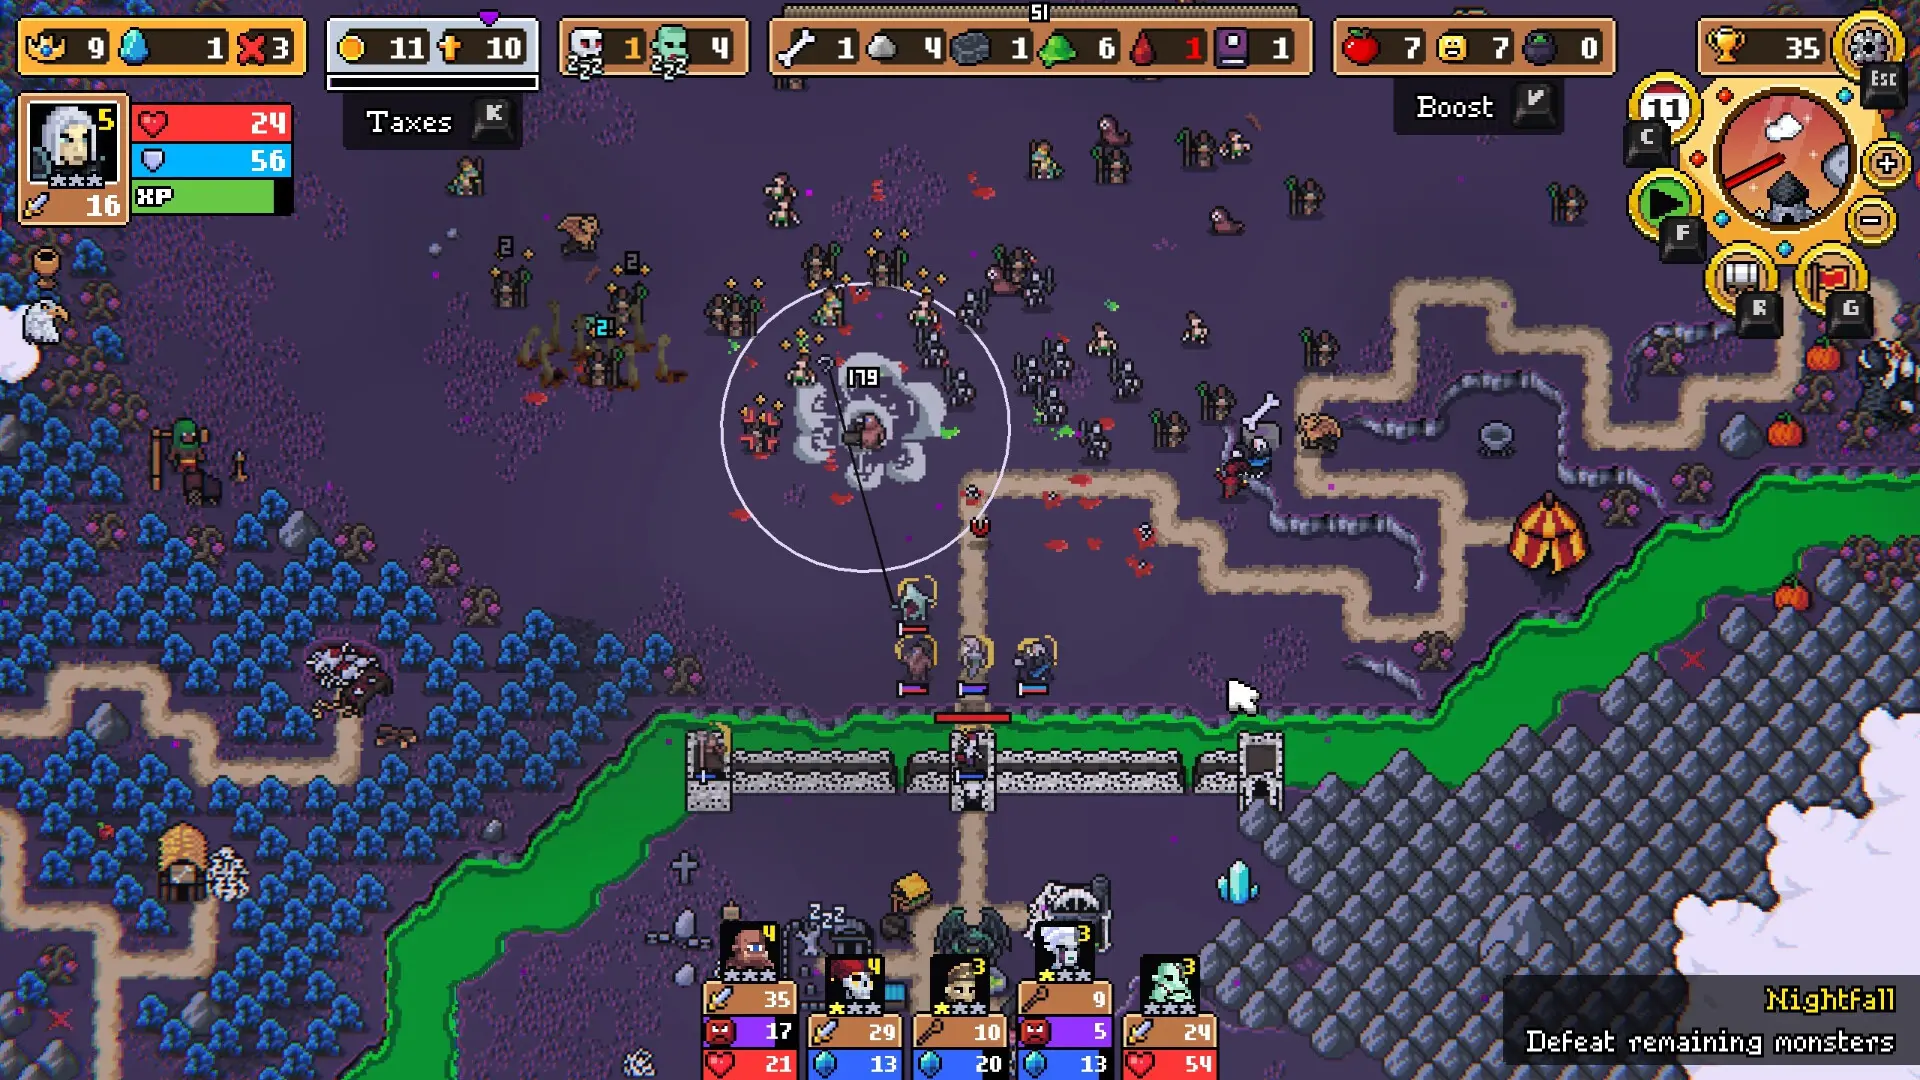
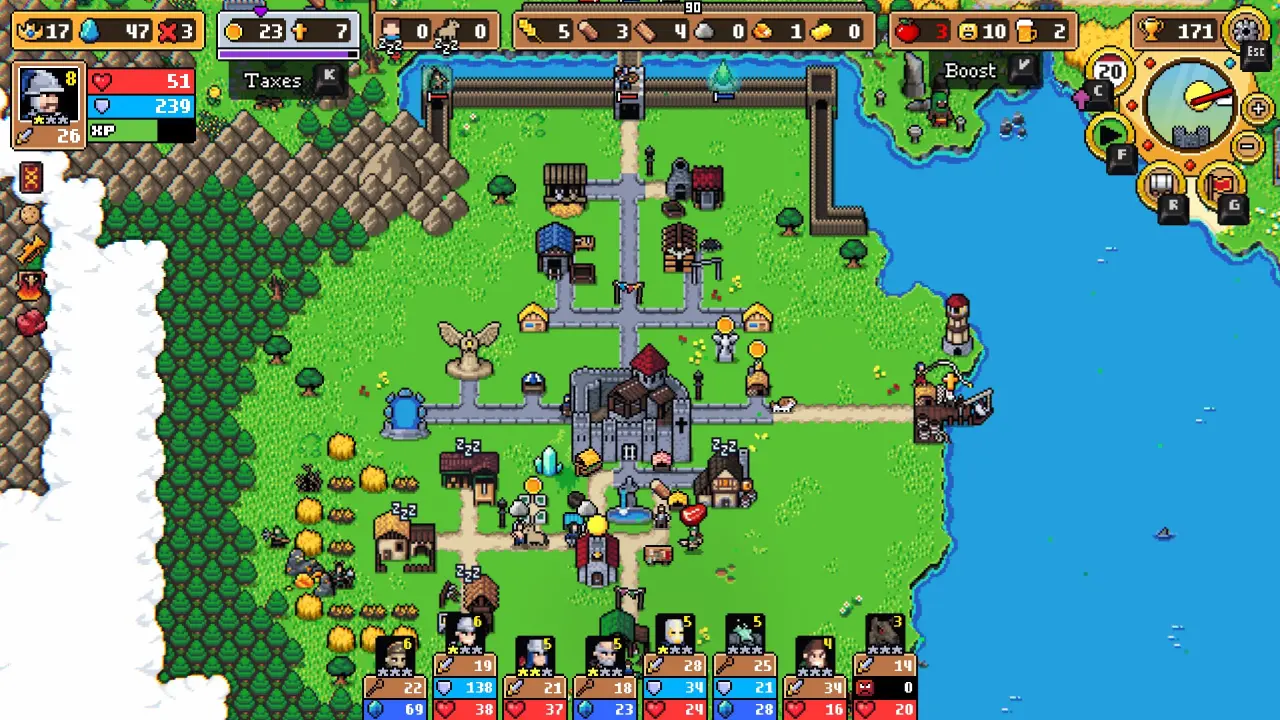
At its heart, the game revolves around daily management. Each day in your kingdom follows a clear rhythm that combines worker simulation with escalating tower defense combat.
Every morning, your villagers wake and begin their assigned tasks (gathering wood, mining stone, refining goods, or ferrying resources to workshops,) then monsters start marching toward your settlement as midday approaches.
When they are in range, your units and heroes automatically engage in battle, using whatever gear and upgrades you’ve provided, preparing for the nightmare the night brings.
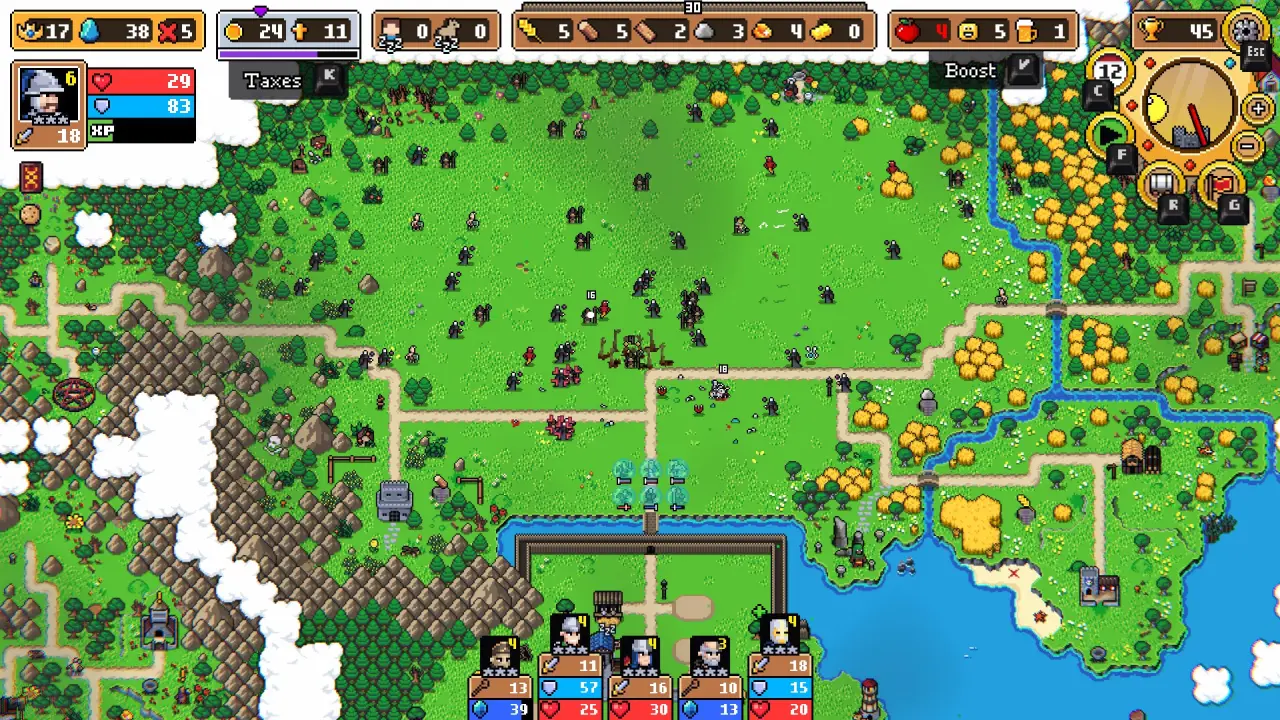
That’s when things get interesting, actually: when night arrives, workers return home while the remaining monsters grow faster and more aggressive. Defeating all of them ends the day, and the surviving heroes head to the tavern to eat and gain experience based on the quality of food available.
Food is central to your progression: better meals mean stronger heroes, faster leveling, and easier survival in later waves.
Note: Choose the damage type of the next invading wave (physical or magical) carefully. Matching your army’s strengths to that threat is essential and a breath of fresh air for you – usually, I go almost 100% of the time with magic monsters, as most of the Human units I have deal physical damage.
Generally, physical units counter magical foes and vice versa, but always check the modifiers on individual heroes – some subtypes (especially among archers) defy the general rule.
Also read: Ball X Pit – MEGA Guide
Building a Thriving Economy
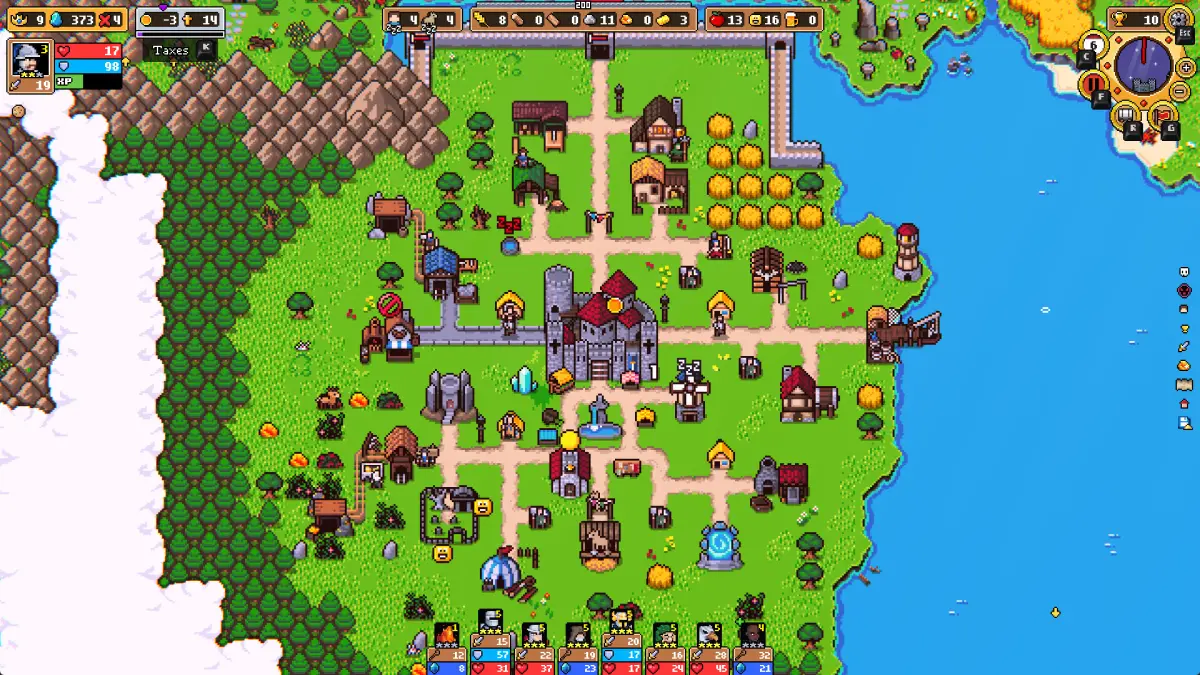
The economy of Super Fantasy Kingdom runs on efficient placement and constant motion, and your city, aka kingdom, is the backbone of everything. Master it and you will master (most) of the game! Here’s how to do it:
How the Kingdom Works
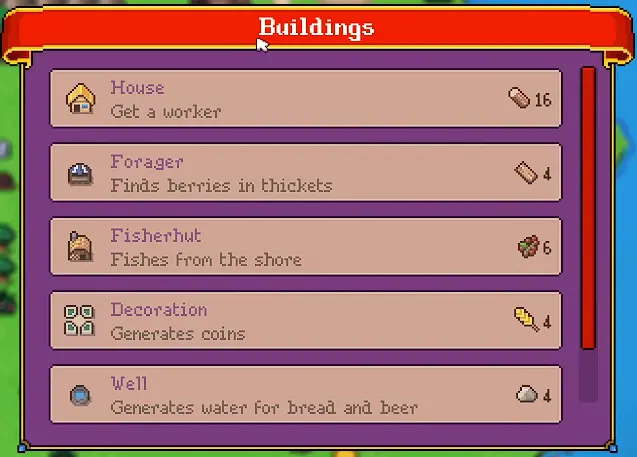
Basic buildings gather raw materials like wood, stone, berries, and fish. Production buildings then refine these materials into planks, gold bars, and other processed goods, while specialized structures handle high-value functions such as faith or coin generation.
Small plots are used for houses and minor resource nodes, while large plots host the kingdom’s most powerful economic and defensive buildings. Strangely, I usually run out of the small plots before the larger ones.
Location matters more than aesthetics – place quarries close to rock deposits, sawmills close to trees, and gold mines near their veins. Shorter hauling routes mean faster turnover and greater daily production, in the end.
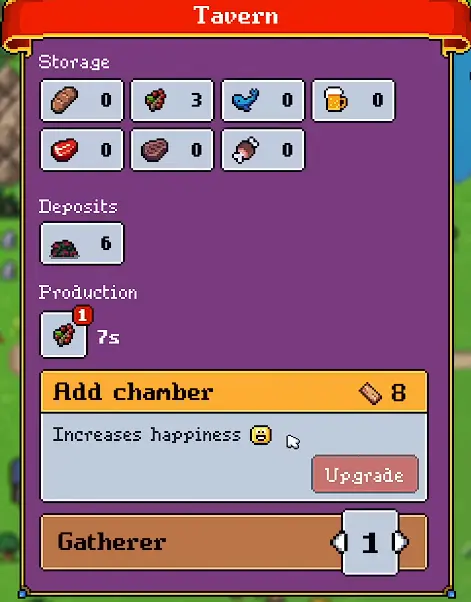
Important thing to keep in mind: the Fisher Hut doesn’t deliver to its own inventory. Instead, fish are dropped at the Tavern, so situating both buildings close together saves a lot of time over multiple days.
Early Building Priorities
In the opening phase of any run, prioritize structures that multiply your workforce and expand resource processing speed. This is how I usually build my kingdom up – most of the items ready in day one via bonuses:
- Build the Tavern and the Lumber Cabin first, as always.
- Build the first House to get an extra worker and get a Sawmill next
- Now, depending on your plans, you could build a Quarry or a Farm to build the Donkey stand (for faster carriage of your goods), then a decoration and finally the second House.
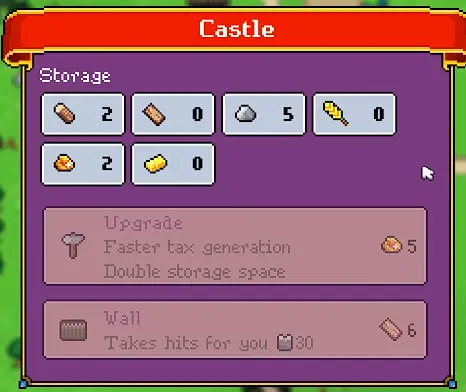
- Don’t forget to also upgrade your Castle at least once as early as possible (to increase coin generation and storage space) and also repair the Church for faith generation… but the latter is not a priority.
As far as the Tavern goes, building it in the tutorial location is usually the best thing to do, due to its central access to berry bushes and the port.
Also read: Astral Ascent Guide: Tips & Tricks
Managing Workers and Couriers
Almost every winning run starts with one habit: max out your worker houses early. The more workers you have, the stronger your economy becomes.
So make sure to build them close to your Quarry, which will make upgrading them later in the game easier. Here’s the setup I almost always go for in each run:
Food is a universal currency in the game, and extremely important. Over-producing food rarely hurts, since any surplus can be converted into other advantages later.
But carriers are just as important as your heroes are, as they move your goods around, where needed.
Specialized workers such as the Road Builder, Forester, Geologist, and Field Farmer operate independently of your regular labor pool. They don’t consume worker slots but require a steady coin income to stay active. Activate and deactivate them as needed.
Upgrades are also key. The Quarry – Road Builder upgrade should be an early priority since stone roads are required for improving houses and other small buildings.
The Tavern happiness upgrade provides a steady morale boost to your heroes, increasing both their damage and the XP of new recruits. But I would recommend building this upgrade only after everything else is running smoothly.
The First 72 Hours: What to Build & Do
While it’s true that the first week truly defines how your run will do and some of the wrongs can still be fixed if you must, I feel that the first 3 days are essential.
While strategies vary and you can have different approaches, here’s one that works flawlessly, and I’ve already touched on it above:
Day 1
The goal is to get to Castle Tier 3 as soon as possible. Build a Peasant Hut to add workers, and make sure you have the basic resource buildings created (Wood is essential, Stone is optional, but recommended if you can get it). Sawmill is extremely important for most of the mid-game.
Don’t recruit any troops on Day 1 – your Hero can handle the first wave. Use the few workers you have to gather resources instead of food. Or rush the Small Fisher Hut to get the free daily fish.
You can skip building the quarry if you don’t have the resources today, but push boards as much as possible through the Sawmill.
Ideally, get the Mules (Stables or whatever the building is called) or the Farm at the very least on day 1.
If you aim to unlock new units, some of the best (and most difficult to unlock) can still be unlocked during these first two days. I have a guide for the hardest here: How to Unlock Werewolf, Jester, and Gremlin in SFK.
Day 2
Aim for a second Peasant Hut as soon as wood allows it. Build the Church to open early faith tools and damage boosts, then start thinking about the Port – it’s a big lever for exploration and extra pickups if you can fund it this early.
You can also recruit your first regular unit (the Crossbowman) and make sure you have enough coins to get the “free” unit you always do in-game. For that, consider building the Decoration.
Day 3
This is when you should build any of the basic buildings you don’t have (like the Quarry, small buildings or anything else you haven’t managed to get). I rarely need to build more than two houses – but some players build the third, as it’s easier to get the resources for it, than for upgrades.
Micromanagement becomes essential now: make sure to switch your heroes as needed. Wood and boards are extremely important early on, but so is food – so always make sure you produce what your kingdom needs.
IMPORTANT: There are specific days when your food producers will work more slowly or won’t produce food at all. Look at the weather forecast at the Church and switch workers accordingly before the end of the day, if a day without fish is coming, for example.
Also read: All Fish in Steal a Fish (Roblox)
Roads, Exploration, and Map Events
Expanding your road network is also extremely important, as it opens up new possibilities and unlocks new content, including the Witch (which gives you free resources when you start), resource caches, new units, and more.
Occasionally, a world-event node will be blocked by a monster. If you provoke it, you’ll face a tougher wave that night, but defeating it increases the number of events that can appear later, leading to more resources, XP, and even new units or heroes.
Pushing roads far enough eventually reveals a mini-boss available from Day 1 onward. Paying faith to challenge it can grant a permanent daily resource bonus for the rest of your run. Losing doesn’t lock you out; you can try again anytime, though each attempt costs 1 Faith – eventually, more such mini bosses will be unlocked and your goal is to defeat them ASAP for the free resources.
Finally, watch your Glory score during battles. Get upgrades early on, focusing on those that increase your chances with the current run – you can build on them later, but the idea is to have a “later” for them.
The good news about the Roads is that, once unlocked, they remain unlocked and the bonuses stack up in later runs. Some things (like the miniboss fights) have to be replayed constantly, so make sure you know what each of the building on the map does and take advantage from it ASAP.
Heroes and Units
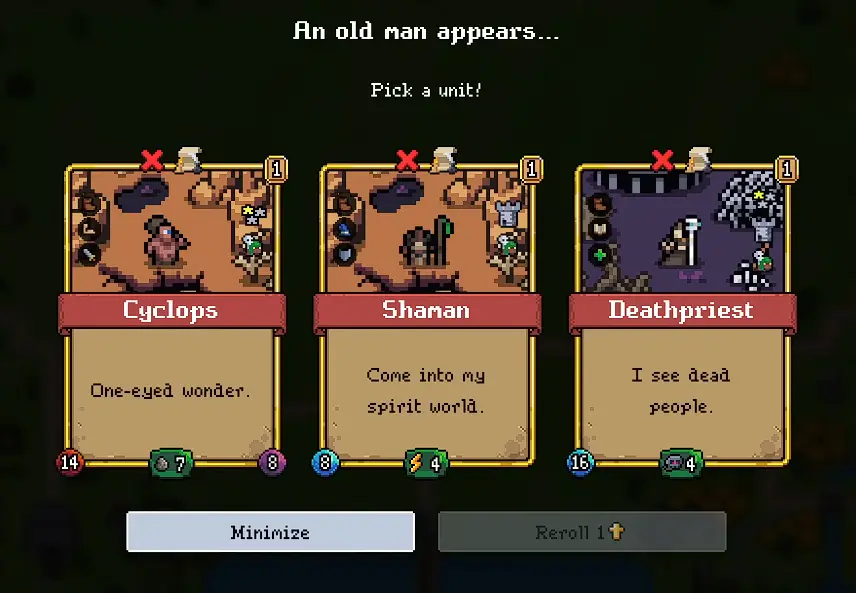
Every hero and unit has five core elements:
- type (kingdom, class, movement, role, and tower access)
- stats (health, power, shields, crit chance, armor, and resistances)
- active and passive abilities
- three equipment slots
- upgrade paths.
Success in Super Fantasy Kingdom depends on synergy. A Monk (Holy) paired with a Runescribe (Shock), for instance, performs extremely well against wet enemies – a combo amplified during stormy weather.
You also need a bit of diversity to be able to successfully deal with whatever is sent your way each day and night, but ideally you should keep your roster tight at first.
Build up your squad of units as the days go by, but make sure you have a solid food-generating setup in place to keep them all well fed.
It’s better to build them up slowly, than recruit a ton early on and have nothing to feed them with. As far as food goes, visit the market – each week, you will have the chance to buy some extra goodies with coins.
From the always-unlocked units, I always use the Crossbowman as the first unlock, with the Swordsman unlocked for the dungeon as soon as possible, and the Healer and Paladin as last resorts – preparing for the later stages, such as winning the Phoenix battle.
Make sure to also read my guide on What Heroes to Unlock First and Why.
Adjacency and Passive Buffs
Several heroes and units provide grid-based bonuses. The Crossbowman grants an additional shield to the ally directly in front of him, while the Werewolf gains +2 power for every adjacent ally. This is part of the synergy that you have to always keep in mind, and mastering this means mastering the fights.
So, when unlocking new units, resist the urge to expand your roster too fast. Avoid adding more than two new unit types until you’ve reached around 320 Glory, so your reroll pool stays tight and you’re more likely to pull strong heroes like the Runescribe or Werewolf.
Early Combat Milestones
Actually, you should save the major world-map recruitments until Day 5 or 6, then rush Arbalests to take down the “Squid” mini-boss by the end of Day 6. Doing so rewards a permanent daily wheat boost.
Also read: Best RPGs with Job Systems
The Witch System
The Witch grants a starting item or boon. Unlocking a second Witch slot is one of the biggest early power plays in the game – two starters let you pair resource jumpstarts with combat edges from minute one.
So put those Rune Shards to good use and unlock the second witch bonus ASAP.
Glory, Bounties, Specialists, and Faith Tricks
Glory is the premium currency you need to unlock new road branches, treasure caches, and meta upgrades, sometimes even during the fights, so always keep an eye on those numbers.
Also, always check the Bounty Board daily; you can’t start a new quest until the current one is complete.
Faith spending varies by strategy and you should test to see what works best for you. Visiting the Demon Caravan early for artifact perks that stack quickly is the route I recommend, or stack up some faith to get at least one upgrade for your Hero, usually giving a massive boost.
Human and Undead Kingdoms
To unlock the Undead Kingdom, defeat the second boss as Humans or earn three stars during a Human campaign. Then, from the main menu, select the skull icon in the top-right corner.
This opens up a different play style. The Undead Kingdom replaces your living workforce with reanimated ones. Skeletons perform single-day tasks, while zombies work more slowly but survive longer.
Traditional resources like wood and bread are replaced with bones, ooze, and blood, each tied to unique production chains (but being, in essence, the same thing as the ones you know)
Buildings like the Mausoleum raise skeletons automatically, while the Soul Hunter extracts new resource types. The undead faction also introduces new heroes, enemies, and units built around raising and commanding the dead.
For end-game upgrades, Humans require ingots, while Undead rely on books – a thing to keep in mind. But I recommend mastering one before moving on to the other. I will have an in-depth guide to the Undead as soon as I have more play time under my belt with them.
Also read: Best D&D Games to Play on PC
Late-Game Strategies and Castle Upgrades

Castle upgrades function as your civilization’s backbone. Each tier raises maximum storage and unlocks the ability to construct new buildings. Beelining castle upgrades once your basic economy and troop numbers are stable pays the biggest dividends.
Late-game industries differ between factions. For the Human Kingdom, maintaining a steady bread and beer economy is particularly challenging due to limited building plots.
Focus on fully upgrading your castle first, then experiment with large-scale production chains.
A maxed castle also increases storage, which in turn allows you to complete full troop upgrades for maximum DPS output.
Closing Thoughts
As you probably know already, Super Fantasy Kingdom rewards planning, rhythm, and adaptability, as well as a bit of grinding.
The best part is that each run will see you build smarter, and you will be better overall. And with all the tips, tricks, and strategies shared above, you know all the basics, as well as some advanced tactics to get the most out of the game from Day 1.
If you have additional tips for fellow players – or questions about the game – let us all know in the comments down below.

- Re Rangers X Tier List (Formerly Anime Rangers X) - July 7, 2026
- Star Sailors Tier List: All Battle & Assist Partners Ranked - July 7, 2026
- Star Savior Tier List (Post-Carnelia Update) - July 7, 2026