
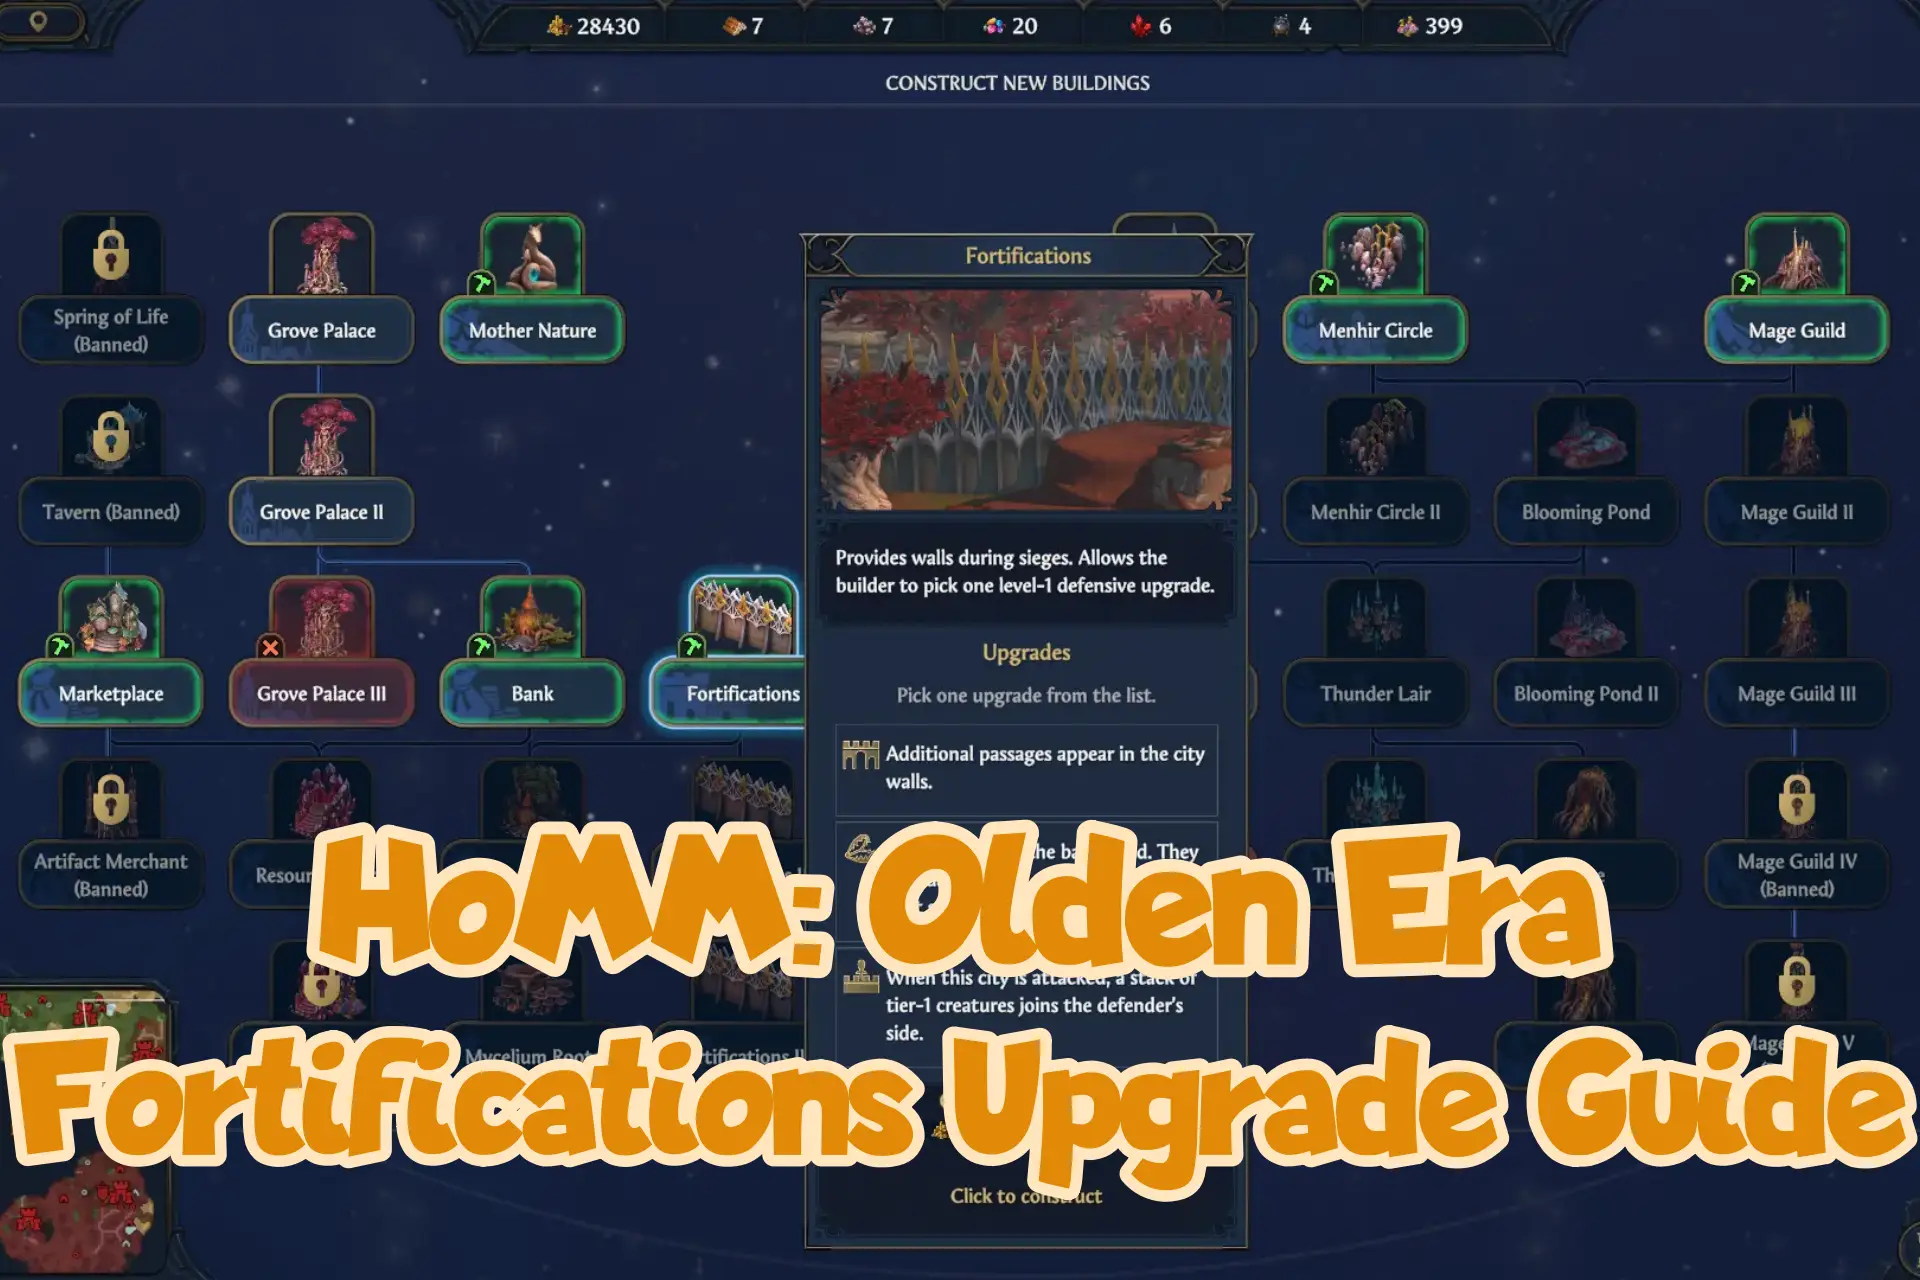
The Fortifications in HoMM: Olden Era are the equivalent of the Fort, Citadel and Castle in Heroes of Might and Magic III (and other Heroes games). However, in Olden Era, the fortifications work a bit differently, hence the need for this guide.
Each of the three Fortification buildings lets you choose one defensive upgrade out of three options, apart from the basic effects.These upgrades can really make or break your defenses, so knowing exactly what to pick is mandatory.
And that is exactly what I’m sharing in today’s guide: the exact upgrades I pick each time for each castle when I play Heroes of Might and Magic: Olden Era. Let’s begin!
Fortifications I
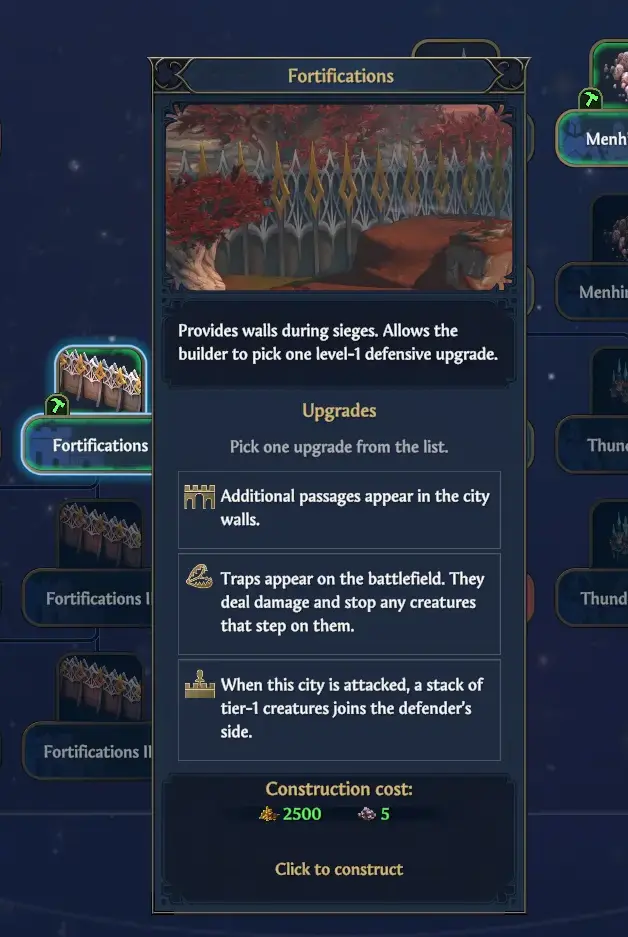
This is the first building you will be able to build, and by default it adds walls as an extra defense during sieges. The three available upgrades for you to choose from are:
- Additional passages appear in the city walls.
- Traps appear on the battlefield. They deal damage and stop any creatures that step on them.
- When the city is attacked, a stack of tier-1 creatures joins the defender’s side.
I have to admit that I find all options pretty bad here. However, I started to choose the additional passages constantly, after focusing initially on traps.
But the problem with the traps is that they’re relatively few, and even though you can see them and you can avoid them, in some situations, they will simply be in your troops’ way and mess up your plans.
Note: I wrote, a short while ago, an article saying that Heroes of Might and Magic 3 is the best game ever made. I am ecstatic to see that Olden Era has the potential to take its spot.
Fortifications II
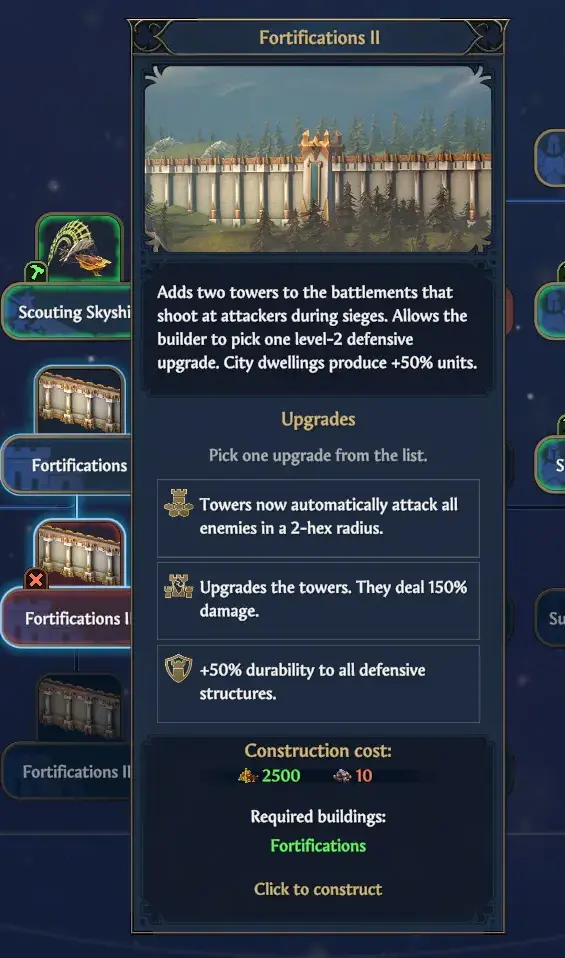
Things start to get much better here. The basic effect of the building is to add two towers that shoot at attackers during sieges, as well as increase the unit production in that city by 50%.
You also have better upgrades to choose from this time:
- Towers now automatically attack all enemies in a 2-hex radius.
- Towers deal 150% more damage.
- +50% durability to all defensive structures.
This one’s easy: I always choose the extra damage, because the other two are very situational and might be useless in many battles. Extra damage is a given.
Fortifications III
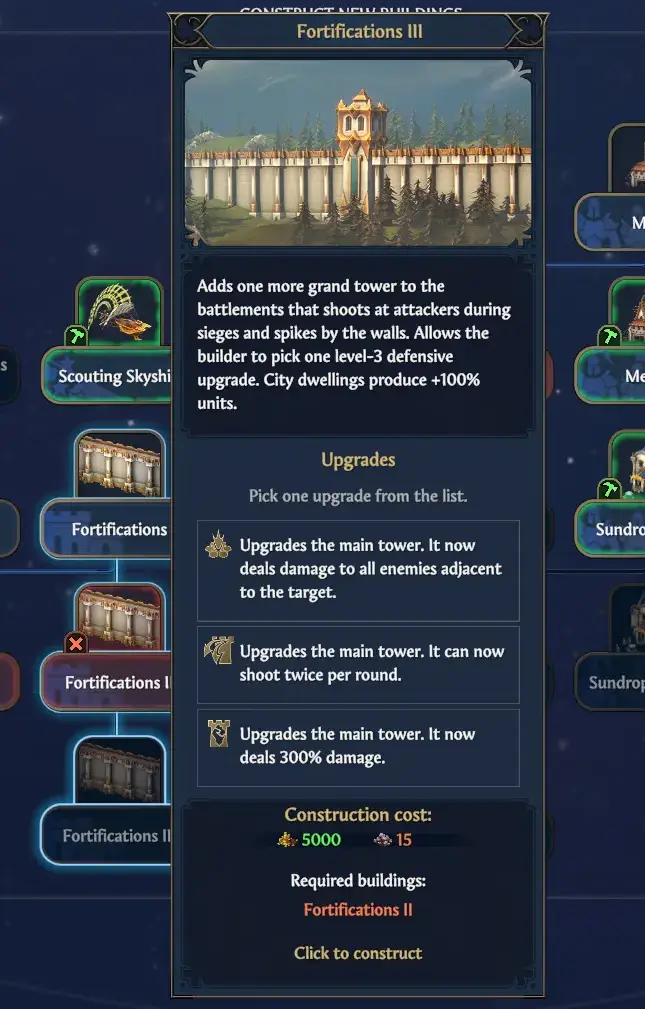
The final upgrade adds spikes by the walls and an extra tower to shoot at enemies during sieges. City dwellings also produce 100% more units in that city.
Also, you have three good upgrades to choose from:
- Upgrade the main tower so it deals damage to all enemies adjacent to the target.
- The main tower can shoot twice per round.
- The main tower deals 300% damage.
I have to admit that I am still testing this one and trying to decide between the final two options.
But right now, I usually choose the 300% damage increase because you will target one stack of creatures anyway in most cases. Combined with the +150% damage boost from the previous upgrade, your towers become very useful in tough battles.
Wrapping up
Knowing what upgrades to pick for your Fortifications can mean that you turn a loss into a massive win. I am sure that following my route, you will get the most out of your castle’s defense, no matter which faction you play.
We also have the equivalent of the “Halls” in HoMM 3 to worry about (the money-producing buildings), but I’ll have an article on those upgrades published separately.
Until then, I would love to hear your thoughts on the upgrades chosen for the Fortifications, especially if you found a different combo that works better (and please tell us why too).

- Rooms & Exits Kitchen Walkthrough (Level 11, Chapter 3 – Murder Dressed in White) - October 15, 2026
- Rooms & Exits Garden Walkthrough (Level 10, Chapter 3 – Murder Dressed in White) - October 15, 2026
- Rooms & Exits Complete Walkthrough Index by Chapter and Level - October 12, 2026