Ball X Pit, published by Devolver Digital, is a unique roguelite brick-breaking game that blends fast, physics-driven combat with light base-building and character progression. And it’s extremely fun – having sold more than 100 000 copies sold within 24 hours of release.
It plays like a chaotic mix of Peggle and Arkanoid, but replaces blocks with monsters, adds character classes, and builds everything around a run-based roguelike structure. In other words – it’s pure delight!
After spending way too many hours inside the game (instead of writing about it, as I should’ve), here is the MEGA guide you didn’t know you needed: everything about Ball X Pit, including tips and tricks to turn you into a master, ready to bring the deserved glory to Ballbylon. Let’s jump right in!
1. Mastering combat
Since this is the most important, as well as the most fun part of the game, it is combat that we’re starting with. Here’s everything about making the combat part of the game better:
The Stats System Explained
Let’s start with the basics – understanding your stats. If you already know these, skip to the next section. Most stats are self-explanatory anyway, but here are the core attributes and what each means:
- Endurance increases overall health.
- Strength boosts direct ball damage.
- Intelligence enhances baby ball and status-effect damage.
- Leadership determines how many baby balls appear with each attack.
- Speed affects firing rate and movement.
- Dexterity improves critical hit chance.
Leadership and Intelligence are particularly valuable for builds that rely on crowd control or effects like Burn and Poison. Either way, knowing exactly what each stat does helps you prepare your builds for awesome runs.
Stay Mobile & Use Auto-Fire
Turn on Auto-Fire and focus on movement – strafe, circle, always move and try to group enemies into tight formations that are easier to take out.
Positioning and ricochet angles matter far more than precise aim, as each bounce multiplies your damage output.
Another thing that will start mattering after you unlock it is character combos. I wrote about the Matchmaking system in the game and shared the best dual-character combos here.
Bank Your Shots
This works hand in hand with the tip above. You should always bank your shots and consider walls (and enemies) as weapons.
Angle your throws so balls bounce behind or through enemy lines – the more bounces you can get, the better.
Some upgrades also increase bounce-damage per collision, making trick shots both stylish and effective.
Time Your Pickups
When XP upgrade orbs drop, wait until you have two Level 3 balls before collecting.
Picking them up too early triggers Fission, which upgrades random items instead of offering Fusion or Evolution options.
The Importance of Catching
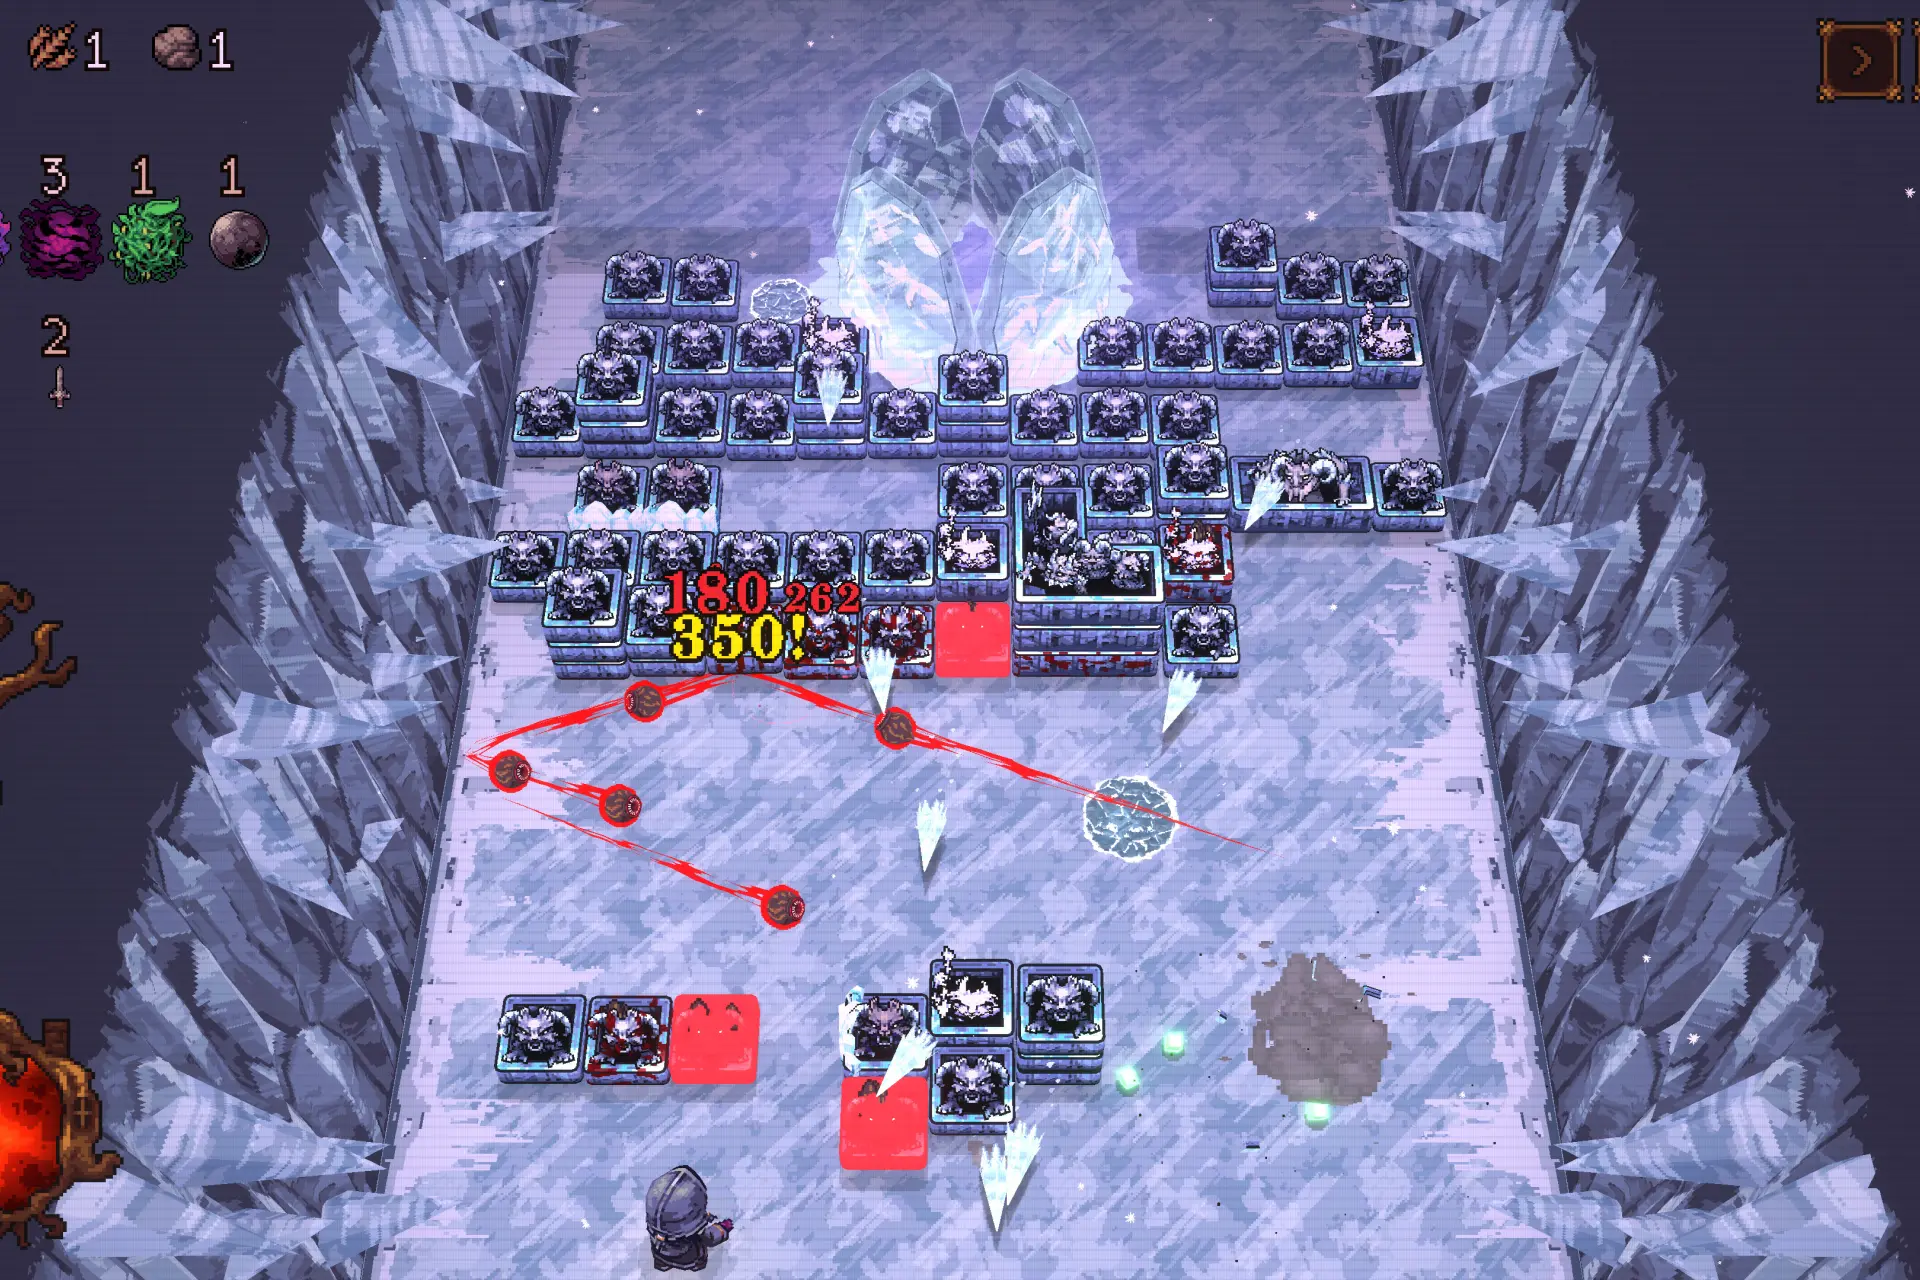
While the game’s physics-driven chaos makes it tempting to just fire constantly and worry about nothing else, but catching balls is an extremely important mechanic you should master.
When you manually catch returning balls, you can immediately relaunch them, resetting their timer instead of waiting for them to drift back down. This drastically increases your total damage output over time and also plays into various passives and builds.
Learn Enemy Patterns
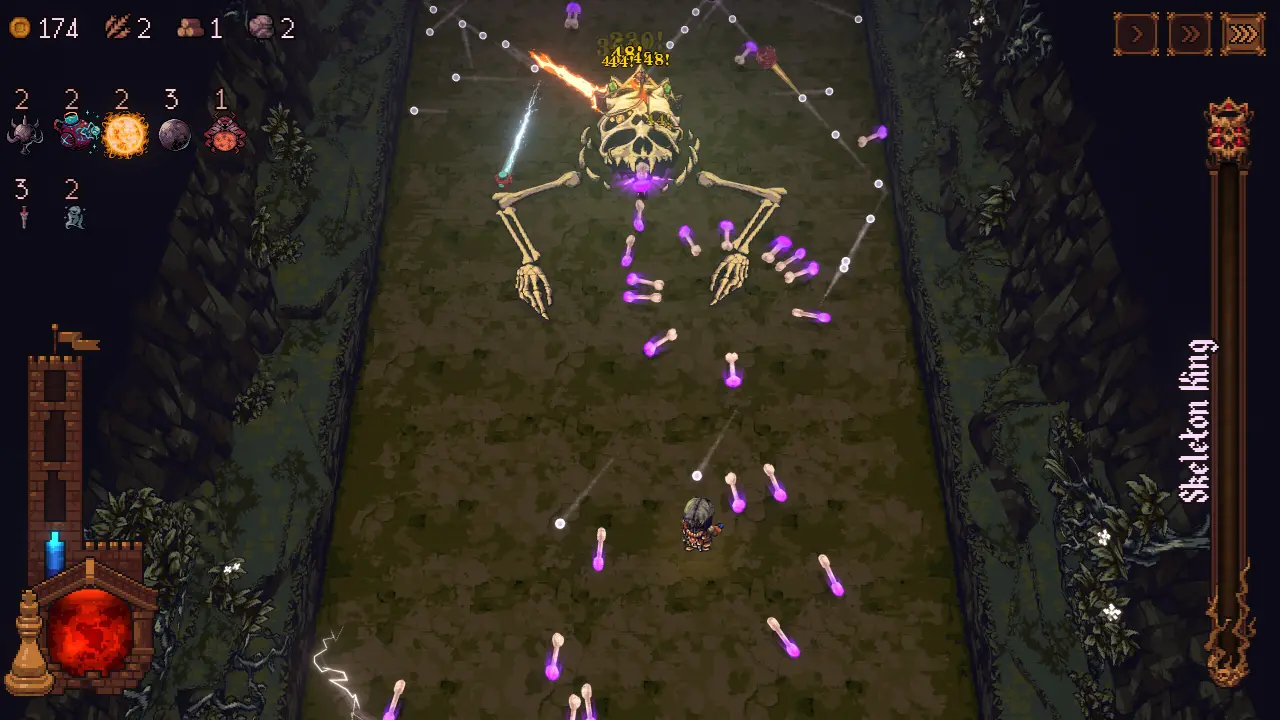
Enemies telegraph attacks with shakes or audio cues. Get close, unload damage, then dodge back before impact. This is especially useful when battling bosses – learning their attack patterns means that half of the fight is won already.
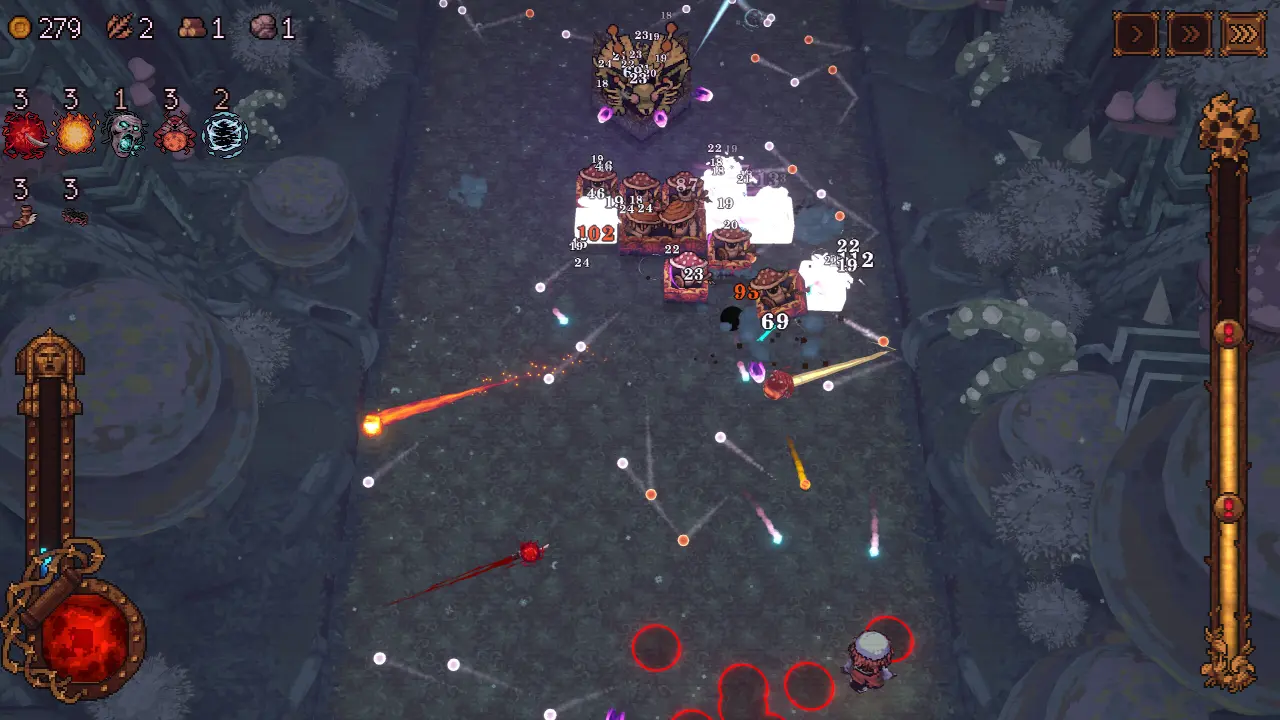
Managing Chaos and Speed
Ball X Pit allows players to control the game’s speed at any time, offering three speed settings. While most players can handle faster speeds early on, when the chaos increases (and it does so quickly), you should manually switch to slower pacing.
So always adjust the speed dynamically to control the game.
Also, turning off damage numbers in the settings can also help keep the screen readable and the chaos somewhat manageable. There are tons of things going on at all times, and knowing your exact damage rarely affects your decisions mid-run.
Instead, focus on positioning and rhythm and remove all distractions like the damage numbers.
Also read: Aurelia Game Cheats
Characters & Traits
Characters are at the heart of Ball X Pit’s gameplay: each brings a distinct trait and its own starting ball. Also, even unused characters improve global stats, so rotating through them strengthens your entire roster.
Choosing who to play – and who to pair when dual-character runs unlock – becomes one of the most important decisions in your progression. But first…
How to unlock all characters
New characters are unlocked by completing levels and obtaining character house blueprints, which then must be built in Ballbylon. Construction requires various in-game resources, but once a house is completed, the character becomes permanently available.
Character housing should be a top priority early in the game, as new heroes introduce different starting balls and playstyles that can completely change how you approach runs.
All Characters and Their Traits
Below is a complete list of the characters in Ball X Pit and their unique traits, but you can also check out my dedicated article for even more details: Ball X Pit – All Characters Guide.
The Warrior – A straightforward character without a special trait. The starting character.
The Itchy Finger – Fires twice as fast and continues shooting automatically whenever balls are available. Can move at full speed while firing. The scattered aim makes precision tricky, but the sheer rate of fire compensates for it.
The Repentant – Each bounce increases ball damage by 5%. When a ball hits the back wall, it returns to the player, damaging enemies along its path. Excellent for long rallies and sustained DPS.
The Embedded – Balls always pierce enemies until they collide with a wall. Best used with multi-hit or status builds that benefit from repeated contact.
The Cogitator – Automatically selects upgrades during a run. Perfect for players who prefer to focus on reflexes instead of decision-making mid-combat.
The Cohabitants – Every launched ball has a mirrored copy fired in the opposite direction. Each deals half damage. This doubles overall coverage and can create powerful crossfire setups, but it becomes tricky when you actually want to aim.
The Shade – Launches balls from the back of the screen, gaining a flat 10% critical chance. Takes time to master but rewards accuracy and timing.
The Empty Nester – Doesn’t produce baby balls. Instead, every shot fires multiple instances of the equipped special ball. Strong single-shot potential with high-damage or AoE builds.
The Shieldbearer – Wields a large shield that reflects balls. Each bounce off the shield doubles damage output, creating massive chain multipliers.
The Spendthrift – Fires all available balls simultaneously in a wide arc. Effective early on but risky during long stages due to reduced ball control.
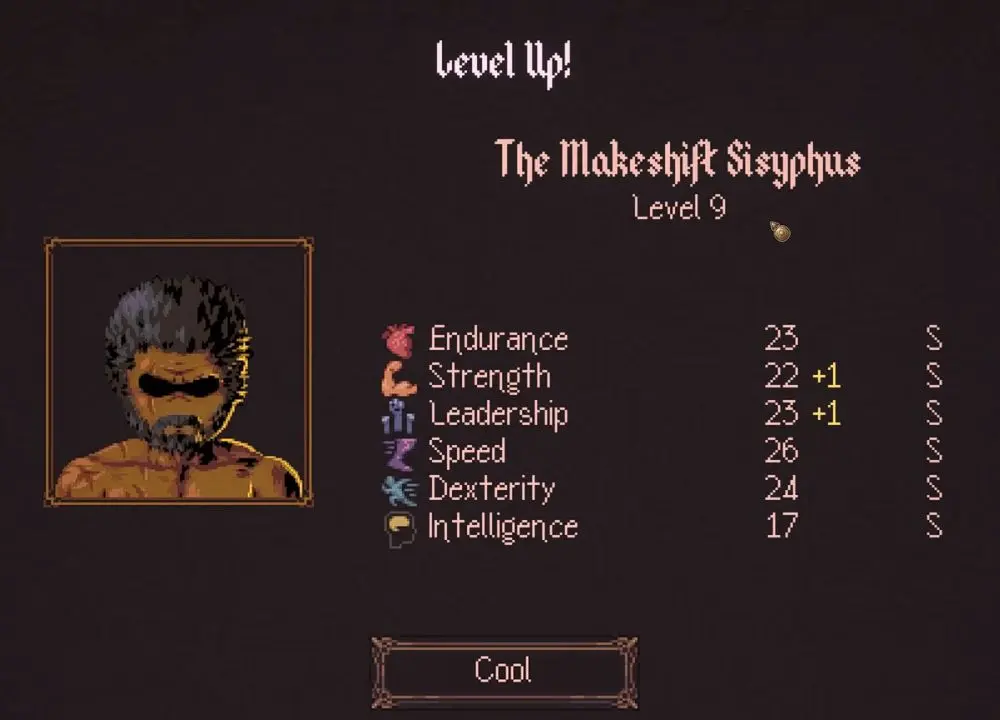
The Makeshift Sisyphus – Balls no longer deal direct hit damage, but area-of-effect and status damage increase fourfold. No baby balls. Extremely powerful for AoE builds.
The Flagellant – Balls bounce normally off the bottom of the screen, effectively doubling active playtime and allowing for faster ball recycles. Underrated imho, but deadly in the right hands.
The Physicist – Gravity constantly pulls balls toward the back of the screen, creating unique curve trajectories that can trap enemies.
The Juggler – Lobs balls in an arc toward a target position. Balls don’t start bouncing until they hit the ground. Useful for precision shots and planned rebounds.
The Radical – Plays autonomously and picks upgrades automatically. More of a curiosity than a competitive choice, but surprisingly capable for automated farming runs.
Also read: Build a Zoo Beginner’s Guide
Which Characters Are Best?
As you can see, they offer a wide range of effects, so choosing the “best” is not an easy task and depends on the run you have, as well as personal gameplay preferences.
However, based on my current runs, I would say that the following are the best:
- The Flagellant – Because balls rebound off the lower edge instead of disappearing, it effectively doubles your offensive uptime, keeping more balls in play and drastically improving efficiency.
- The Repentant – the more enemies, the better, as those added bounce effects add up, causing massive damage.
- The Cogitator or The Radical are the top choices for players who want to AFK the game (mostly) and focus on resource farming. Not great for actual runs, but perfect for grinding.
Let me know which are your favorites and what tactics work best for you – I’m actively looking at new strategies and approaches to get the most out of the game.
Upgrading, Fusion & Evolution
First of all, make sure to read my full list of BALL x PIT Evolutions to get acquainted with all the options and the effects of each combination. You won’t remember anything, and most are trash anyway – but until I have a tier list set up, it’s best to have an overall image.
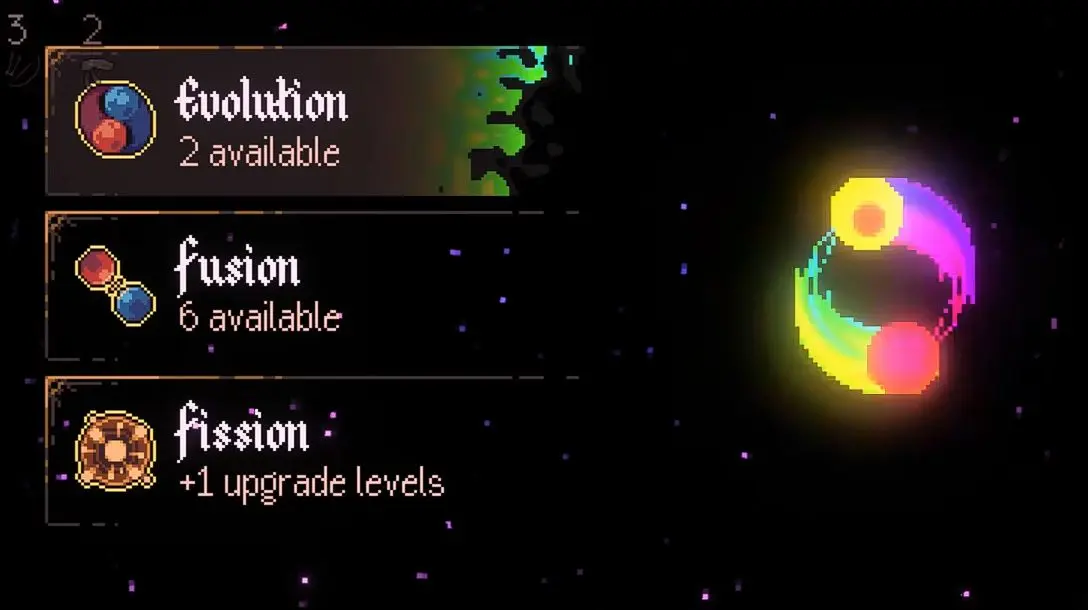
Now, there are three upgrade types that affect your balls in-game:
- Fission: The rainbow balls instantly upgrade your existing ones.
- Fusion: Combines two balls into one, carrying both effects. Fusion merges abilities and cooldowns carry over – but not all balls can be fused.
- Evolution: Creates a completely new ball type with unique visuals & mechanics.
Make sure to experiment constantly. Treat each fusion and evolution as research and see which affects your game (and how): which combos dominate, which slow you down, and which unlock OP synergies.
How Ball Evolution Works
Ball evolution occurs when two compatible level three balls are combined. Not every pair has an evolution path, so part of the game’s strategy is learning (or unlocking) the full list of potential outcomes. Evolved balls inherit the effects of both components while gaining an additional trait or multiplier.
Evolving also resets the resulting ball to level one, which means it will need to be leveled again during the run.
This temporary drop in power is why timing is so important – evolving too early can leave you underpowered before a boss fight, while waiting too long might waste upgrade potential.
How Fusion Works
Fusion differs from evolution. While evolution follows fixed recipes, fusion is a more flexible system that allows any two level three balls to merge into one.
This process creates a hybrid that blends the properties of both base balls, even when they don’t share an official evolution line.
A simple example is fusing Cell (a ball that splits on hit) with Vampire Lord (a healing-based evolved ball). The result is a Vampire Lord that duplicates itself, capable of multiplying both damage and sustain at once.
These combinations can get absurdly powerful, but because fusion replaces both source balls with a single hybrid, you have to plan carefully which ones to sacrifice.
Like evolution, fusion also produces a level one result. The difference is that you can experiment with far more freedom.
Early and Late-Game Evolution Strategy
In early runs, the goal is consistency and crowd control. Balls like Burn and Poison dominate because they apply status effects over time, reducing the need for constant precision. Once evolved into hybrids like Freeze Flame, you gain both damage and control in one package.
Later in the game, it’s better to switch toward synergistic effects that multiply existing strengths rather than broad ones. Healing builds (like those involving Vampire Lord) are currently OP and really useful, for example.
Keep in mind that evolving too aggressively can backfire if you evolve too soon. A good strategy is to pace your evolutions between major encounters, using boss rewards as natural checkpoints for upgrades.
Boost Evolutions with Passives
Ball evolution is only half the equation. The passives you pick during runs determine how effective your evolved arsenal becomes. Certain passives interact especially well with specific ball types, while they would be pointless in other situations.
For example, Crit Damage passives pair perfectly with multi-hit or piercing balls, while Baby Ball Damage scales with Leadership-heavy builds but make no sense if you choose a character that has no baby balls, obviously.
So make sure to find a balance and always think about synergy: you need your passives and evolutions to complete each other as best as possible.
And always build your character up, thinking about the end game. Usually, this means that three specialized balls are better than more lower-tier ones, and ideally you should have one with life steal, as well as one with AoE damage boosts in your arsenal to make runs easier.
If you still don’t know what to do, I have a tier list of evolutions (including a list of my top 10) so definitely check that one out as well!
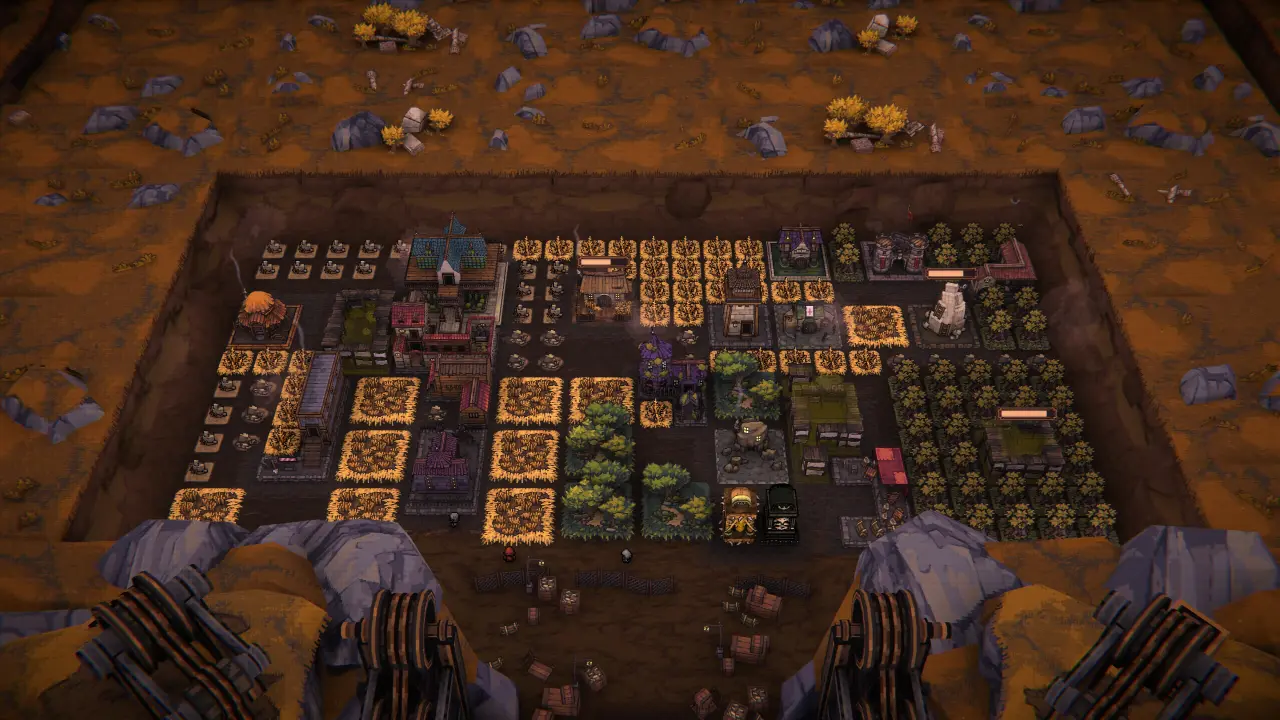
Rebuilding Ballbylon
This is probably the easiest and most straightforward part of the game (except for the collection of the actual resources needed for the upgrades, that is). But there are still a few things to keep in mind to make your life easier.
Many players underestimate Ball X Pit’s town-building at first, treating it as downtime between runs. But the deeper you go, the clearer it becomes that Ballbylon is what sustains your momentum.
Optimize your base layout & resource management
Heroes bounce between buildings to harvest, so close placement matters. Use a U-shape or a ring-like layout to maximize this. Basically, place all your resource-producing buildings in the middle, and the stat-boosting and character ones on the outside.
Later, the system evolves, and you can assign multiple characters simultaneously to different tasks, maximizing output.
However, resources in Ball X Pit are not infinite. After each harvest, fields and mines require time to regenerate. Therefore, the best approach is to send characters out once after each completed run, then return once you’ve made meaningful progress in the pit again.
Unlocking Blueprints and New Structures
Blueprints are collected as part of your overall progression. Some are awarded for reaching deeper levels in the pit, while others come as boss rewards or milestone achievements.
Each blueprint adds a new building type to your construction menu, ranging from character houses and training halls to resource farms and stat-boosting structures.
Because each building type plays a specific role, it’s always a good idea to focus early on utility and growth and not decorative or late-game options.
Also read: Black Desert Online: Class Tier List
Wrapping up
Now you have everything you need to become a true master of the game. If you have even more advice or strategies (or even questions), don’t hesitate to comment down below.

- Re Rangers X Tier List (Formerly Anime Rangers X) - July 7, 2026
- Star Sailors Tier List: All Battle & Assist Partners Ranked - July 7, 2026
- Star Savior Tier List (Post-Carnelia Update) - July 7, 2026