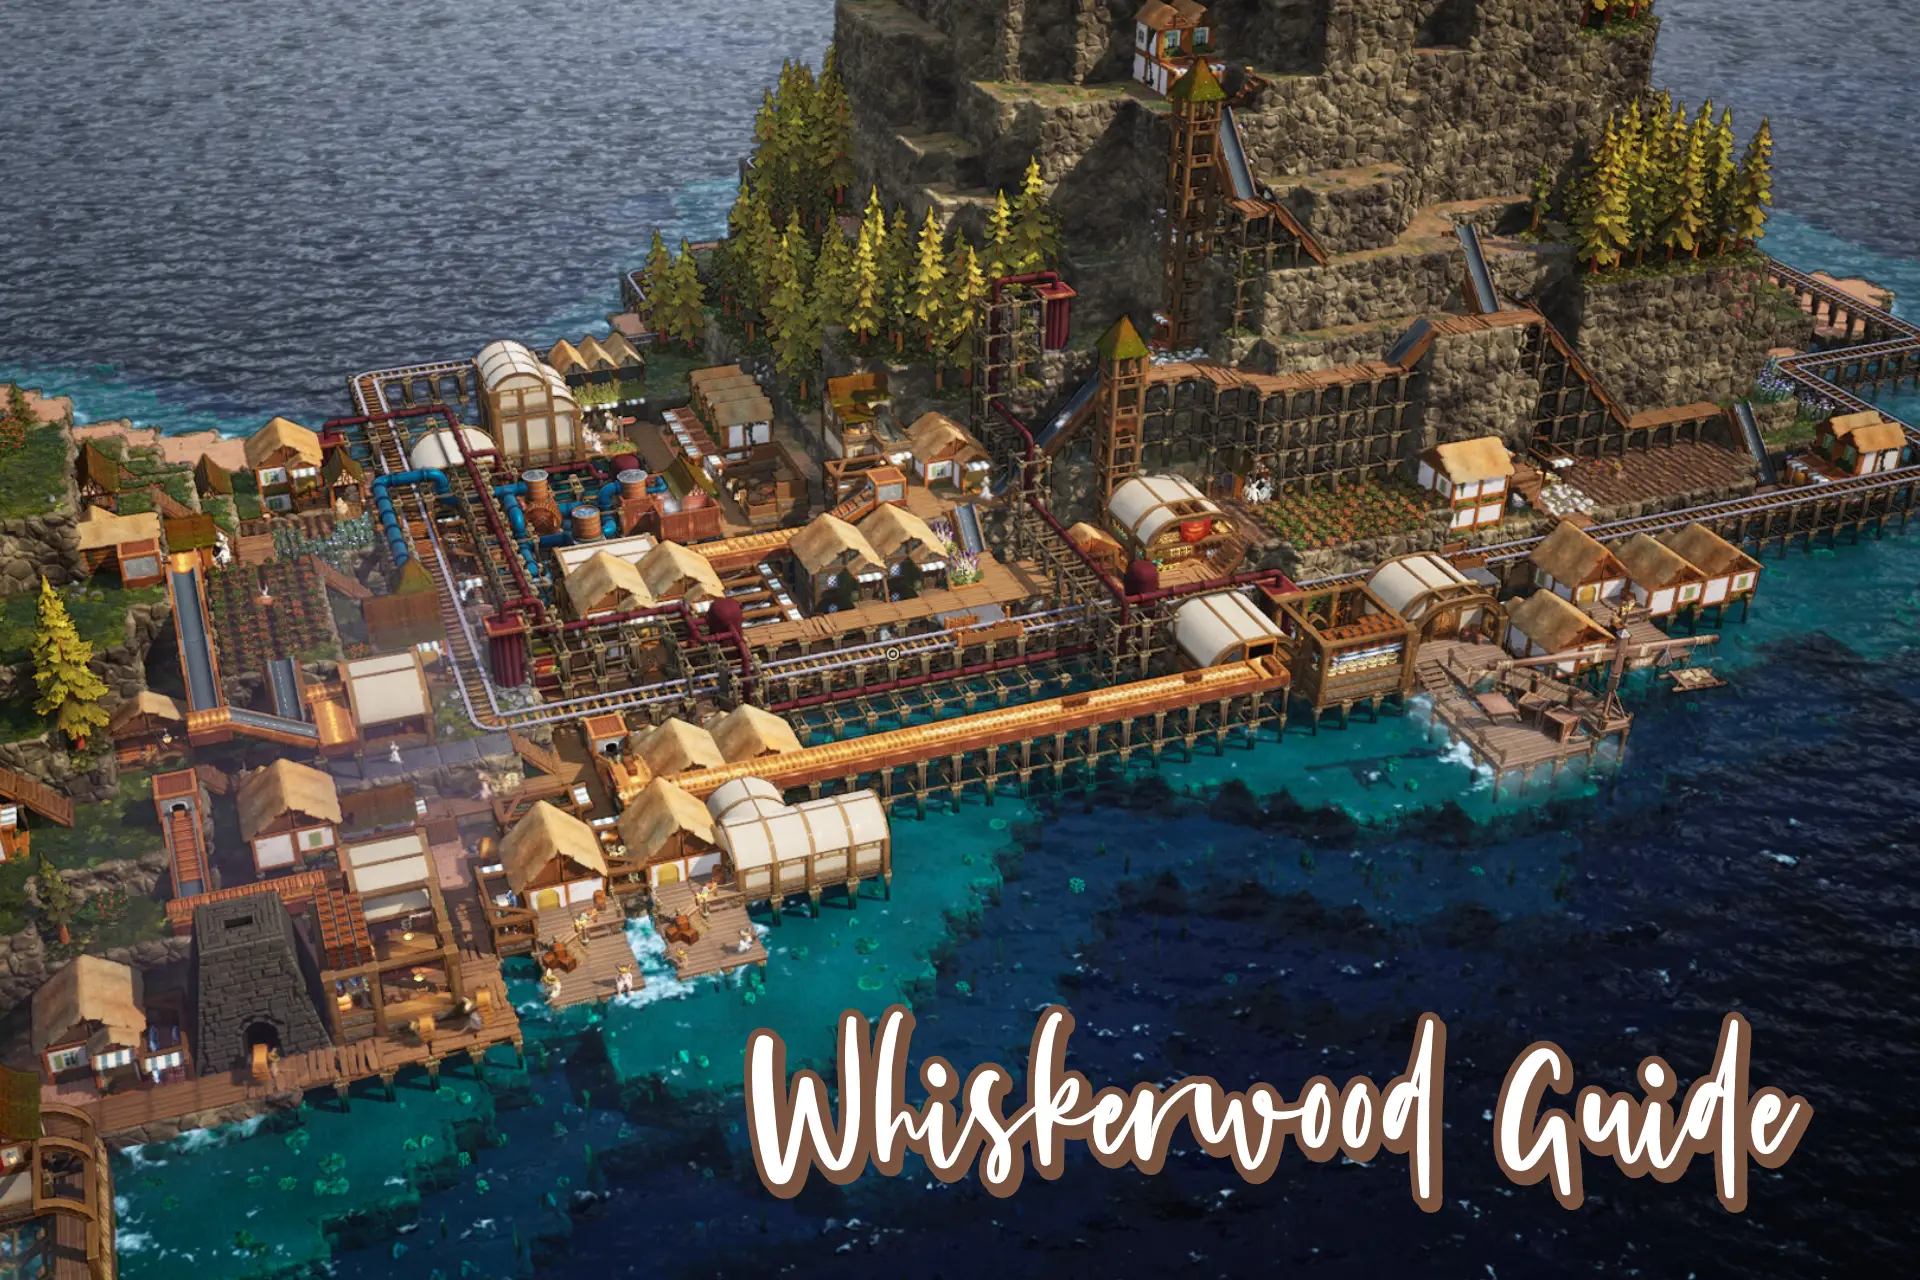
It’s time to build a mouse colony in Whiskerwood, using your management skills for survival, comfort, and, most importantly, approval by The Claws. I will help you do that by sharing this complete guide to the game, including tips & tricks to ensure that you do everything right.
What starts as a tiny outpost on a lonely shore soon becomes a layered city of workshops, homes, and vertical marvels carved into cliffs or rising above the sea if you follow my advice. Some things might be common-sense, but other bits will surely help even more advanced players. So… let’s jump right in!
1. Getting Started
Before you start building, there are a few technicalities you have to consider – that is launching the game.
Some of the important settings are here, like choosing your name, but also picking one of several difficulty presets that toggle a range of modifiers in a single click (map size, number of islands, fertility, greediness of your feline overlords, and so on), or creating a custom setup if you want total control over the parameters.
For the first time, I recommend choosing an easier difficulty.
Now you have five colonists to start with – your Whisker crew – each with their own traits, attributes, and expectations. Hovering over them reveals how they might fit into various jobs.
If you don’t like the hand you’ve been dealt, hit the dice icon to reroll the entire crew until you find a composition that fits your playstyle. Once you’re happy, hit Embark and the actual game begins.
Also read: IdleOn Guide: Tips & Tricks for Beginners
2. Your First Moves
Your first decision on arrival is where to place the Export Dock – the anchor point of your colony’s trade and tax system. I recommend setting it near trees and berry bushes so you’ll have immediate access to both construction materials and food.
Once the dock stands, your ship offloads the starting supplies, and your five Whiskers disembark to start their new life.
Next comes your Warehouse, which automatically receives your initial stash of resources.
You’ll then be prompted to sign your royal charter – the official document that binds your colony to The Claws. With that signature, your debt begins ticking. You can always hover over each taxable resource to see its gold value and contribution toward repayment.
Early on, quests gently walk you through the fundamentals – mining, woodcutting, housing, food gathering – helping you build a functional foundation before the tax collectors arrive.
Follow them closely, because while Whiskerwood looks cozy, it’s an unforgiving sim under the fur, especially as you progress and if any of the early mechanics are ignored, your life in the game will be a lot more difficult.
3. Whiskers: The Heart of Your Colony
Your Whiskers are defined by Guild affiliation, personal traits, and expectations, forming the backbone of your entire production chain. Let’s talk about each of these below, so you better understand what they’re all about.
Guilds and Traits
There are four Guilds – Explorer, Miner, Farmer, and Engineer – and every Whisker belongs to one of them. Guild membership grants three core traits tied to that profession.
For example, Miners may tolerate heat better but consume more food, while Farmers thrive outdoors but resent eating raw meals. Pairing the right mouse with the right job is obviously mandatory.
Beyond Guild bonuses, Whiskers also possess characteristics such as better carrying capacity or improved resistance to temperature swings. You can manually assign them to jobs or let the game auto-assign free workers as needed.
Housing works the same way – you can either assign individuals to a specific shelter or let them sleep wherever space is available. Early on, letting the game work its magic saves you a lot of potential headaches.
Finally, each Whisker has visible stats like movement speed, productivity, carrying capacity, and body temperature – all influenced by food quality, environment, and Guild synergy.
Keep an eye on these details and adjust as needed, whenever you can (there will be times when you won’t be able to improve these, though).
Expectations and Approval
Every Whisker also carries a star rating that represents their expectations. Low-star mice are easy to please, while high-star citizens want comfort, proper meals, and warmth.
As their experience or education increases, so does their demand for luxury, forcing you to keep your economy up to date in order to satisfy their needs. Their mood contributes to your colony’s Approval (more on this in the section below).
At the end of each workday, you receive a detailed daily report showing resources gained and spent, tax progress, approval changes, and the reasons behind both positive and negative morale shifts.
High approval is extremely useful, as you can spend it to attract new colonists, pass policies, or perform various actions like picking up and relocating a Whisker.
Education and Specialization
As your settlement grows, you’ll unlock the School, a structure that gives you control over the future of your workforce. First, you will need a Craftsmaster Whisker to turn into a Teacher which, once assigned, will start teaching students based on various educational paths.
Education always raises expectations, meaning that highly trained citizens require better food, housing, and living conditions.
Still, the payoff in efficiency is enormous, and educated Whiskers drive your technological and industrial progress.
Also read: Europa Universalis V: Guide to Ages and Institutions
4. Managing Housing, Approval, and Expectations

Early-game housing can make or break your approval balance, and this is where many new Governors fall into the classic trap of chasing luxury too soon – I keep saying this, because it’s extremely important. Don’t fall in this trap!
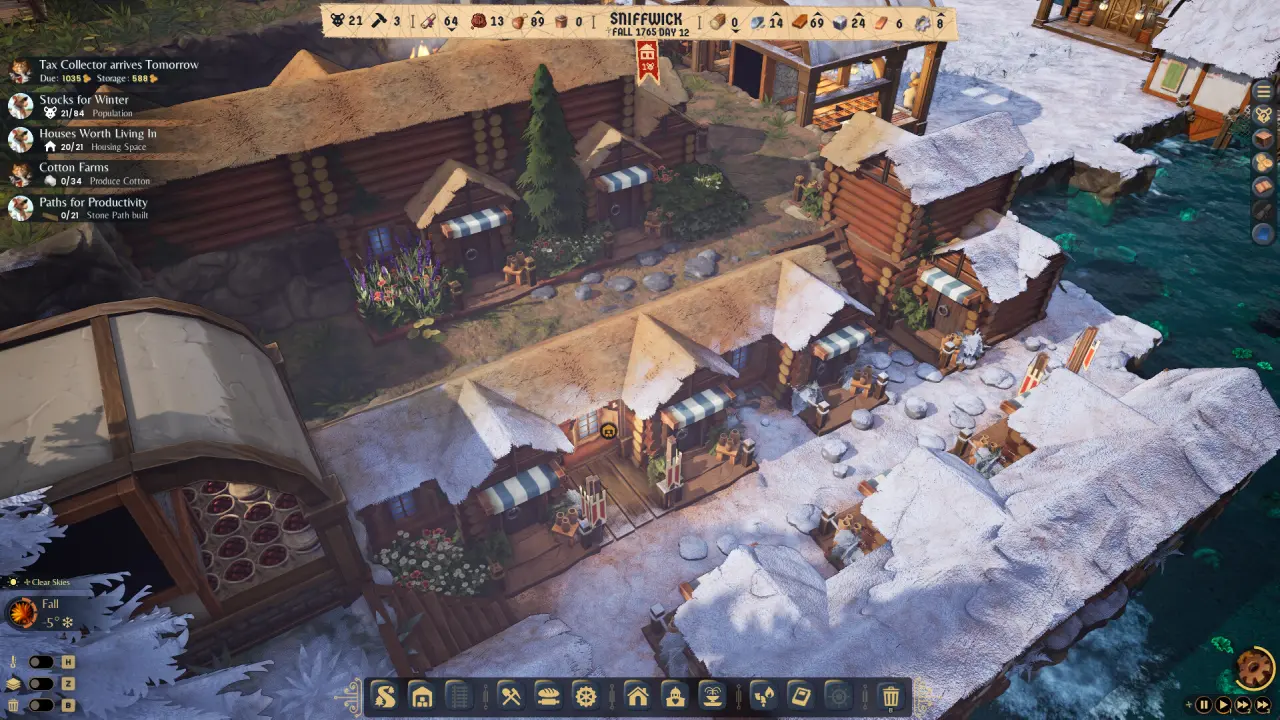
Stone Shelters are your best friend in the first year. They’re cheap and have a small footprint – just two cubic units per occupant, making them the most space-efficient option available early on.
The approval penalty from their “rough and stuffy” interiors is minor, and stone itself is easy to come by if you’re already mining heavily.
Wood, on the other hand, is precious. You’ll need it for crafting, planks, and heating, so burning it on lavish log cabins too soon can cripple your progress. So wait a bit until you expand.
The approval system in Whiskerwood is communal. This means that, unlike other games where each individual has a happiness bar, you’ll be managing averages here. In the end, what matters is the net difference between daily positive and negative mood modifiers.
In other words, even if a few high-expectation Whiskers grumble about poor meals or cramped beds, they can be offset by a larger population of satisfied mice.
Here are some of the mood modifiers to keep in mind:
- Rough housing usually costs -2 approval.
- Bland food costs -3.
- Farmer Guild Whiskers eating raw fish lose an extra -2.
- Raw fish or berries grant +3.
- Visiting a cafe gives +1.
- Simply sleeping in a proper bed adds +1.
- Ending the day without overtime adds another +1 for “Early to bed.”
When you average it all out, your colony typically sits around a manageable –1 or –2 approval deficit per Whisker, which can easily be balanced with the right amenities or rest periods.
So instead of trying to make everyone live like royalty (which is highly unlikely), make sure that you have more mice happy at the end of the day.
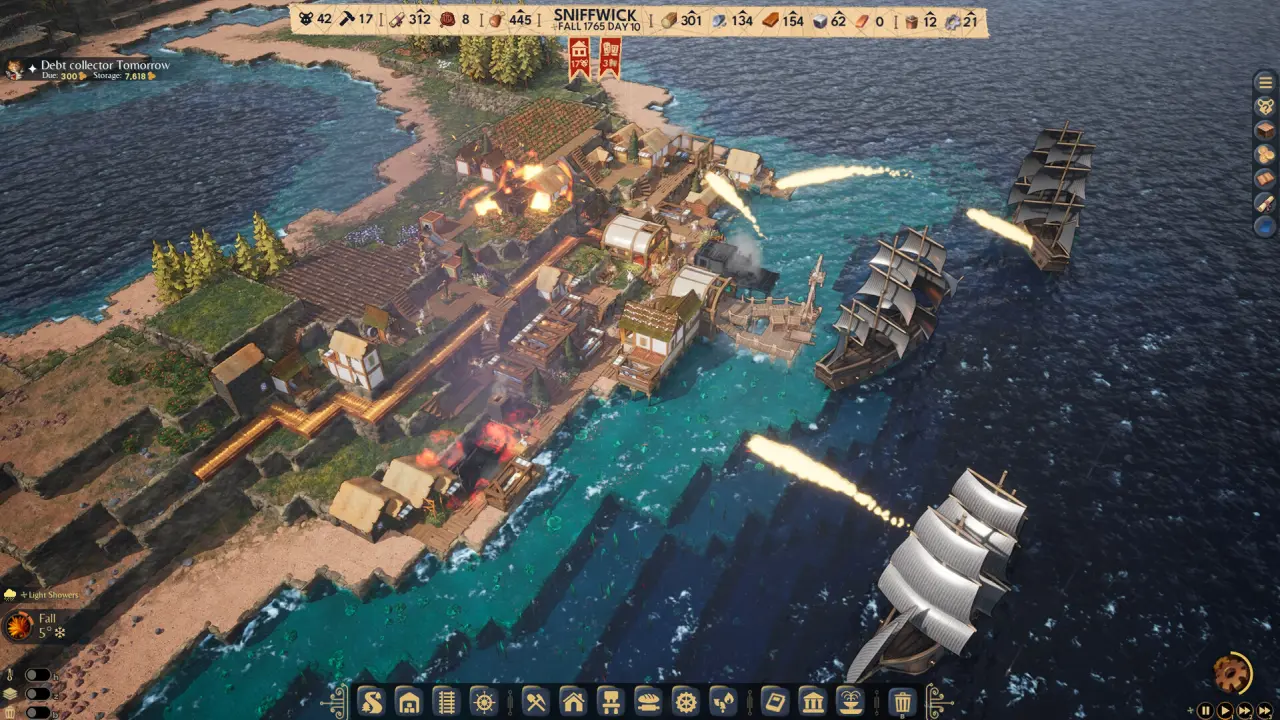
5. Economy, Taxes, and The Claws
Your entire economy is built around paying taxes to the feline empire (The Claws) without tanking your colony in the process – similar to the approach old school players know from games like Caesar.
In Whiskerwood, every three days, the Tax Collector arrives. That visit is your main checkpoint. On that screen, you’ll see:
- Your Trust Level with The Claws.
- The total tax and debt owed, including population tax, travel costs, and any supplies you purchased in the last cycle.
- A list of resources eligible for payment.
- Several payment levels, from partial shipments to huge overpayments.
Paying less than the required amount chips away at Trust, but is not necessarily a game over.
Paying exactly the requested amount stabilizes the relationship.
Sending a full shipment or going above and beyond increases Trust, which can unlock extras such as new building schematics, additional supplies, and Diplomacy Seals. You can spend those seals to reroll supply offers if the current selection doesn’t help your build.
The obvious strategy to aim for is this, in my opinion:
Early Overpayments, Late Discipline
In the early game, when your tax bill is small, it’s relatively easy to overpay, so make sure you do it as often and as much as possible.
Shipping 300 value against a 200 tax requirement is far more manageable than trying to hit 3000 when the demand reaches 2000, even when your production scales as you build your colony.
However, building this phase early on to build up Trust with The Claws gives you benefits that can truly compound and make your life later on easier.
As your settlement grows, taxes ramp up. The population tax alone becomes a large chunk of your debt, and suddenly that same strategy feels punishing. This is where you start being more selective and time your payments around the seasonal cycle and your current Trust.
Keep in mind: if your Claws happiness (Trust) dips below 4, it’s time to pay properly. Dip too low and you risk your charter being revoked, which ends your run under royal authority. The Tax Report screen will always show your current Trust if you need a quick reality check.
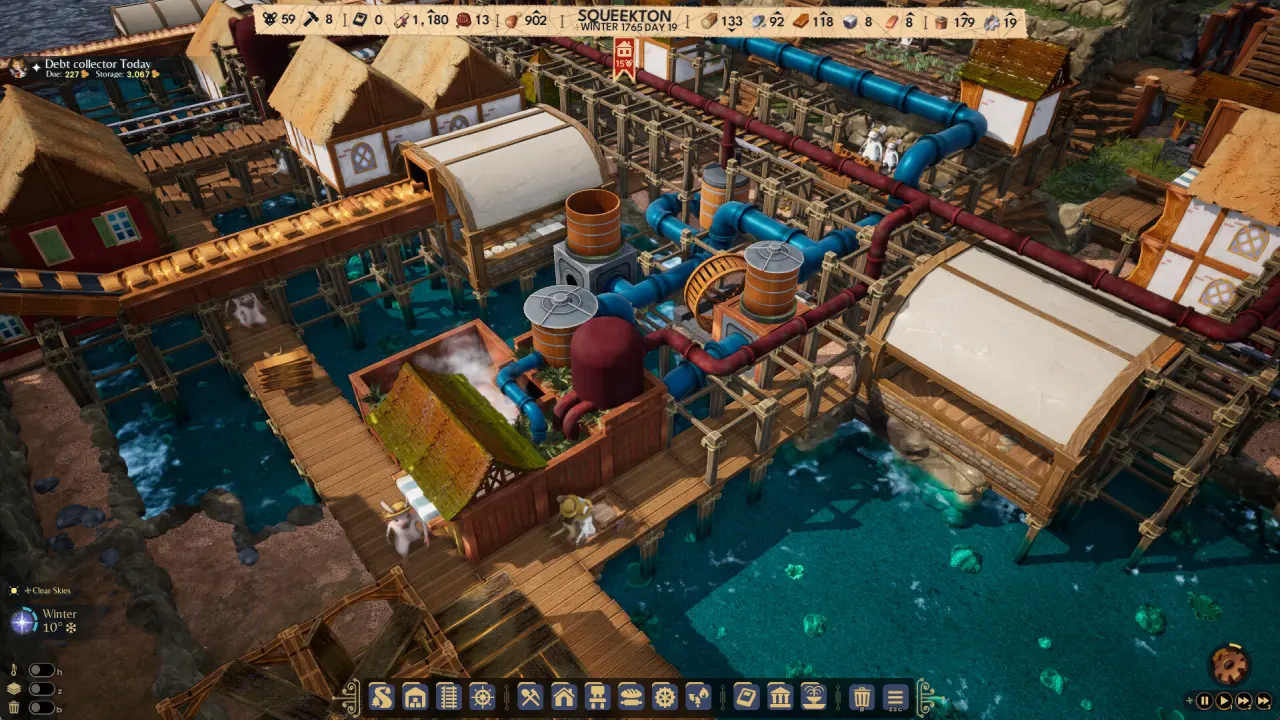
Bullion and Resource Management
Bullion becomes a key safety valve later on. It’s extremely space-efficient as a store of gold value and can bail you out when your stocks run low. You’ll typically generate it by trading with the Smuggler, selling processed resources, and converting them into Bullion for later use.
Logs are one of the few things you should hesitate to throw at the Tax Collector. They’re the resource you need most of for everything in your colony. So use them as a last resort when you need to stabilize Claws happiness, and/or only if you truly have a real excess.
And then there’s winter…
The Claws hate bad weather. Their tax ships appear less frequently during the cold season, while your ability to build up debt through purchases and other interactions still remains.
That split can tempt you into living on credit. It’s smart to go into winter with decent Trust and a stable stockpile, then reassess how hard you push payments once spring returns.
Also read: Europa Universalis V: All Formable Countries
6. Food, Fishing, and Smuggling
One of the strongest early strategies centers on Fishing Docks. With a solid setup, three Whiskers working a dock can generate somewhere around 40 fish per day without overtime. Each fish has a default value for tax purposes and can be processed further for trade.
You only need about 1.5 fish per Whisker just to cover their population tax share. If you’re also planning to feed each Whisker raw fish, you’re looking at roughly 2.5 fish per head, and 3.5 for Miners Guild Whiskers, who always eat extra.
In other words, fish are an all-star resource you should focus on early on. It can also tie nicely into smuggler trades.
On the other hand, crops like cotton grow more slowly and drain soil fertility, which means more micromanagement and crop rotation if you lean on them heavily. Fish skip all of that.
The main downside is space. Fish take up a lot of room in storage, so you’ll want to build dedicated warehouses and forbid fish in your central warehouse to keep it from clogging everything else.
Smuggling, Stone, and Late-Game Cash
As your colony expands, stone starts piling up. It’s essential early on, but once you’ve built a lot of infrastructure and carved out mines, it can flood your storage. That’s where Cut Stone enters the picture.
A long-term strategy is to turn excess stone into Cut Stone and sell the processed product to the Smuggler for Bullion.
Fishing and stone processing together give you a powerful economic backbone: fish to cover food and population tax, stone products to fuel smuggler trades and build up Bullion.
7. Logistics and Storage Systems
Speaking of storage, let’s add logistics to the mix and see why planning ahead is also important: you can have the right buildings and enough resources, but if everything is scattered and your workers are walking half the island to grab a single log, things will get bad.
Logistics Hubs and Requests
The Logistics Hub is the center of your transport network. The building itself simply stores carts and acts as a dispatch point for Whiskers assigned to logistics work.
Setting one up early – even before the end of the first spring – pays off fast.
When your workshops are starved for input materials despite those materials being somewhere in your colony, it’s a sign you need more logistics workers. Assign an extra Whisker or two to the Hub so they can shuttle resources where they’re needed instead of forcing specialist workers to do their own hauling.
The system revolves around logistic requests. Warehouses close to workshops can “request” specific materials, and logistics Whiskers respond by fetching them from elsewhere in the colony.
Assigning Swift Whiskers to Logistics Hubs is the thing you should do. Their higher speed directly translates into shorter delivery cycles and smoother production.
TIP: Rename your Swift Whiskers to something that makes them easy to spot in the population list when you need them.
Practical Handling and Configuration
Two small but important habits you should build up as you play:
- Configure warehouses as soon as they’re built. If you leave them at default, they’ll happily accept anything, and you’ll end up manually emptying unwanted fish, stone, or random clutter.
- For catalysts, building a warehouse isn’t always necessary. Unless the catalyst source is very far from the consumer, you can let workers fetch it directly and save space and configuration time.
Once you understand this flow, your colony starts working like a well-oiled machine. Instead of specialist workers wasting time hauling goods up and down staircases, dedicated logistic Whiskers handle the grind while your experts stay on task.
Also read: Resonance Solstice Tips & Tricks
8. Mining, Vertical Building, and Island Expansion
Whiskerwood doesn’t give you infinite horizontal space, which is one of the more interesting and challenging aspects of the game. And this means that you’ll eventually need to think vertically – and the best idea would be to start planning for that from the beginning.
However, in the early game, Whiskers are slow at moving vertically. Their climb speed and the lack of advanced transport structures mean long towers and deep shafts are expensive in worker time.
For that reason, it’s better to mine laterally where possible, keeping operations on relatively similar z-levels until your infrastructure improves.
There’s another big rule: do not mine fertile ground. You’ll want that soil for future crops and farming layouts, even if you’re leaning heavily into fishing at first.
Mining near water is safe, though. Tunnels don’t flood just because they’re adjacent to the sea.
When you start placing Mining Camps or Woodcutters, remember that some of these buildings can be moved for free. As resource nodes get depleted or shift to different z-levels, drag these buildings as close as possible to the new target area so your workers spend more time gathering and less time walking.
Vertical Construction and Earthworks
As your colony progresses, you’ll start stacking roads and buildings on top of each other using wooden paths, stairs, ramps, and slides, slowly climbing up mountain slopes or digging into cliff faces.
Over time, your colony becomes a multi-layered structure with different districts stacked like a tiered cake.
You can even reshape the map using the Earthworks building. By spending Stone, you can fill in gaps, level areas, and create land where there used to be voids.
hat’s particularly handy when you want to avoid costly wooden supports over water or fill in mining scars that cut through your planned road or housing networks.
Bridges, Water, and Multi-Island Expansion
Island size eventually pushes you to expand across the water. You have several options to handle sea tiles:
- Build out using standard supports and log-heavy structures.
- Construct bridges using wood or dirt.
- For very deep-sea tiles, the best choice is to use the dedicated Bridge building, which doesn’t require support underneath.
That last point is important. Deeper water means more log cost for traditional supports, so switching to the Bridge building can save a lot of resources and construction time.
As you extend farther, you can link multiple islands into one large, connected colony.
Crops, Slicing, and Hidden Veins
While mining, using the slice view (default Z) helps you read the terrain layer by layer. Frequently, the ore vein you see at the surface continues deeper underground; you only discover that by digging and checking slices below. This is also true for stone pockets and other mineable clusters.
If you need to clean up your fields or redo layouts, you can remove crops by holding Shift. That lets you reclaim space without awkward micromanagement when you decide a farming patch needs to move or shrink.
Stack this with the Earthworks system and bridge construction, and you get full control over how your colony occupies land and sea.
9. Research and Technological Progress
If you want your settlement to move beyond bare survival, you’ll need science. Research is conducted in the Research Lab, a specialized building that can only be staffed by Educated Whiskers – those trained through the School’s Scholarly education path.
Inside the Lab, you’ll find a tier-based tech tree. Each tier unlocks a group of technologies, but you’ll need to pay a hefty plank cost to open a new tier before researching anything within it.
Once you’ve invested in a tier, individual technologies inside become available – though some are locked behind dependencies, meaning you’ll have to research precursor techs first.
Each research project shows its resource cost, usually a mix of planks and other refined materials. Once you complete a research task, the corresponding building or feature becomes immediately available for construction. There’s no cooldown or waiting period.
Because planks are required for unlocking new tiers, keeping your sawmill production consistent is critical.
It’s often worth dedicating one or two Whiskers full-time to plank production just to keep your tech pace steady.
Over time, the tech tree unfolds into quality-of-life improvements – better housing, advanced production methods, new forms of transport, and decorations that help stabilize morale.
If you’re aiming for long-term stability, prioritize upgrades that enhance logistics, storage, and heating efficiency.
10. Climate, Seasons, and Survival
No matter how efficient your colony becomes, nature will have its role in screwing things up and each season has its pros and cons.
Every day, the weather influences your Whiskers’ performance and morale. Hovering over the weather icon shows the current conditions and any active modifiers.
A bright, clear sky speeds up crop growth and lifts morale. A storm slows production, dampens spirits, and can ruin outdoor efficiency.
Then, we have the four seasons:
- Spring brings mild temperatures and strong agricultural growth. It’s the best time to expand fields and ramp up food reserves.
- Summer is the ideal construction season, with high productivity and minimal heating needs.
- Fall marks the transition – temperatures start dropping, and it’s your cue to stock up on wood for heating.
- Winter is brutal. Without proper heat sources, Whiskers can freeze to death, crops stop growing, and logistics slow to a crawl. The only pro here is that The Claw also hate it.
Heat Management and Pollution
You can monitor colony temperature using the Heat Overlay (hotkey H). Red zones indicate warmth; blue means cold. Basic survival revolves around Campfires – cheap but temporary solutions that eventually burn out and need rebuilding.
As you progress, research unlocks more advanced heating and cooling systems, making survival far easier during long winters.
Until then, smart layout matters: cluster housing and workshops around heat sources so your Whiskers don’t spend their workday freezing on one side of the island.
Also be mindful of pollution. Some heat and production structures, like furnaces or bonfires placed underground, can cause heavy “Nauseating Pollution” thoughts. Keep such buildings outdoors or on rooftops whenever possible. Not only will it spare your workers’ lungs, it also prevents approval penalties that can spiral over time.
11. Advanced Tips and Colony Optimization
Now that we have the basics out of the way, let’s go for some more advanced tips and tricks based on everything we’ve discussed above:
- Get an Educated Whisker early. Research unlocks every major advantage.
- Avoid Monarchist Whiskers at the start; their rebellious streak complicates early morale.
- Build a Logistics Hub before spring ends. It prevents bottlenecks that cripple new colonies.
- Keep workshops and storage on the same layer to reduce walking time.
- Use Stone Shelters until midgame – they’re space-efficient and approval-friendly.
- Overpay taxes early, underpay carefully later. Maintain Trust through strategy, not panic.
- Fish relentlessly. It feeds, funds, and fuels your economy.
- Trade Cut Stone for Bullion when storage gets messy.
- Compact building means efficient heating. Save logs and keep your Whiskers warm.
- Use approval as currency. Spend it; don’t hoard it.
- Always prepare for winter. Fewer ships, lower production, harsher penalties.
- Expand vertically and across islands. Use bridges – wood or dirt for shallow water, the Bridge building for deep sea.
- Mine smart, not deep. Lateral tunnels are faster early on.
- Remove crops with Shift when reorganizing farms.
- Pollution kills morale. Keep fires outside and workshops ventilated.
- Think of The Claws as both enemy and lifeline. They tax you, but they also reward loyalty, so balance obedience with self-interest.
Conclusion
Now you have all the knowledge you need to make a super-run in Whiskerwood. There are still things that you should master, but understanding all these basics gives you a massive advantage in the game. So put it to good use and build that perfect colony now!
And if you have additional tips & tricks for fellow players (or any questions) – comment below!

- Re Rangers X Tier List (Formerly Anime Rangers X) - July 7, 2026
- Star Sailors Tier List: All Battle & Assist Partners Ranked - July 7, 2026
- Star Savior Tier List (Post-Carnelia Update) - July 7, 2026