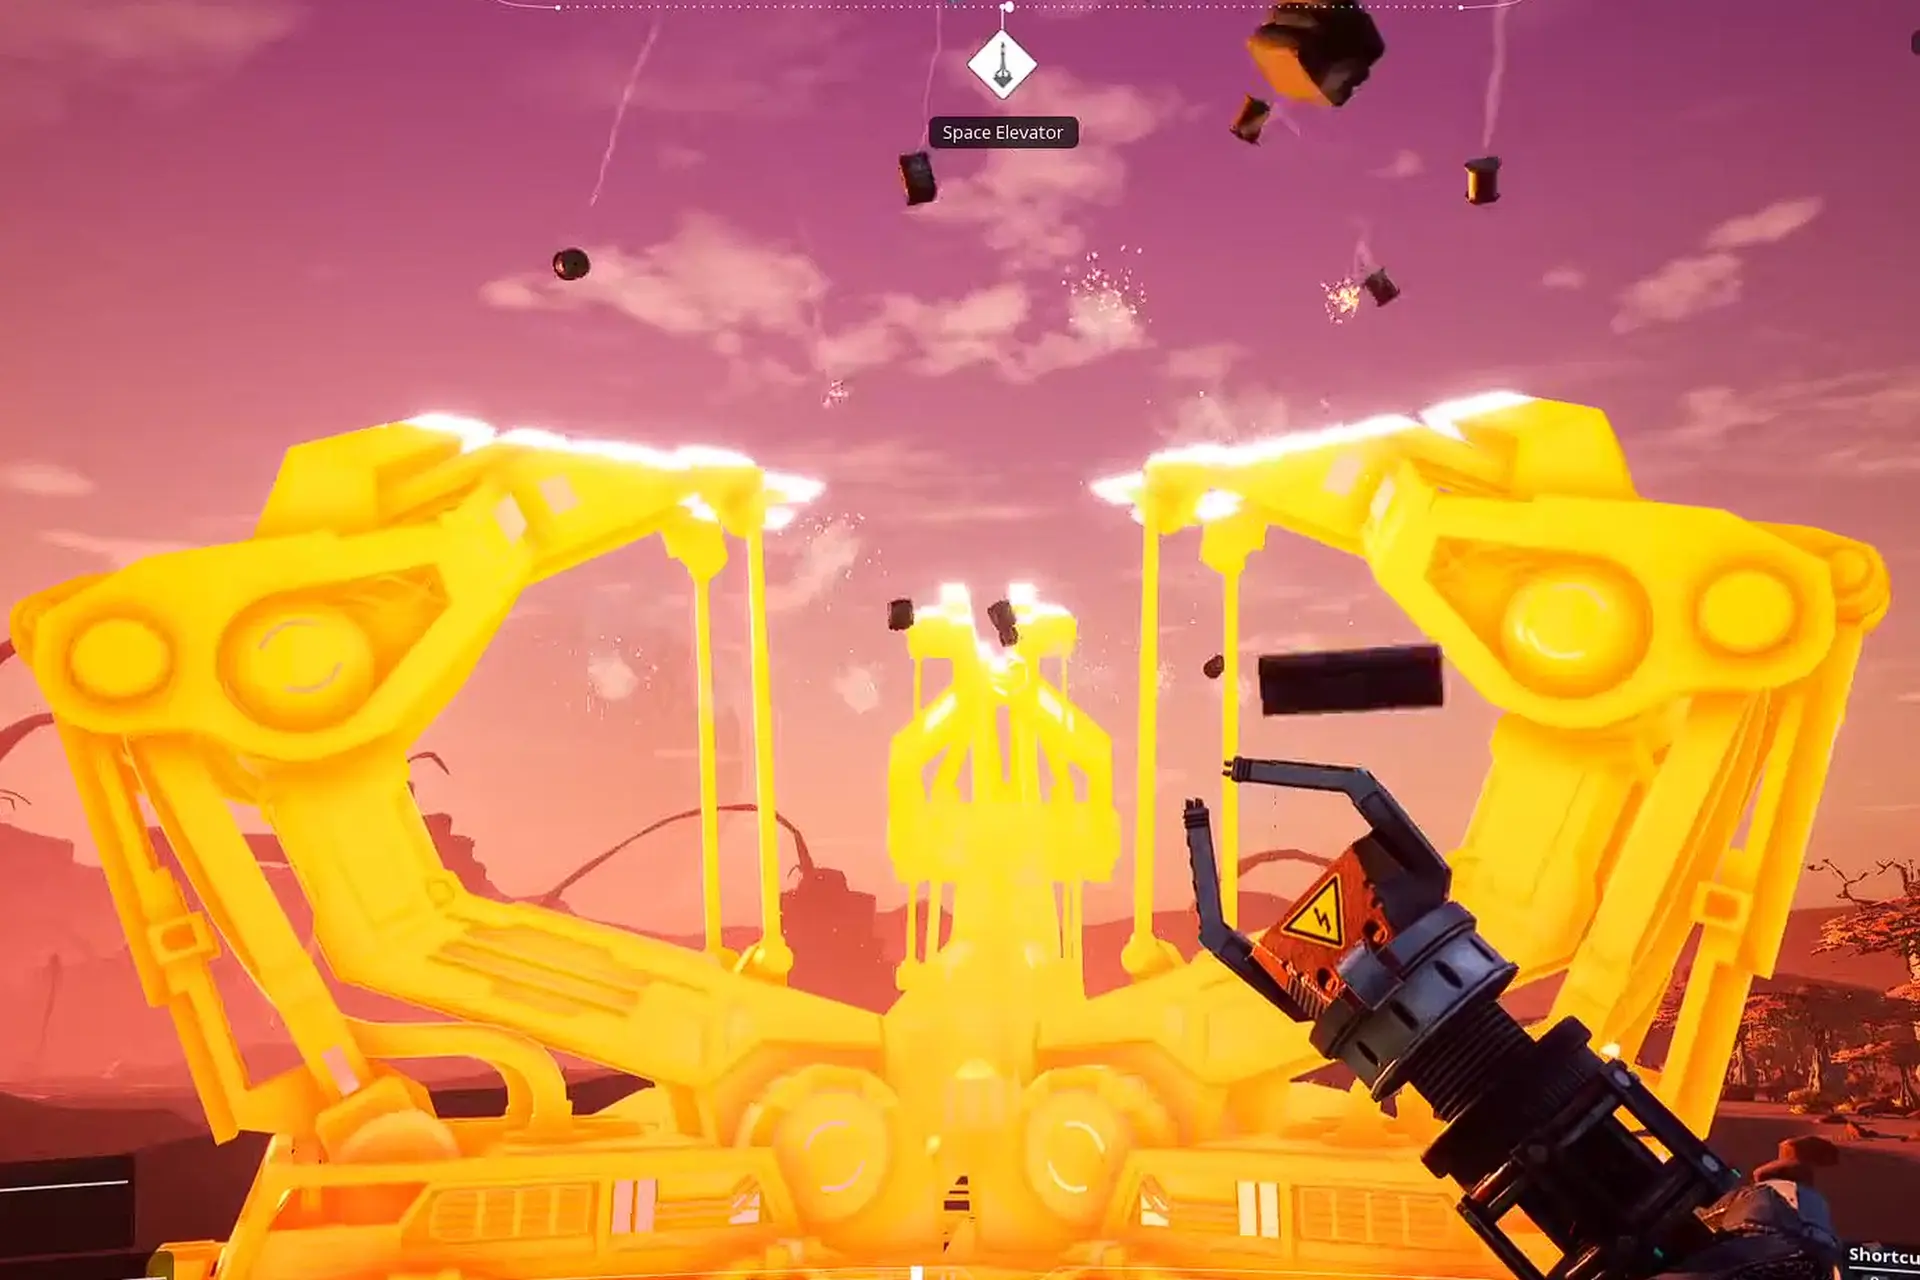
If you are looking for the “I Win” button in Coffee Stain’s factory builder, the closest you can get is with the Space Elevator, one of the most massive and demanding resources in the game.
And today, I am here to share a full guide to the Space Elevator in Satisfactory, including everything you should know about each of its phases. This makes planning a lot easier – although the hard work (gathering the materials) is on you!
Standing 118 meters tall with a footprint of 2916 square meters, it is the ultimate symbol of FICSIT’s industrial ambition. Getting it operational is your first major step out of the early game and onto the galactic stage – so, let’s jump right in!
Constructing the Monolith
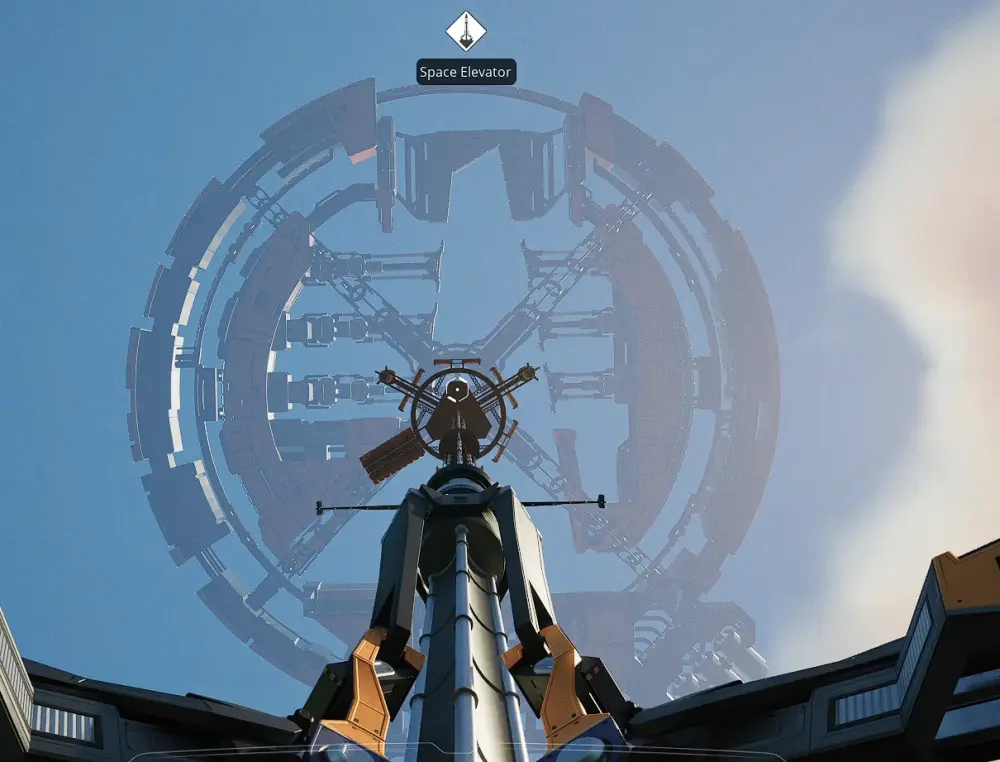
Before you can start shipping advanced components into orbit, you have to build the dock. Accessing the Space Elevator blueprint requires reaching Tier 0 and completing HUB Upgrade 6.
The resource cost is surprisingly manageable for such a colossal structure, requiring 500 Concrete, 250 Iron Plates, 400 Iron Rods, and 1,500 Wire.
Placing it can be tricky due to its sheer size (54m width and length). Since you are limited to one Space Elevator per world, you want to get the positioning right.
My tip to you: use Observation Towers! Placing towers at diagonal cardinal points (like North-East or South-West) on your foundation platform helps visualize the center.
Alternatively, you can look straight down, place a hologram under your feet, lock it with the ‘H’ key, and then step back to verify the rotation.
If you ever need to move it, you can do that too: you can dismantle the elevator at any time, and the game remembers your Project Assembly stages.
Also read: Military Incremental Complex Guide
Space Elevator Phases
Progression is gated by seven distinct phases, detailed below:
Phase 1: Distribution Platform
The journey begins simply. You need to manufacture and deliver 50 Smart Plating. Completing this unlocks Tiers 3 and 4, giving you access to coal power and steel production.
Phase 2: Construction Dock
Things ramp up quickly here. FICSIT demands 1,000 Smart Plating, 1,000 Versatile Frameworks, and 100 Automated Wiring. Success here grants access to Tiers 5 and 6, opening the door to oil processing and jetpacks.
Phase 3: Main Body
This is the mid-game filter that separates casual builders from efficiency experts. You must ship 2,500 Versatile Frameworks, 500 Modular Engines, and 100 Adaptive Control Units. Clearing this hurdle unlocks Tiers 7 and 8, introducing aluminum and nuclear power.
Phase 4: Propulsion Systems
Prepare for a heavy grind. The order includes 500 Assembly Director Systems, 500 Magnetic Field Generators, 250 Thermal Propulsion Rockets, and 100 Nuclear Pasta. Finishing this massive shipment unlocks Tier 9, the final tech tier.
Phase 5: Assembly
This is the final manufacturing challenge. You need to provide 1,000 Nuclear Pasta, 1,000 Biochemical Sculptors, 256 AI Expansion Servers, and 200 Ballistic Warp Drives. There are no tech unlocks here; this is purely about finishing the fight.
Phase 6 and 7: Launch and Completion
Phase 6 is a formality labeled “Check Oil,” which leads directly into the “Launch” status. Phase 7 simply marks the completion of all previous objectives, signaling that the Space Elevator has fulfilled its purpose.
If you still need to optimize, I recommend checking out the Satisfactory Alternate Recipe Tier List here.
Supply Chain Strategy
Treat each phase of the Space Elevator as part of a large project instead of an isolated, one-of-a-kind event.
Many high-tier project parts require lower-tier project parts as ingredients. For example, the Modular Engines you build for Phase 3 are also a component for the Thermal Propulsion Rockets in Phase 4.
So make sure, before you dump your excess stock into anything else, that you won’t need those parts later. Stockpiling and hoarding now saves you from having to rebuild a decommissioned assembly line twenty hours later!
Finally, to make it a bit easier for the final phases that require a ton of resources, use Somersloops which can amplify production outputs.
If you apply them to the manufacturers making Ballistic Warp Drives, you can reduce the input cost (instead of 5 Smart Plates per drive, you’ll need 1.25).
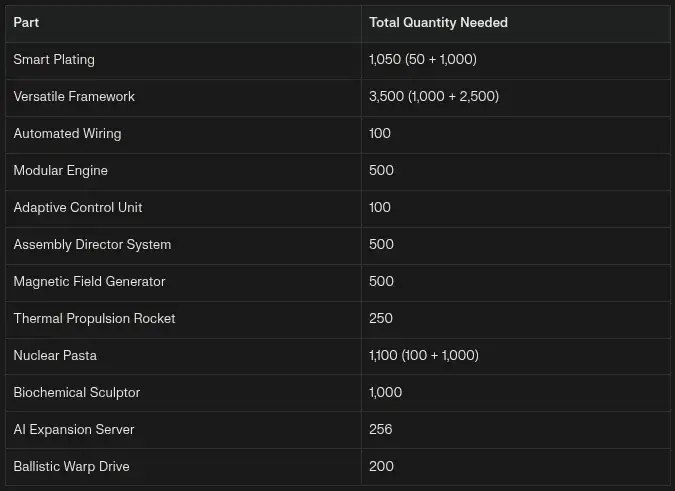
To make things even easier, here is the total quantity of items needed for building the elevator – use this to plan ahead:
Also read: Best Gaming Laptops with 64GB RAM
Wrapping up the Elevator
Upon completing Phase 5, the “Save the Day” protocol initiates. You must perform a specific sequence of tasks at the Space Elevator console to trigger the ending.
Once you pull the lever for the final time, the massive ship you have been feeding resources to – the Project Assembly – is complete.
The structure detaches and accelerates, blasting open a wormhole and vanishing into the unknown. Following this spectacle, ADA offers a final congratulatory message as the credits roll.
The Space Elevator itself rearranges its geometry to form the FICSIT logo, and the console permanently updates to display: “Project Assembly Launched. Pioneer purpose concluded.”
As a reward for your industrial dominance, you unlock the “Employee of the Planet” Cup in the AWESOME Shop. It is a fitting trophy for a pioneer who turned a pristine natural world into a hyper-efficient factory floor.

- Re Rangers X Tier List (Formerly Anime Rangers X) - July 7, 2026
- Star Sailors Tier List: All Battle & Assist Partners Ranked - July 7, 2026
- Star Savior Tier List (Post-Carnelia Update) - July 7, 2026