
If you are a completionist like I am, and you happen to play Starbreed as well, you will most likely want to get all the achievements in the game, too. And that’s what I am going to help you with in today’s guide: a full 100% completion strategy for the game.
Keep in mind that unlocking them all in a single run is impossible, so prepare to do some grinding. Also, prepare for very vague in-game tips (if you want to do it yourself). Focus on my guide below for an easier route for each in-game achievement.
Also before you start, keep in mind that you definitely need access to all the Actives, Passives, and Post-Game Unlocks before you even think about tackling the cleanup phase.
With these in mind, let’s jump right into the achievements!
The Stat and Breeding Grind
You need highly specific numbers in your stats menu to trigger the various ending branches and H-scenes – and this is what we’re going to start with:
- Assertion: Push this to 100. This triggers the ‘King of Catiya’ ending.
- Aether’s Resolve: You need this at 50 to unlock female Aether (a hard requirement for the Brothel and the ‘Paternity Test’ achievement). Pushing Resolve to exactly 100 locks in the ‘A Better Life’ Brothel ending.
- Brothel Reputation: Max this out at 100 to pop the ‘True Calling’ achievement.
The ‘Paternity Test’ achievement is highly specific and annoying due to RNG. Female Aether ovulates based entirely on her resolve score. She must sleep with specific randomized Brothel models.
You need to track down the Human Male, the Fish Male, the Large/Orc Male, the Pterodactyl Male, and the Coyote (all located in Brothel Room 1).
You also need the Clone from the Aether screen. Check the Ridable CK in Brothel Room 2, too.
While grinding these numbers through standard missions, you will automatically pop ‘All Bark!‘, ‘You’re Next, Nova!‘, and ‘Conqueror‘ achievements.
Also read: Nivalis Nights Guide: Tips & Tricks
The Impregnation Trials Ranked
These trials force you to control a sperm, dodge competitors, and utilize specific crew abilities. Taking any damage slaps you with a 10 point deduction. Two hits will guarantee a failure.
Late in the levels, enemies will aggressively swim directly at you. Pass the minimum requirements once to unlock the EX versions of the abilities for your high-score runs.
Nova (Gold Target: 32)
This is the only mandatory trial on the list, and there is no special trick here. You just need to hit 27 eggs before grabbing the large ‘Thank You’ egg at the very end, which hands you a flat 5 points to hit the requirement.
Lana (Gold Target: 210)
This run is very simple. Your entire strategy boils down to alternating between braking to slow your ship down and summoning Lana to completely clear the screen of threats.
Nika (Gold Target: 210)
Buggy aiming makes this trial incredibly annoying. The strategy is to spam her Active to pick up the Pink Ball of Wool, but you have to pace yourself. Clicking too fast will literally despawn the item before it registers.
Every ball you collect adds a 3% Attack Speed increase that scales infinitely, so you want to brake right before hitting the dense clusters to unleash your boosted fire rate.
Tanya (Gold Target: 210)
This level features walls that instantly trigger a harsh 10-point deduction the second you touch them. Her Active is an Impregnatable shield that you can actually shoot when it is deactivated.
The massive trap here is keeping the shield turned on to ram through the walls. Instead, shoot the shield THROUGH the enemy clusters while manually steering through the wall openings. Doing it this way saves massive amounts of Thrust.
Siren (Gold Target: 245)
This trial constantly drains your health from start to finish. Siren’s Active heals you, while her Passive damages nearby enemies.
The core trick the game hides from you is that her passive goes into extreme overdrive specifically while her healing is active.
You need to brake constantly and trigger your heal right as you approach the dense clusters to secure massive point spikes.
Pix (Gold Target: 270)
Pix carries an extremely high Thrust price for her attacks. You have to space your shots perfectly so you do not accidentally blow up the later enemy groupings with your early shots. Play it safe and rely heavily on her passive to farm your bonus points.
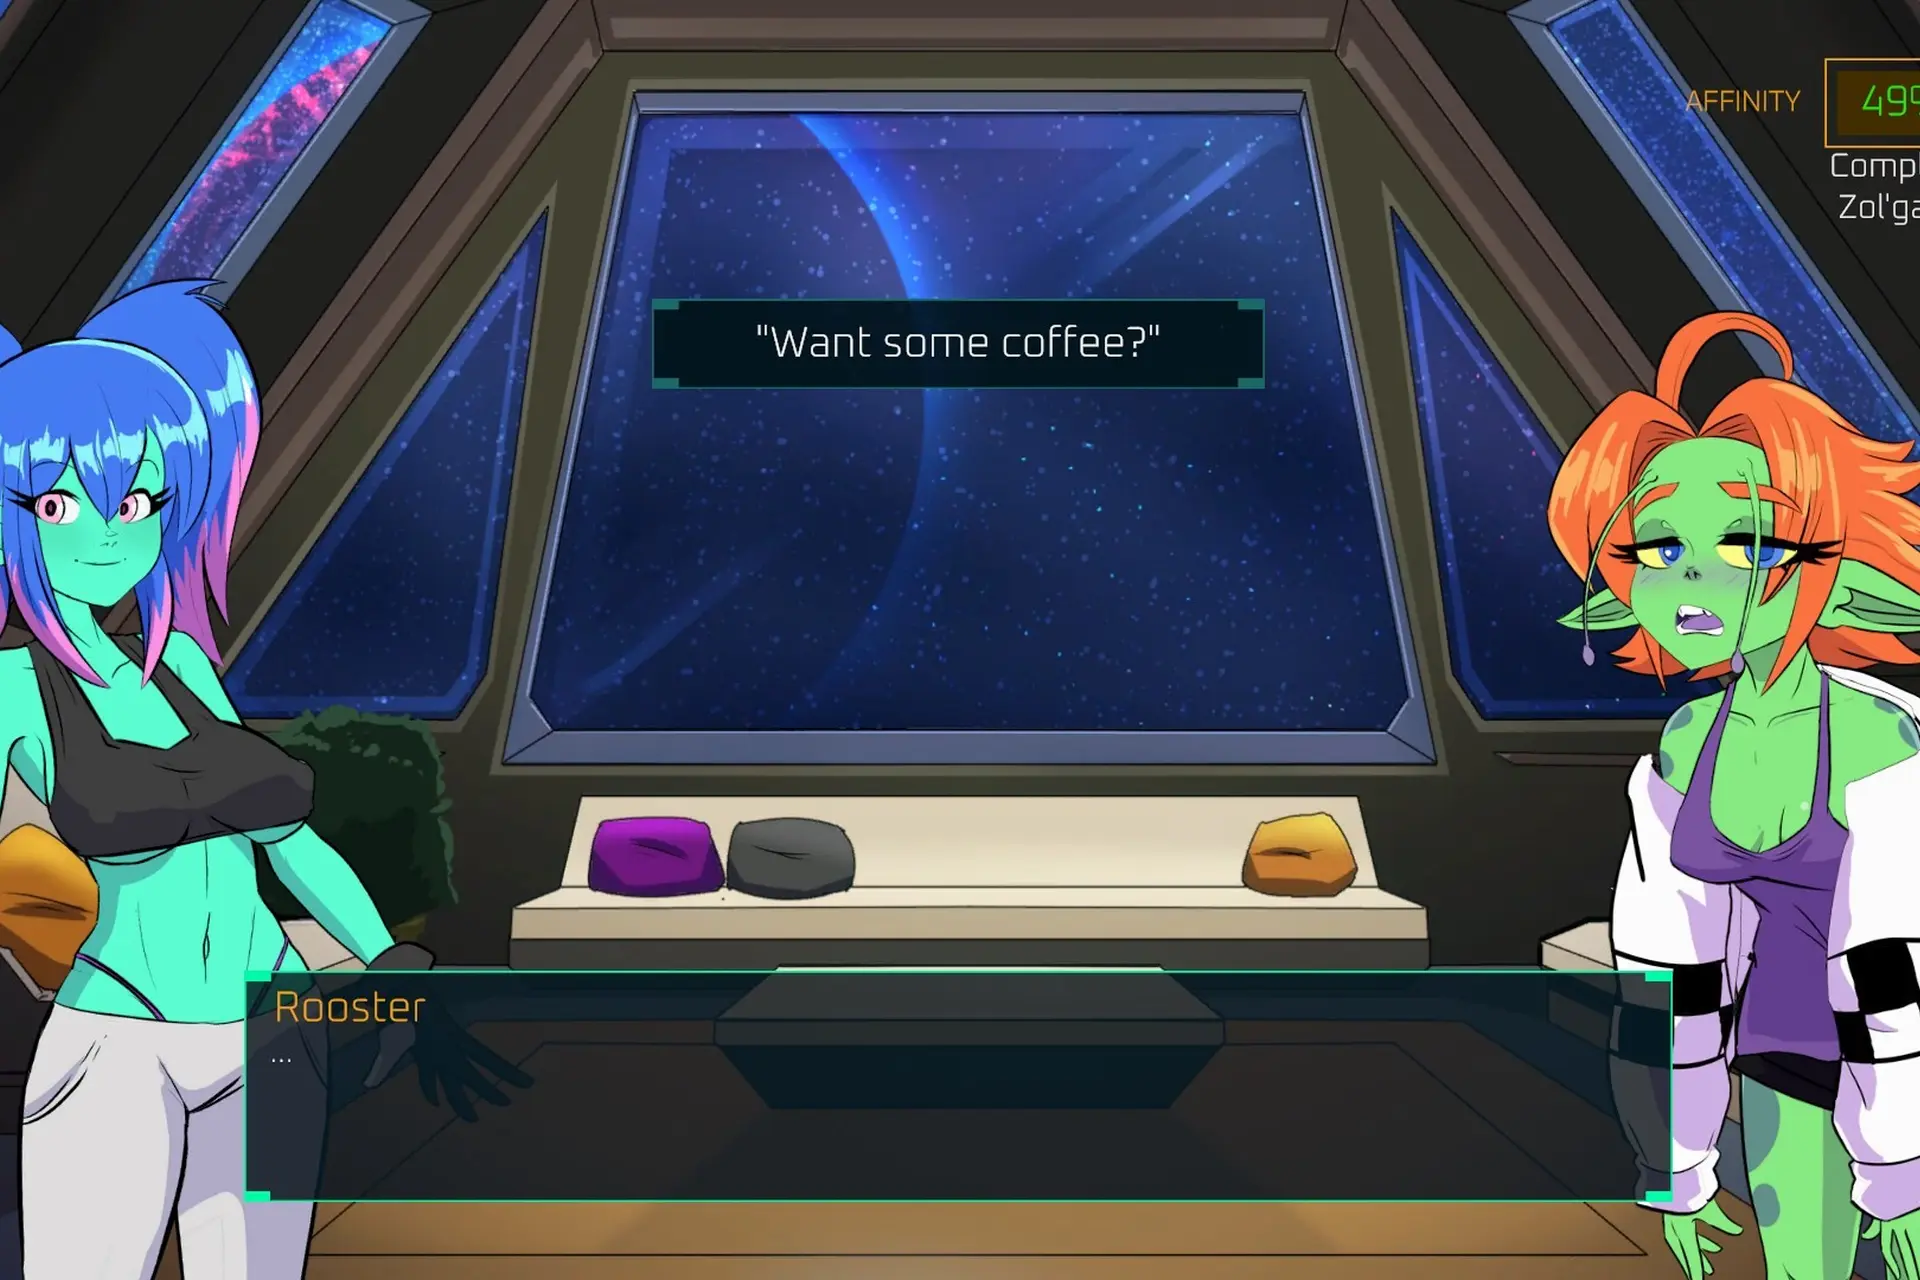
Rooster (Gold Target: 300)
This is hands down the hardest trial in the game. Her passive violently drains your HP instead of Thrust whenever your Thrust meter hits zero.
Her Active fires a penetrative Laser that spawns a durable ghost ship, which stacks per kill. Spend your Thrust early on.
Around the midpoint, hit the brakes and fire the laser directly into the dense groups to spawn a massive fleet of ghost ships.
At the very end, hug the safe edges of the screen and let your ghost ships clear out the flooded tunnel for you.
Clearing all of these unlocks the ‘Master/God of Starbreed‘ achievement.
Also read: Big Walk 100% Achievement Guide
Data Chip Scavenger Hunt
Do not just play the game chronologically to find these. Group them by what the game actually asks you to do. I have a full guide on getting all data chips in Starbreed here.
Finale2: The Nova Boss Rush and Endings
This is the hardest fight in the game, pitting you against three different versions of Nova. Take the safest route.
Equip the Mites to pepper Nova with homing damage while you focus entirely on dodging her massive area attacks. Equip the 50% Thrust Generator, Siren, and Pix or Lana.
Siren is mandatory for healing because health will not drop until you beat the second boss.
After beating Expectations of the Exalted, you talk to Nova. Your dialogue tone and your prepared stats dictate the ending you receive.
- Select the Assertion 100 option for ‘King of Catiya‘ (merciful tone).
- Allow Nova to join your Crew for ‘Family Man‘ (merciful tone).
- Select the 100 Resolve option to send Nova and yourself to the Brothel for ‘A Better Life‘ (justice tone).
- Failing to meet these conditions results in ‘Peace Restored‘.
Finishing the scene throws you directly into Nova’s Impregnation Trial. When you replay Finale2 to sweep up the remaining endings, make sure to play the mission as Nova at least once to pop the ‘Supernova‘ achievement.
Also read: Heroes of Might and Magic: Olden Era 100% Achievement Guide
Mopping Up and Tanya’s Shop
With the Data Chips collected, head to the Hscene menu UI. Holding 11 Data Chips allows you to click the option to ‘breed’ Pom and ‘impregnate’ her (or Lana’s mouth, depending entirely on your settings toggle).
This unlocks ‘The Future is Now‘. Doing this, combined with breeding Nova and finishing all Impreg Trials, unlocks ‘StarBREED‘.
Holding 4 Data Chips unlocks a new option at the bottom of the Aether screen where you breed your clone for ‘I am the Captain Now!‘.
Finally, to buy out everything in Tanya’s Shop, you need Gold Medals on all missions, all Data chips, Max Brothel Reputation, and Max Affinity for all Crew members.
The Data Chips massively boost your revenue. Excess affinity converts into credits, unused Brothel Stamina converts into credits, and Tanya’s passive stays permanently active through the Neural Link.
Play a few extra missions if your wallet is short, buy the remaining items, and enjoy your fully completed save file.

- Rooms & Exits Complete Walkthrough Index by Chapter and Level - October 12, 2026
- Rooms & Exits Backyard Walkthrough (Level 9, Chapter 3 – Murder Dressed in White) - October 12, 2026
- Rooms & Exits Kids Playroom Walkthrough (Level 8, Chapter 3 – Murder Dressed in White) - October 12, 2026