
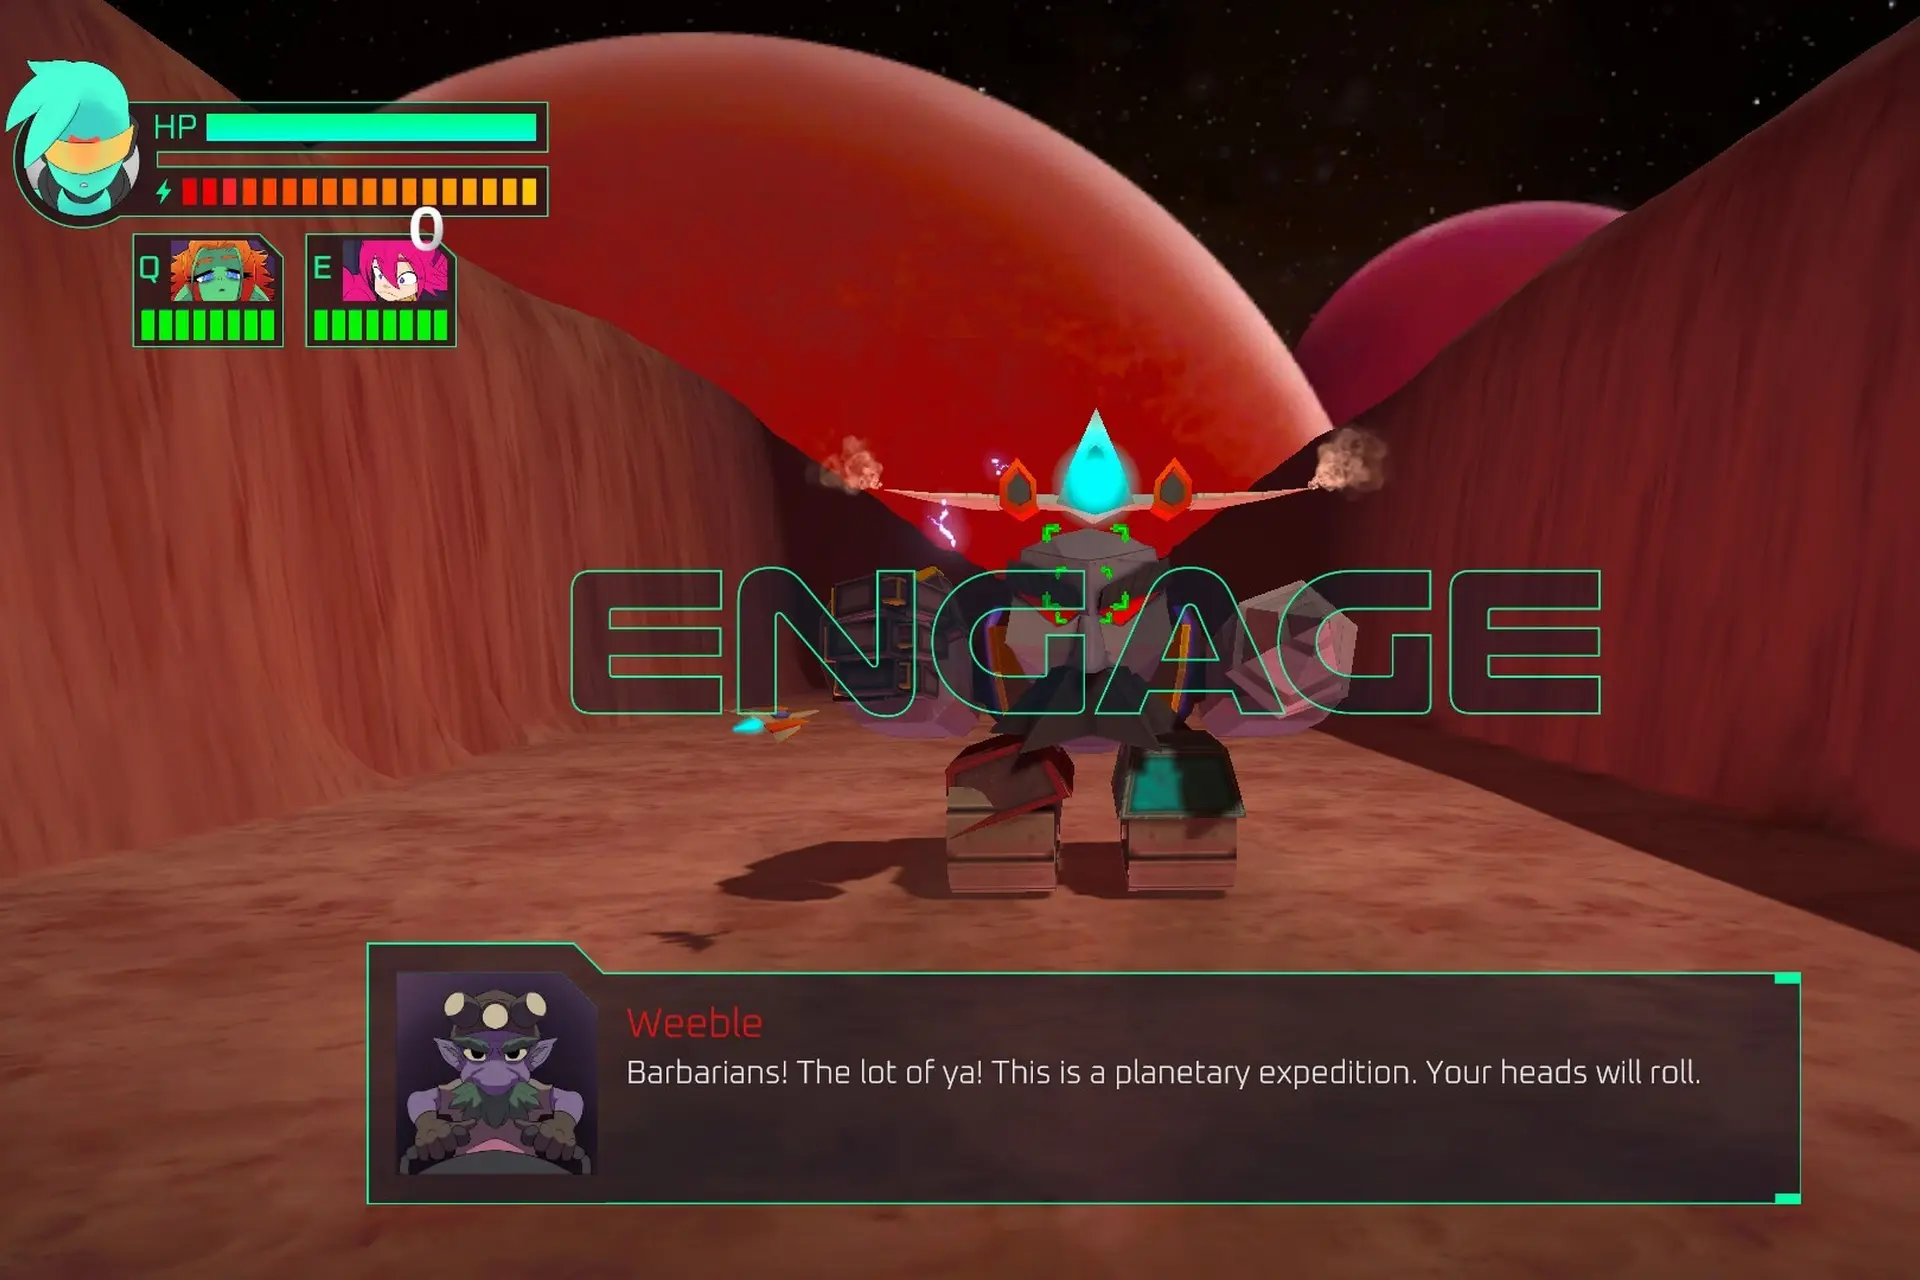
You have probably figured out by now that the in-game hints in Starbreed are less helpful than you’d like them to be. Half the time they lead you straight into a trap, and the other half they are so vague you might as well be flying blind.
But worry not – if you’re looking to get all the data chips in the game, I am here to share a guide on how to do that, chip by chip.
To make it as easy as possible, a few upgrades are more than welcome. The better buffed you go in, the easier it will be.
This means that, in order to get all chips, you need Assertion and Resolve upgraded to the max and all companions unlocked at the very least. Other upgrades, both defensive and offensive, will help tremendously.
Once your ship is built out, you can start hunting. Do not expect to tackle these in any logical sequence. I am listing them out based on the specific hurdles you will face, so scroll to the one ruining your current run.
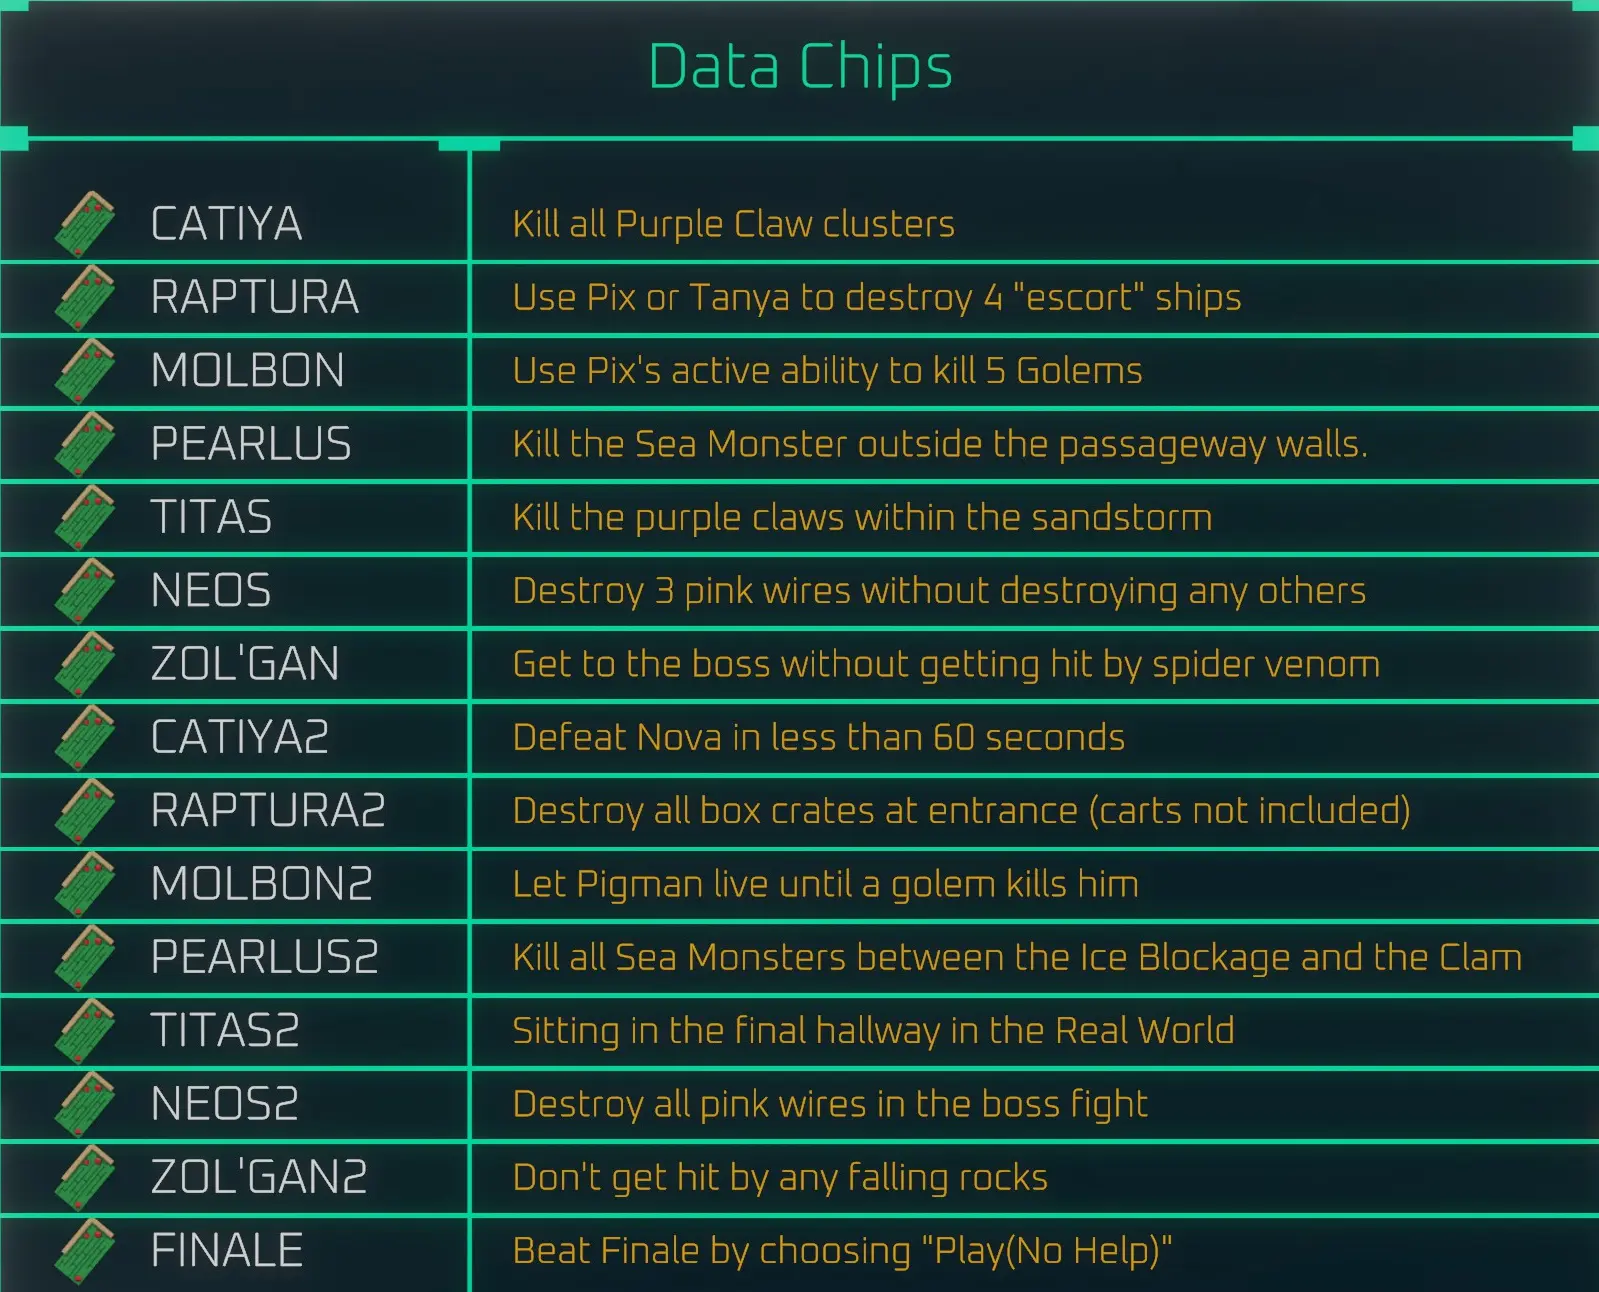
Titas 2: The Hallway Blindspot
You will find this one sitting in the final hallway in the Real World. The trap here is muscle memory.
When you enter the temple, do not switch the world. Instead, stay in the Real World, hug the floor, and stay low to grab the chip.
It is incredibly hard to see against the background textures, so just sweep the bottom path until you hear the collection audio cue.
Also read: Marvel Tokon Moves & Combos for Black Panther, Blade and Captain America
Raptura 1: The Escort Ambush
The timing here is extremely tight. You are waiting for the exact moment Lana says “don’t let them box you in” and before the pipe she wants you to boost into.
In that narrow window, 4 escort ships will show up. You need to use either Pix or Tanya to destroy all 4 of them.
You can just ram yourself straight into the escort ships using Tanya’s Bubble, or you can chuck Pix’s satchels to clear them out – either way works just fine.
Molbon 2: The Pigman Glitch
Your objective is to let Pigman live until a golem positioned in the waterfall actually kills him.
To force the game to behave and spawn the chip properly, you need to shoot off Pigman’s turrets to cripple him, but leave his main body completely intact until the golem finishes the job.
Neos 1: The Pink Wire Puzzle
Take the alt path and look for the pink wires. You have to destroy 3 pink wires without destroying a single other object in that cluster.
If your aim slips and you hit anything else, you void the chip and have to restart the checkpoint.
Also read: Sephiria Guide: Tips, Tricks
Catiya 2: The 60-Second Nova Melt
You have to defeat Nova in less than 60 seconds. This is a massive pain, so save this chip for last. That way, you can equip the “Neural link” upgrade to get all the passives working for you.
If you are stubborn and want to do it early, the only viable workaround is to bring Nika and spam her power the second you get the energy.
Aim your shots towards the bottom of the screen so the yarn balls travel a shorter distance, allowing you to stack more of them before the timer runs out.
Zol ‘Gan 1: The Spider Gauntlet
You have to reach the boss without taking a single hit from spider venom. To translate the game’s terrible visual cues: the spider is the red bug, and the venom is the purple ball.
Keep your eyes on those purple projectiles and prioritize dodging over DPS until the boss intro cinematic plays.
Pearlus 2: The Ice Blockage Clearing
Between the moment the “Tide Turners” break the ice Blockage and the moment you reach the giant clam, you have to kill all the Sea monsters (the same enemy type from Pearlus 1).
Sweep the area entirely. If you miss a single straggler hiding in the corners, you get nothing.
Also read: Tales of Seikyu: Top Tips & Tricks
Raptura 2: The Crate Cleansing
Right at the entrance, you must destroy all the box crates. The massive warning here is that carts are not included.
Players waste ammo and time shooting the carts, which accomplishes absolutely nothing. Ignore the carts and blast the boxes.
Finale 1: The Ultimate Test
Beat the Finale by actively choosing the Play (No Help) start from the menu. By this point, assuming you collected all the previous data chips, you can run the “Neural Link” upgrade to inherit all the passives of your allies.
Equip a heavy defensive thruster like Blink or Barrel Roll to survive the bullet hell. From there, the strategy is identical to Nova: stack your yarn balls aggressively and melt the boss’s health bar.
Titas 1: The Sandstorm Claws
Inside the sandstorm, there are 3 purple claws hiding under the wall to the left. Visibility is awful, so rely on area-of-effect tools.
Use the MITE Drones, your Fire Wave, or Lana’s enhanced active ability to sweep the left wall and secure the kills.
Pearlus 1: The Wall Hack
While traveling the underwater path, there is a Sea Monster completely outside the passageway walls. Standard blasters will bounce right off the terrain.
You must use an attack that is not blocked by walls. Equip MITE Drones, Fire Wave, Lana’s enhanced active ability, Flame Charge, or Tanya’s upgraded active to hit it through the solid rock.
Also read: Rina’s Undercover Train Operation Enhanced/Evolved Skills Guide
Catiya 1: The Blind Corner
Your goal is to kill all the Purple Claw clusters in the level. The major trap is a cluster hiding just out of view behind the building you fly through on the right side of the screen when you reach the first medkit.
Equip Pix, as her passive ability will highlight them for you. Deploy your MITE Drones to easily eliminate them through the building. The datachip will finally spawn when you fly forward and approach the boss.
Neos 2: The Boss Wires
During the boss fight, you have to destroy all the pink wires. There are 2 full sets of pink wires that spawn, and the window to hit them is tight.
Do yourself a favor and bring Nika specifically for her upgraded brake. It gives you the necessary time to float and destroy all 2 sets before the boss transitions phases.
Molbon 1: The Golem Sweep
Replay the level with Pix equipped. You need to use her active ability to kill 5 golems you can shoot at.
Just save her active for the thickest crowds of golems and you will knock this out in the first half of the stage.
Zol ‘Gan 2: The Falling Rocks
Do not get hit by any falling rocks during the sequence. You have three options here.
You can assign Siren and Lana to shoot the rocks out of the sky for you, you can pop Tanya’s shield to absorb the impacts, or you can just learn the drop patterns and get good at flying.
Bonus: Earning Gold in the Breeding Trials
Once you have the chips sorted, you will probably want to clean up your trial scores. The game does not tell you the required thresholds for Gold until you fail them. Here are the exact numbers you need to hit to save you the guesswork.
| Character Trial | Score Required for Gold |
| Lana | 210 |
| Tanya | 210 |
| Nika | 210 |
| Siren | 245 |
| Pix | 270 |
| Rooster | 300 |
Wrapping Up
Getting all the chips in Starbreed is more about understanding exactly what the poorly translated objective markers want from you and less about skill (although that matters, too).
Equip your MITE Drones, rely heavily on Nika’s yarn balls for maximum damage output, and stop trusting the in-game text. Stick to the hard numbers provided above, stay low when the game tries to blind you, and you will clear the remaining data chips easily. Good luck!
If you need additional help or you have more tips to share for any of the chips above, let us know in the comments down below.

- Rooms & Exits Complete Walkthrough Index by Chapter and Level - October 12, 2026
- Rooms & Exits Backyard Walkthrough (Level 9, Chapter 3 – Murder Dressed in White) - October 12, 2026
- Rooms & Exits Kids Playroom Walkthrough (Level 8, Chapter 3 – Murder Dressed in White) - October 12, 2026