
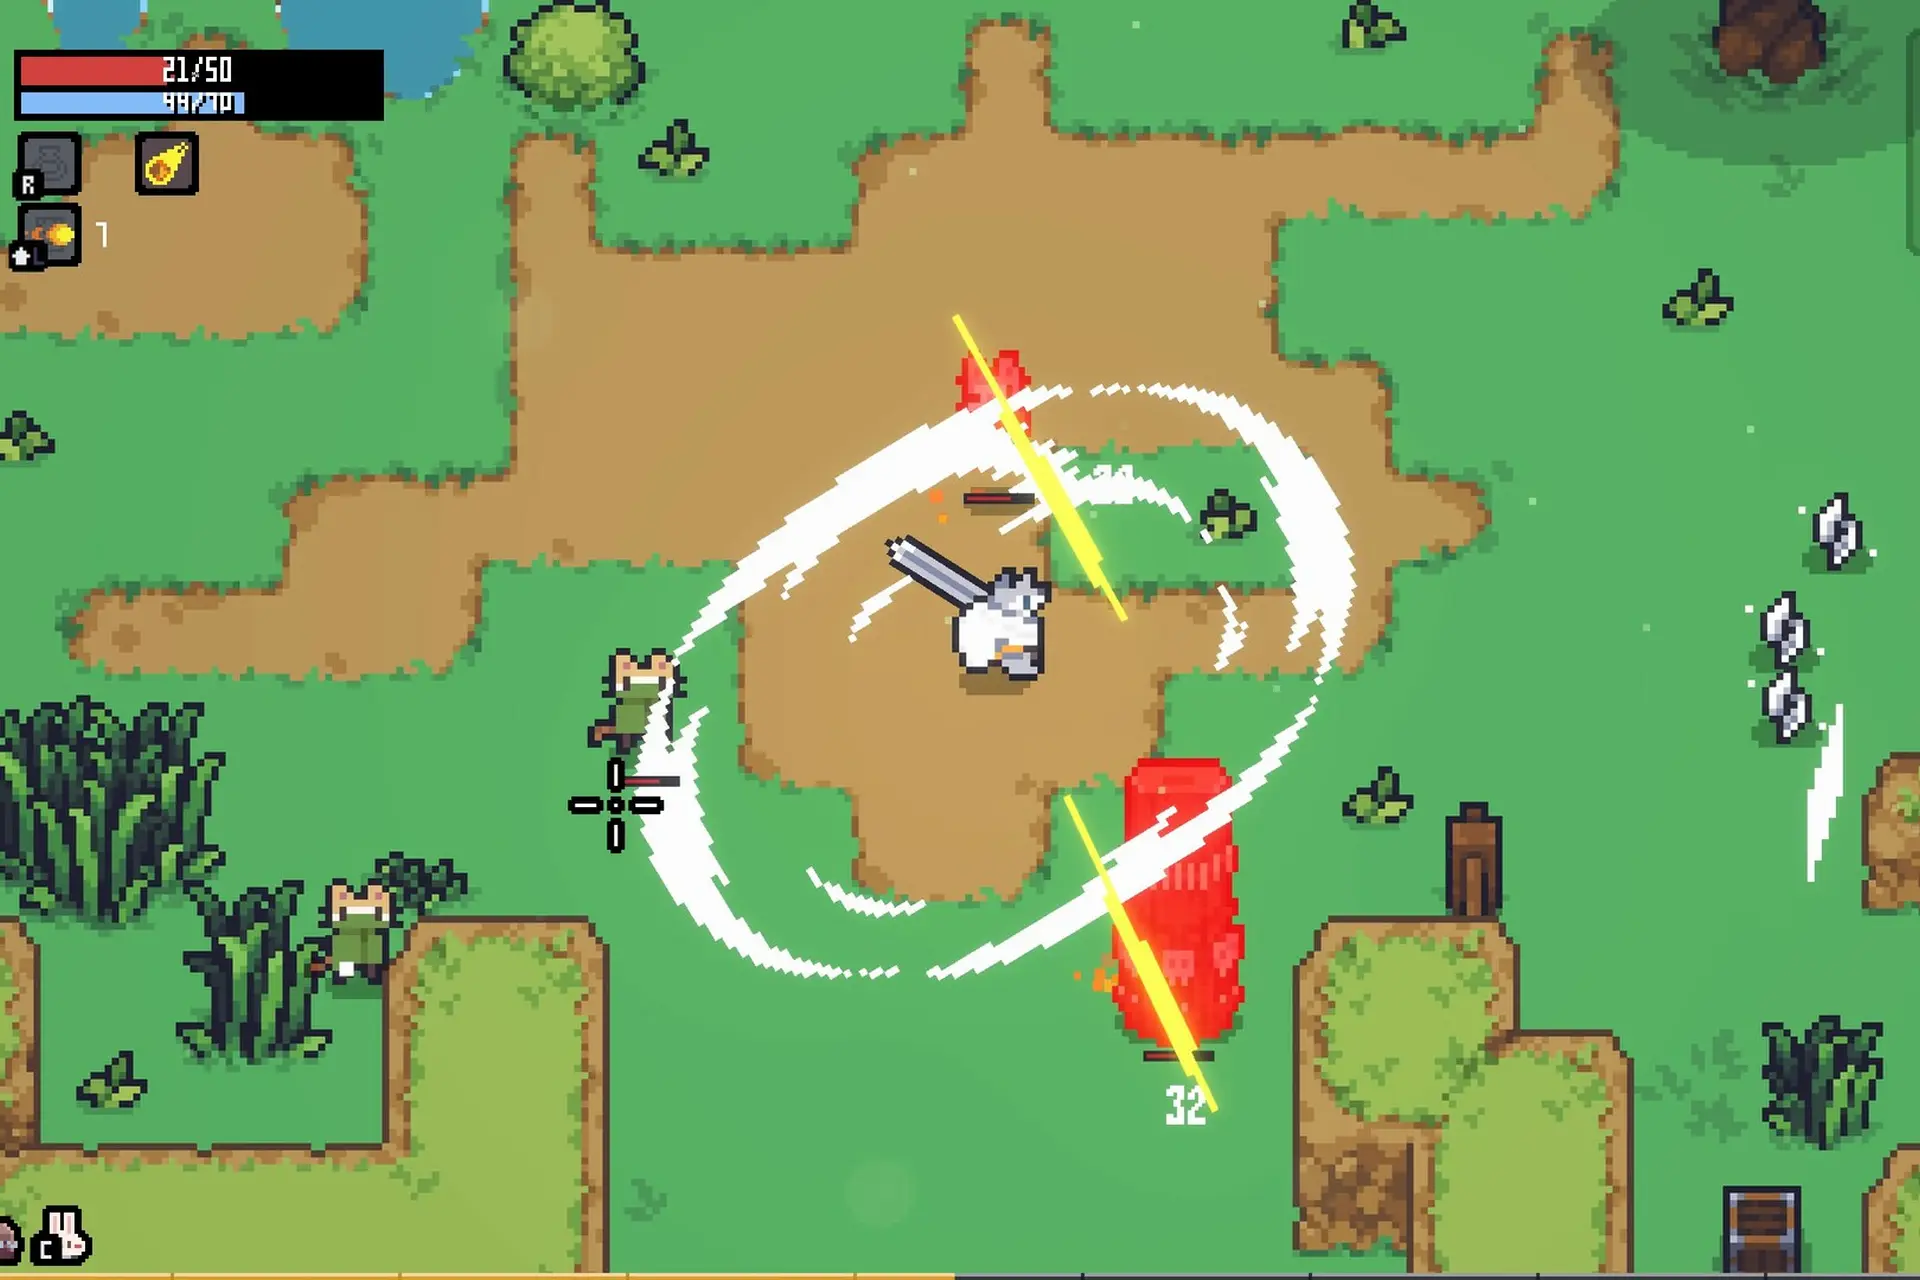
Welcome to Sephiria! It’s a wonderful place where you are going to die a lot, usually to cheap mechanics or bad math. It is frustrating, but I am here today to help ease the pain and increase your survival chances.
Today’s Sephiria game guide includes everything you should know to play better: tips, tricks, exploits, and explanations for the game’s mechanics that the game itself sometimes fails to detail well. So let’s jump right in!
The Math of Your Character Sheet
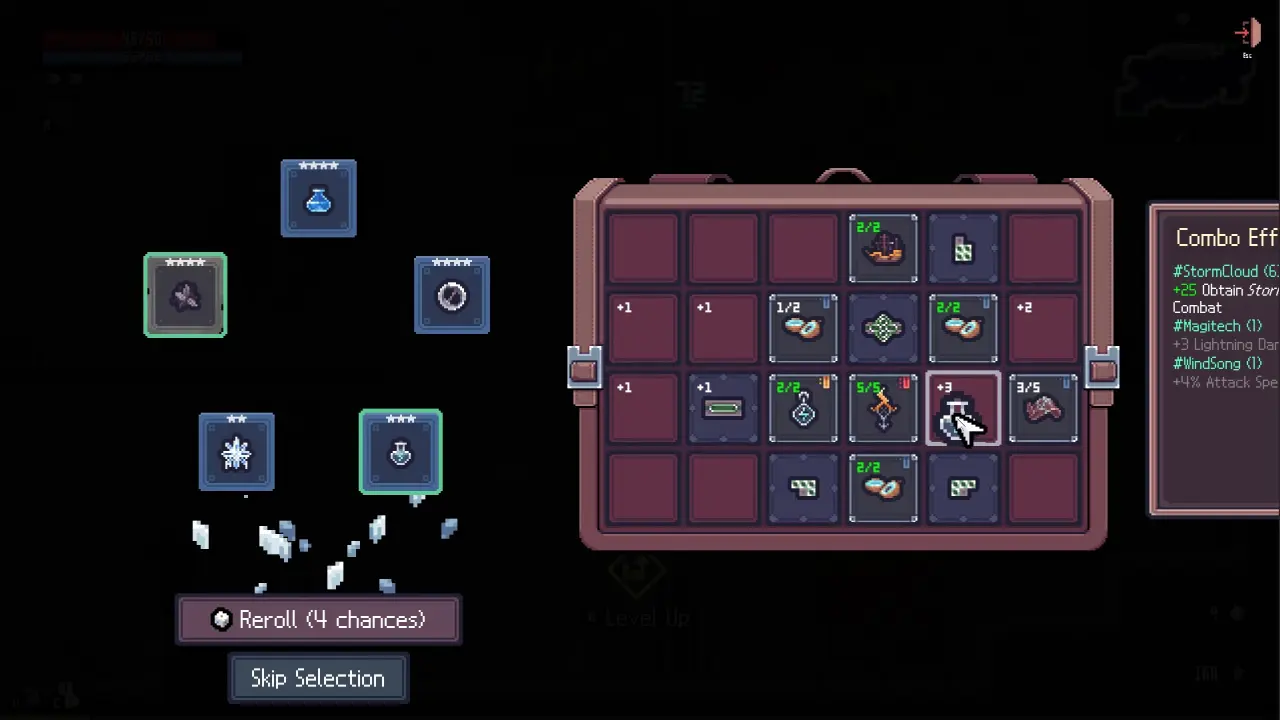
Sephiria is that type of game where you can’t survive on reflexes alone because your stats determine whether you walk out of a boss room with loot or get sent back to the lobby empty-handed.
Here are the baseline values you start with and how the game calculates your misery.
Also read: Best RPGs with Romance and Relationship Options
Common Stats: Your Starting Numbers
- Physical / Flame / Cold / Lightning Damage: 20 each. This is your baseline. The game multiplies these by specific attack method coefficients, then adds other factors like fixed damage.
- HP: 50. Hitting 0 means game over.
- MP: 50. You burn this for spells, special attacks, or blocking with your shield. It restores based on your MP regeneration every 10 seconds.
- Defense: 0. Reduces incoming pain by a percentage. The higher the defense level, the more the efficiency scales.
- Evasion: 0. Grants a probability to completely ignore damage. Like defense, the probability of evasion scales down the higher your level gets.
- Crit Chance / Crit Damage: 0% / 50%. Applies to all damage types except attacks made by a teammate.
- Attack Speed: 100%. Controls how fast you swing your weapon and cast magic.
- Move Speed: 100%. Your standard running pace.
- Dash Recovery Speed: 100%. Dictates how fast your consumed dashes come back. You start with 2 dashes.
- Barter: 0. Purchase Initial is 100% of the item price. Actual Cost = Initial (100%) – Barter * 1%. Selling Initial is 50% of the item price. Actual Sell Price = Initial (50%) + Barter * 0.4%.
- Luck: 0. The probability of higher-class items emerging is Luck * 1.16%.
- Experience Drop: 100%. Increases the dropped experience from mobs.
- Leaf Drop: 100%. Increases the amount of Leaves obtained in the dungeon.
Special Stats in Sephiria
- Universal Damage Boost: 100%. Adjusts the final damage of all types to this specific ratio.
- True Damage: 0. This gets added directly regardless of type. Defense, damage buffs, and critical hits are calculated strictly after this value is added.
- Weapon Damage: 100%. Calculated at a ratio against your damage types to determine the raw output of the weapon itself.
- Normal Attack Damage: 100%. Buffs your standard left-click swings, except dash attacks.
- Dash Attack Damage: 100%. Specific to your dash attack.
- Special Attack Damage: 100%. Buffs your right-mouse button attacks.
- Magic Damage: 100%. Adjusts the magic damage of the quick slot spells. This ONLY affects spells and does not increase elemental damage.
- Magic Haste: 0. Cooldown reduction where 1% equals 1pt. At 200%, your cooldown is half.
- Life Steal: 0. Restores health based on the formula: Damage * 0.1% * Life Steal Points.
- MP Steal: 0. Restores mana based on the formula: Damage * 0.1% * MP Steal Points.
Also read: Super Fantasy Kingdom Guide
The Dungeon Cycle
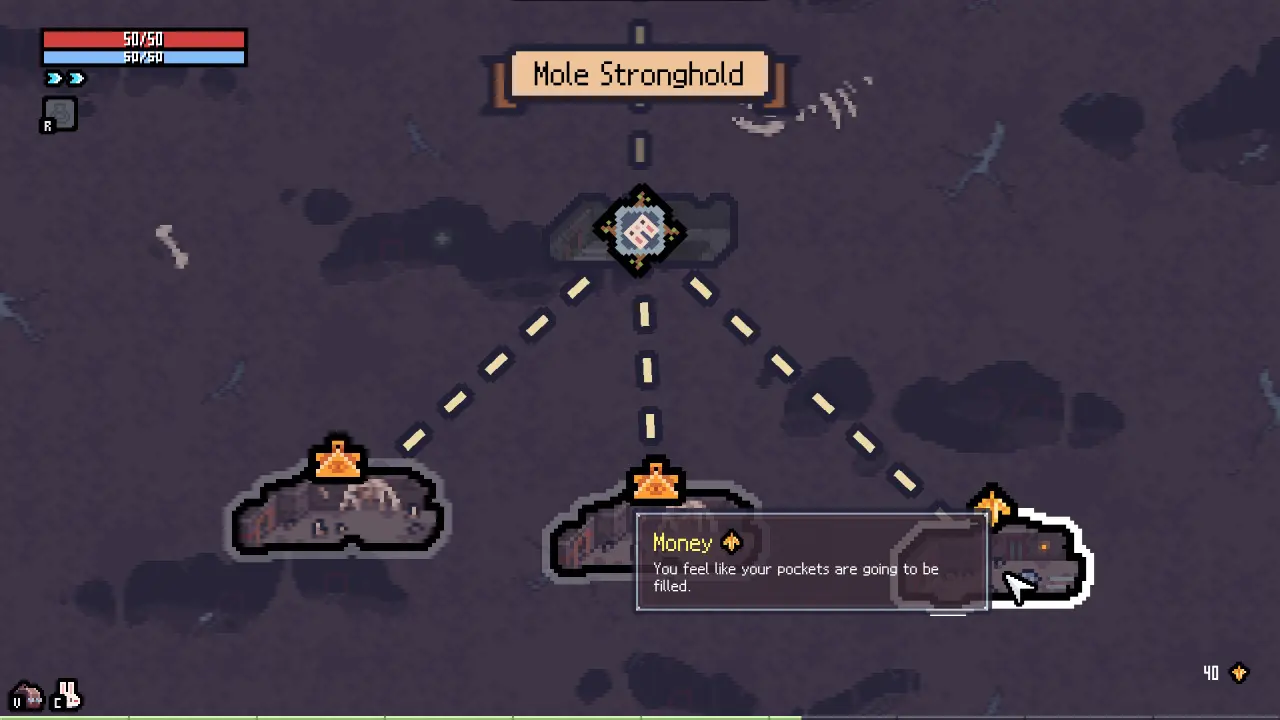
The dungeon floors follow a rigid pattern. You start in a designated starting room and from there, you get three node options.
You fight and loot through those paths until you hit the Boss Room, then the cycle repeats if you manage to win.
There is one exception: until completing the first chapter, the 3rd floor goes straight to the boss room on the start node without a fixed shop and a mid node.
Keep in mind that every starting floor except the first floor features a Fixed Store. This gives you the option to purchase or sell Artifacts, Tablets, or consumables before venturing further.
You will also find a Training Doll in there to test your damage numbers safely and I recommend taking advantage of it especially early on when all those stats mentioned above are difficult to keep track of.
Decoding the Node Symbols in Sephiria
The map provides icons at the top and bottom of each node. They seem extremely discouraging at first due to the sheer number of symbols, but as you play, you will get used to them. Here’s what they mean.
Also read: Big Walk 100% Achievement Guide
Top Node Icons (The Main Event):
- Level Up: Features a large green light ball on the exit of the first room. Approaching the light grants experience to instantly level up. Some layouts can be manipulated. If you are close to leveling up, you can avoid the light, level up in another room, and then return when your experience is lower.
- Artifact: Standard node with an Artifact choice room.
- Enchantment: Contains an altar to enhance an artifact’s level. Altars can be used 1 to 3 times depending on size. 2 Enchants and 3 Enchants are common.
- Tablet: Standard node with a Tablet choice room.
- Money: Features a money box containing currency.
- Green Heart: Increases your maximum HP by 15.
- Anvil: Upgrades your weapons.
- Dice: Offers a room with two dice. Only available after unlocking the Destiny Inscription upgrade.
- Shop: A merchant NPC. Has poorer assortment than the fixed store on the start node, though.
- Tree Roots: Appears only once in the dungeon. A single Miracle can be obtained per exploration. This node does not overlap with the store and has no additional options, random events, or fight rooms. There are a total of 18 miracles available in the game, and the items granted are randomized and may not thematically align with the miracle you select.
Bottom Node Icons (The Modifiers):
- Common: An ordinary node.
- Derangement: Indicated by a double knife icon. Enemies are randomly enhanced.
- Mini Boss: Marked by a small gray skull. Features a room where the floor-specific mini-boss appears. Defeating them yields valuable Artifact rewards.
- Arena: A simplified, linear layout with an entrance, one large combat room, and an exit. You will face approximately 3 to 4 waves of enemies.
- Lucky Clover: Choose between a permanent +6 maximum HP or +4 defense.
- Wandering Merchant: A rat merchant NPC that can randomly appear. They have a 10% lower bargaining power compared to store merchants, resulting in slightly better trading prices.
- Pocket Dimension: Features a large crack in the environment. Interacting reveals specific artifacts in a set order. You unlock and obtain them by spending Sapphires. Once all 9 artifacts are unlocked, the crack serves no further purpose.
- Obelisk: A purple Obelisk. Reading the text will randomly increase or decrease your stats based on random levels.
- Fountain: Drinking the water can have no effect or change the water’s color. Green water grants experience, gold water provides money, and red water spawns monsters.
- Colin: For 500 leaves, you can purchase an artifact that is part of the “#Companion combo.” Colin has a fixed bargaining power of 0 and only sells tokens. She does not buy your items.
- Secret Room: Identifying these requires a keen eye for subtle cracks, often visible on the top of the dungeon wall. Strike the cracked wall to reveal the hidden passage. A notification will confirm your discovery. The room will be added to your map but no passage will be shown. These rooms contain special rewards such as money boxes, artifact or slab rewards, dices, or rare potion boxes.
- Blood Donation: Contains a vampire bat and an Iron Maiden. Paying 33% of your current HP to the Iron Maiden usually rewards you with an Artifact. Killing the vampire bat grants the “Providence of Jinjo’s Providence” potion but decreases Barter by 10 and locks the Iron Maiden. Completing five Blood Donation events is a requirement for a specific costume.
Also read: Non-Copyrighted Music ID Codes in Roblox
The Destiny Inscription Economy
This functions as a skill tree for character upgrades. Nodes are free or require Sapphires, which are earned within the dungeon upon death.
The quantity of Sapphires is directly proportional to your depth of progression and the number of bosses you have defeated.
You must follow the path line between hexagons, upgrading the previous node at least once to unlock the next. This is complex and requires some planning depending on the build you aim for. Here is what the full one looks like:
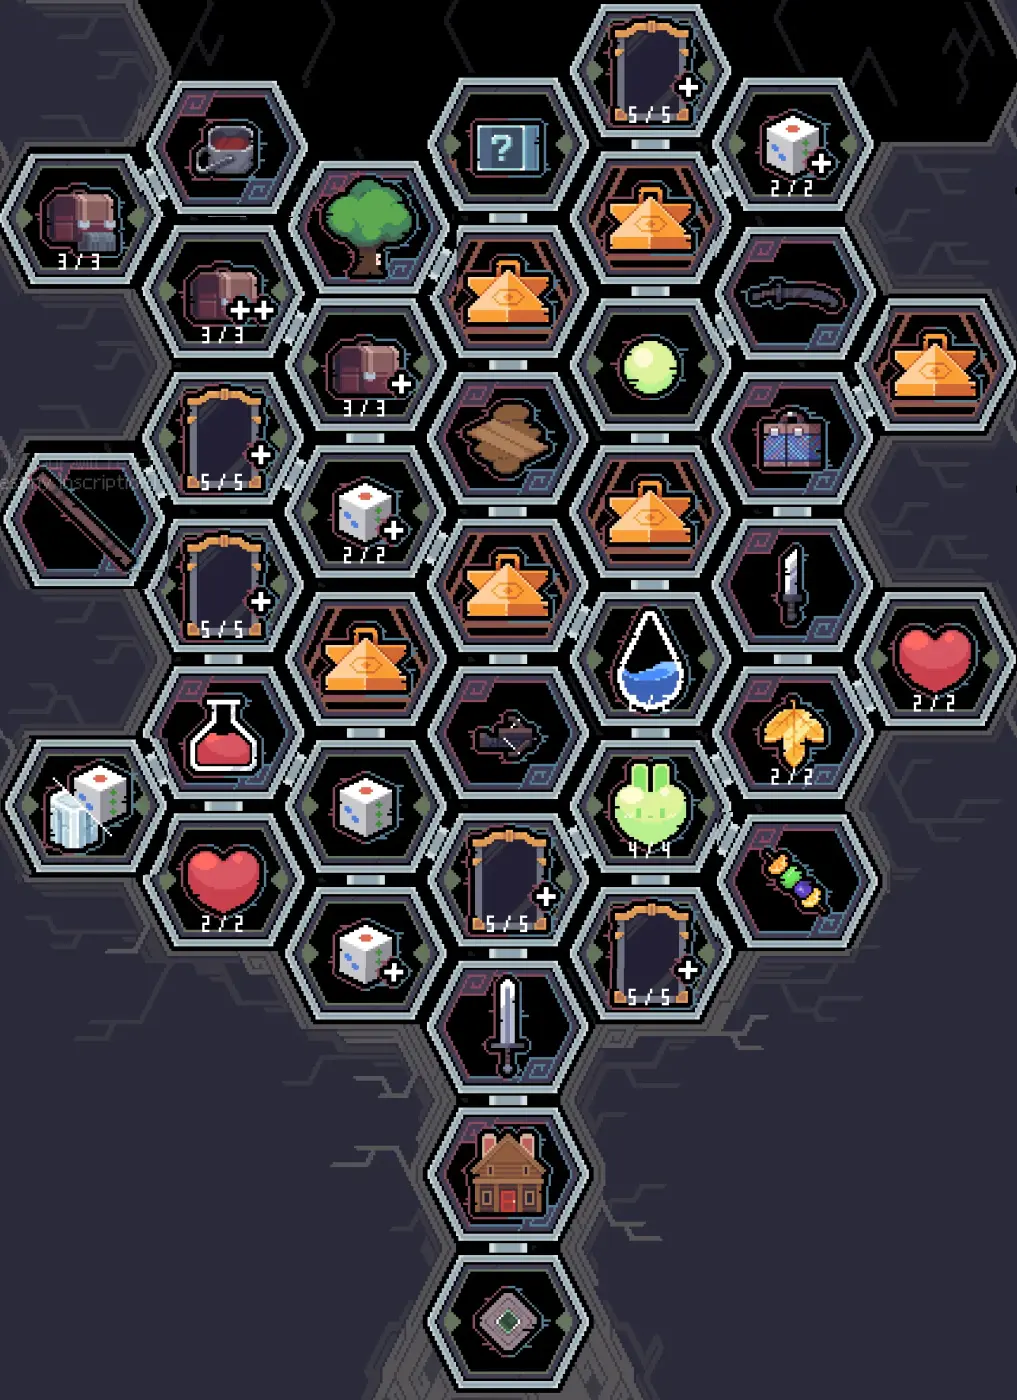
Village Upgrades:
- Home Repairs: Needed to proceed in the quests and unlocks Talents.
- Terrain Recovery: Completing the side quest unlocks a new Talent: Willpower (luck).
- Magic Workshop: Completing the side quest adds 2 slots to the backpack specifically for potions.
Chapter Upgrade
The bottom upgrade in the roots of the tree appears after completing Chapter II and is free to unlock. It unlocks Hard Mode which gives the possibility to get another 5 Talent Points.
Character Upgrades
- Weapon Unlock: There are 3 weapon unlocks in the tree. First is the long sword. After upgrading it, you need to complete a village quest. Speak with Moro, enter the building on the right, and choose the training grounds you need. After completion, the weapon is available in the dungeon. A similar procedure applies for the Dagger and Crossbow located further in the tree.
- Talent Points: There is a total of 25 talent points available. These upgrade abilities and stats. All talent upgrades are reversible outside of the dungeon by using the mirror or clicking on the
<P>. - Dices: There is a total of 4 dice upgrades. Rerolling a reward consumes a dice. The first upgrade unlocks the feature and gives 2 dices at the start of each run. The bottom one with the + symbol gives 2 dices each time you defeat the floor boss. Both upgrades on top of the tree increase the starting number by 1. At total you could have 6 dices at start of each run.
- Level Up Restoration: Restores 3%/6%/9%/12% HP upon level up. The 3 percentages from level 1-3 of the upgrade are the original author’s own guess and might be different.
- Rylie’s Gift: Completing the side quest permanently grants 1 Restorative potion at the start of each run.
- Increase HP: Increases max HP by 5 or 10. A total of 20 additional HP can be obtained.
- MP Regeneration: Increases MP regeneration by 3 or 6.
- Seed Money: Increases the starting amount of leaves to 200 or 400.
- New Artifacts: Unlocks a bunch of new artifacts that you can obtain in the dungeon.
- Extra Experience Drop: Increases the Experience drop from mobs by 10%.
- Expanding Pouch: Expands the inventory by 1, 2, or 3 slots. A total of 6 additional slots can be obtained, which is exactly 1 additional line.
- Chest of Possibilities: Lets each player get three new merchant items for 2 Sapphires. Rerolling items doubles the cost (4, 8, 16…). In multiplayer, everyone spends their own Sapphires for their own items privately.
Wardrobe Management (Costumes)
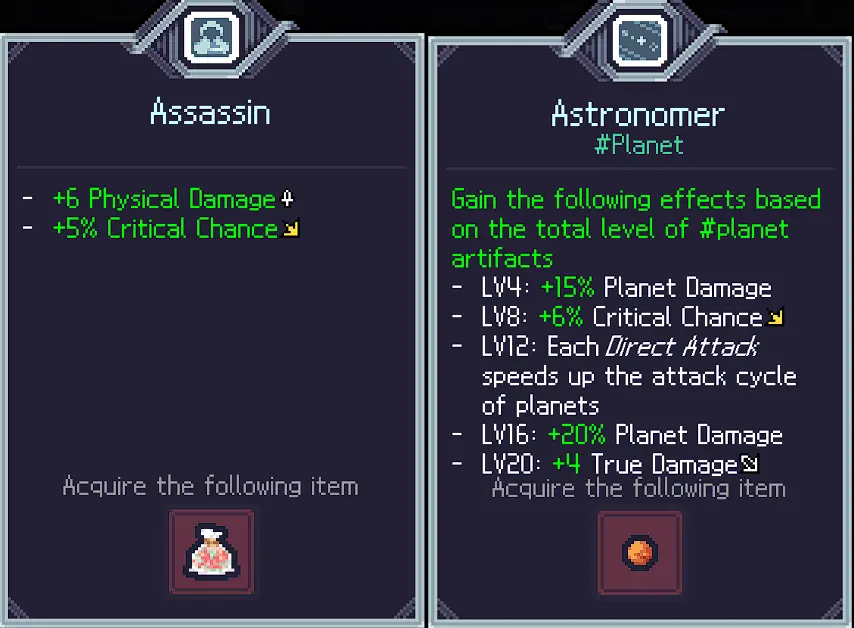
Your chosen costume is your initial build. Most of them alter your starting characteristics and must be selected at the outset of each run. Some provide a starting item in addition to altered characteristics.
Whenever you defeat the last boss after completing Chapter 1, the icon in the changing costumes UI permanently changes its visual artwork.
There are a total of 17 costumes to discover.
The 8 Default Costumes
- Pink Bunny
- Armored Bunny (+10 Defense, -15 Max HP)
- Brown Rabbit (+6 Evasion, -6% Critical Chance)
- Braided Hair Rabbit (+7% Attack Speed, +12% Move Speed, -20% Dash Recovery Speed)
- Orange Rabbit (+10 Max HP, -15 Max MP)
- Red-Hooded Rabbit (+8 MP Regeneration, -20 Max MP)
- White Rabbit (+10 Barter, -5 Evasion)
- Wing-Eared Rabbit
The Wing-Eared Rabbit is a special one. It grants buffs to players within 5 tiles when casting buffs. Also, it reduces the time to revive another player by 30% but has -10% Weapon damage.
The 6 Unlockable Costumes
- Red-Clothed Cat: Increase the characteristic of Fire Damage up to 50, which can be seen in
<C>(Characteristics). - Red Fox: Acquire 10 or more tablets in one adventure. Doing a run choosing only tablets unlocks it easily.
- Frog: Raise your Lightning Damage up to 50.
- Mole: Defeat 300 fanatic moles. They are found on the first floor.
- White Wolf: Defeat the 2nd boss, Pillager Leader Rataka, more than 5 times.
- Wizard Bunny: Defeat enemies 50 times with magic books or spells.
The 3 Secret Costumes
- Skeleton: Endure a total of 333 cumulative damage within a single dungeon run.
- Wingless Bat: Successfully complete the rare Blood Donation event 5 times.
- Adventurer Bunny: Unlocked by owning the game “Dungreed” on your Steam account.
Interface Exploits and Veteran Tricks
You would be amazed how many players handicap themselves by ignoring the UI. Click Esc and open your Journal. You can see all the unlocked Artifacts, Tablets, weapon upgrades, and all the Miracles. This lets you plan your build at any time and should be used often.
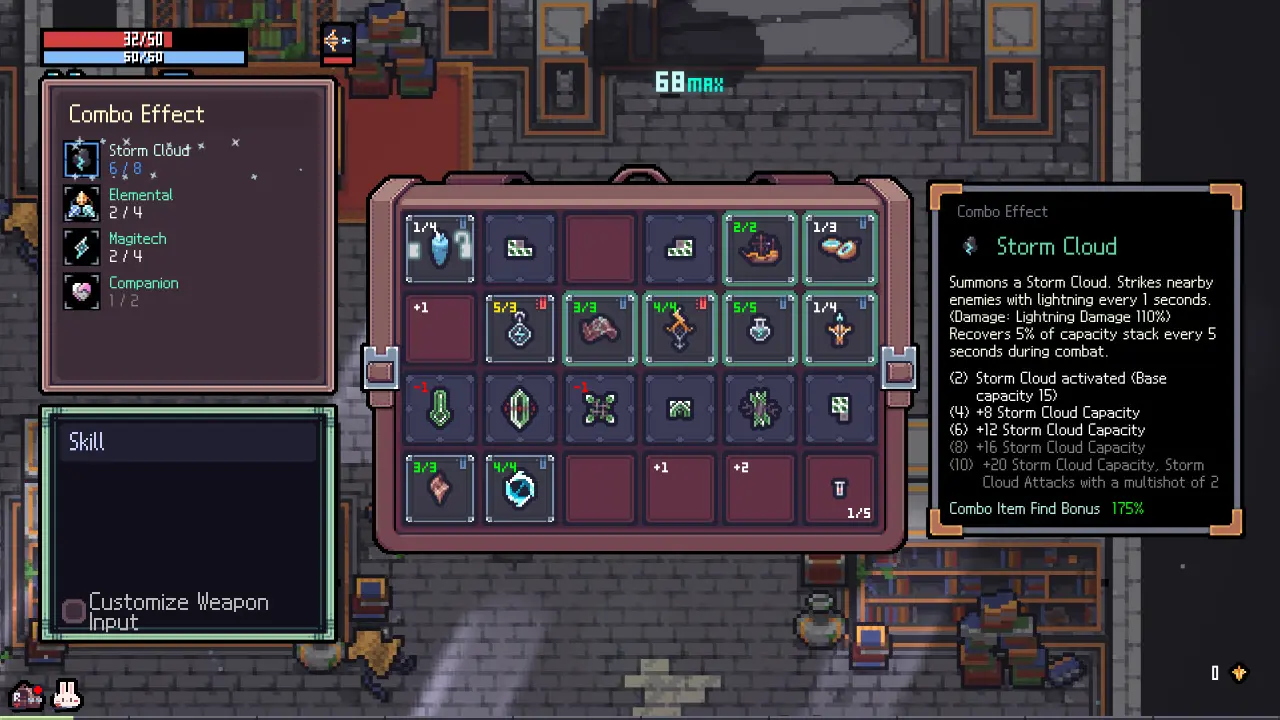
When you look over an Artifact, notice the empty stars above it showing its max level. By clicking <Q> or <E> you can decrease or increase the level of the Artifact while in preview. This shows how tablets will affect it before you commit during a level-up or Artifact choice.
If you play the Skeleton costume, your HP is fixed to 50. You cannot increase it, and you cannot decrease it. Use this as a massive advantage by hoarding Artifacts that decrease max HP, since you only receive the beneficial effects.
Finally, if killing the final boss feels too difficult, try to recruit Colin. She is a great way to distract the boss and acts as an excellent punching bag.
Stop wasting your Sapphires on bad node paths, memorize those cracked wall locations, and play the numbers game. Good luck down there in Sephiria!

- Nivalis Nights: Make More Money Easily & Build a Profitable Noodle Bar - October 2, 2026
- Nivalis Nights Guide: Tips & Tricks to Master the Game - October 2, 2026
- Pokémon Scarlet & Violet: ALL Shiny Sandwich Recipes - September 25, 2026