
Are you looking to 1vs1 in CS2 and settle the score with your friend regarding who is better? Here’s how to create a private server in Counter-Strike 2.
To do that, open the developer console and type ‘map x’ where x will be the name of your desired map. Then, once you’re in the custom game, type ‘status’ in the console to copy the IP and send it to your friend.
In this guide, I will explain how to 1vs1 in CS2 by showcasing how to create a private server through the console and invite another player.
If you prefer to have your private game on CS:GO, check out our guide on how to play CSGO after CS2.
How to 1vs1 in Counter Strike 2
To 1vs1 in CS2, you will need to create a private server, kick the bots, invite your friend, and then tweak the settings based on your preferences. Let’s examine these in turn.
Create Private Server
To create a private server, access the settings from the top left, and from the ‘Game’ option, make sure you have the ‘Enable Developer Console (~)’ setting set to ‘Yes’.
Then, press ‘~’ to open the console and type ‘map x’. Replace x with the name of your favorite map (e.g. map cs_italy or map de_dust2). This will create a private server and place you on the map of your choice.
If you’re having connection issues, check out our guide on how to fix the VAC verifying error in Counter-Strike 2.
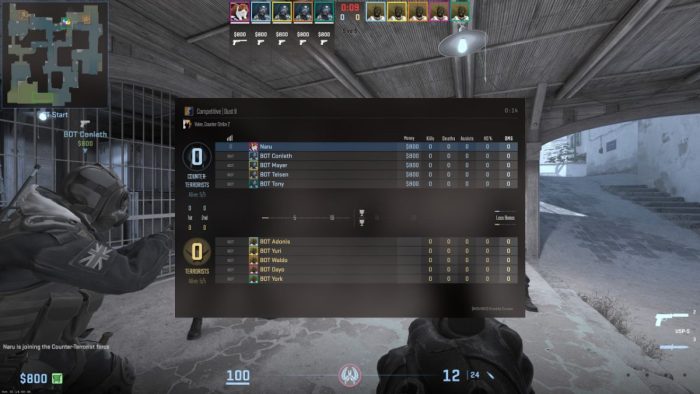
Kick Bots
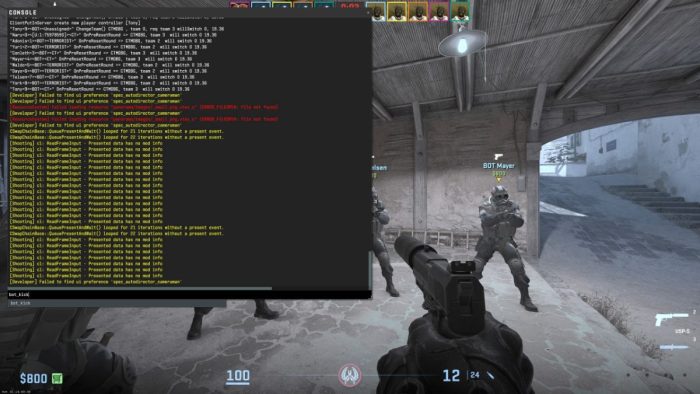
Once you’re in the private server, you’ll notice that there are 9 bots on the server. To kick them, open the console again and type ‘bot_kick’. This will kick all bots and leave you alone on the server.
Invite Friends on Private Server
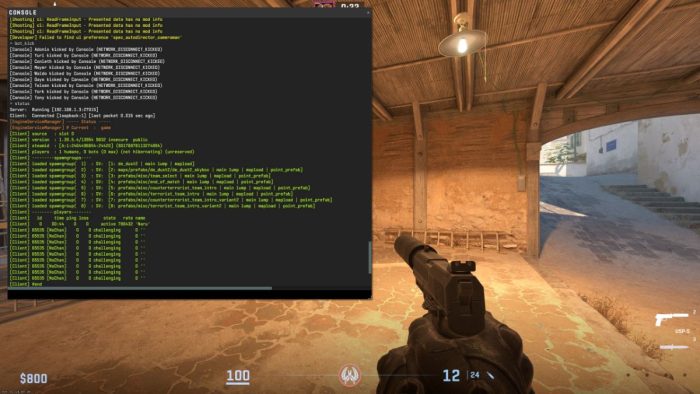
The next step is to invite your friend to the 1vs1 matchup. Open the console and type ‘status’. The first line right below status will say ‘Server: Running’ and have a series of numbers in brackets. Copy the number in the brackets (without the brackets) and send it to your friend.
For instance, my status had the following:
- Server: Running [192.168.1.3:27015]
In this example, I will need to send the ‘192.168.1.3:27015’ number to my friend. Then, the friend should open the console and type ‘connect 192.168.1.3:27015’. Just make sure to replace the number with your server status IP.
Now you’re both on the server without bots. All that’s left is to set up the server settings.
Best 1vs1 Settings
To set up everything for a 1vs1 in CS2, here are the best settings to make it similar to a competitive game:
- mp_freezetime 5
- mp_buytime 0.20
- mp_roundtime_defuse 1.5
- mp_warmup_end 1
- mp_startmoney 1500
If you want to tweak the timers or your starting money, feel free to experiment with the settings above.
Wrapping up
In conclusion, this is everything you need to know on how to set up a 1vs1 in Counter-Strike 2.
Create a private server, kick bots, invite your friend, and change the settings based on your preferences. Of course, you can invite more players and create a custom lobby.
Did you manage to win that 1vs1? Which settings did you use? Feel free to share your ideas in the comments below.
Now that you’ve warmed up, check out our guide on how to unlock competitive and premier modes in CS2.

He has a Master’s Degree in Philosophy, which allows him to always come up with a fresh approach to solving in-game puzzles and challenges, but also to create content that’s to the point, clean and easy to follow.
- Minecraft: Armor Trims – Locations & How to Use - February 12, 2025
- List of ALL the Elden Ring Soft Cap Stats - February 6, 2025
- Starfield: Andreja vs. Sarah Romance – Who Should Be Your Cosmic Partner? - December 12, 2024
It seems that is only as creates a proxy (Lan) server. So If my Friends from another country it will not work.
Is there a way to do it wirelessly?
It should work wirelessly as I’ve been able to invite friends from different countries (although they end up having slightly higher ping, depending on how far we are). Is your friend trying to join but can’t?
Yeah, but I think it is a local problem with internet providers. Also I want to try private matchmaking with special code. I don’t know the difference between what you describe in your article above. Maybe only 1 advantage: you don’t need to know the ip address, you just share code and this should be connected automatically…
It seems like it’s bugged at the moment and in some cases it requires a LAN connection. I recommend setting up a Hamachi server so that it appears as if you’re on LAN without having to be in the same space. Once you’re both on the same Hamachi server, try the method mentioned above again and it should work.