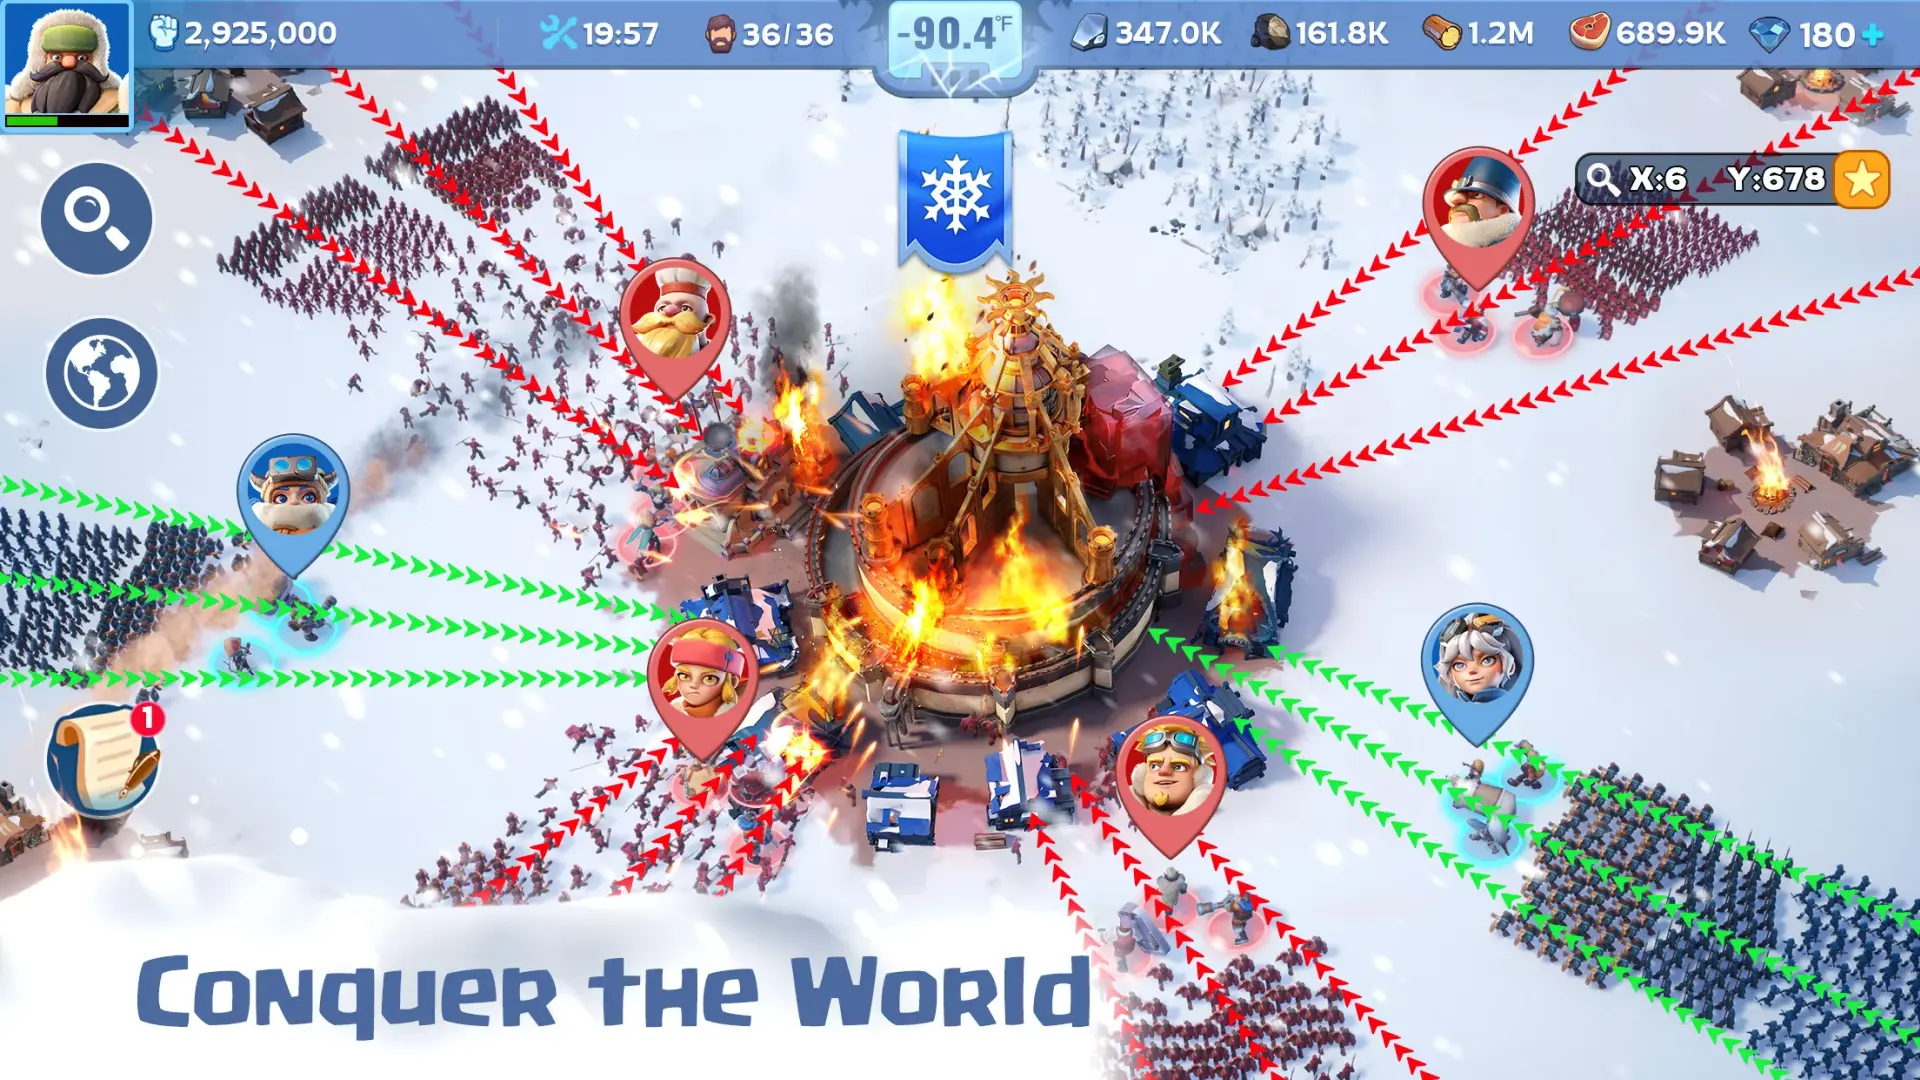
I was late to the Whiteout Survival party, but I tried to right the wrongs by obsessively playing it recently. Today, I’m here to share the knowledge I gained and tell you all the tips, tricks, and strategies you should be aware of to make the most out of the game.
While this guide is mostly aimed at beginners, veteran players might also learn a thing or two, so at least scan through the guide to see if there’s anything you weren’t aware of already.
Without further ado, let’s jump right into this ultimate guide to Whiteout Survival!
1. Follow Beginner Quests
If you’ve played other mobile strategy games, you’ll feel at home in Whiteout Survival. But you should still focus on the beginner quests, as they act as a structured roadmap, helping you get familiarized with the main mechanics.
This way, you will not waste any valuable resources early on and prioritize the upgrades that matter.
2. Survivor Management: Keep Them Happy, Healthy, and Productive
Survivor management is an interesting aspect of the game, and you have to pay attention to a bunch of things to keep their spirits high.
Unhappy or unhealthy survivors can disrupt your city’s progress, so make sure you keep the following things in mind:
- Comfort: Prioritize upgrades with the feather icon to enhance their comfort.
- Warmth: Regularly upgrade the Furnace and thermometer-iconed building features.
- Mood: Improve mood with green smiley-face upgrades.
- Food: Max out the Cookhouse and always serve Fancy Meals to prevent hunger.
- Healthcare: Fully upgrade the Clinic to treat illnesses effectively and avoid survivor deaths.
These will all come naturally as you progress through the game and should be upgraded constantly, before unlocking new buildings and options, to guarantee that you can keep up with your growth.
3. Join a Powerful Alliance
Probably the most important part of the game – even if you manage to build the biggest army ever. Being part of a powerful alliance – ideally one of the top three in your state – comes with a plethora of advantages that will make your life a lot easier.
Active alliances do better in the various in-game events, unlock rewards faster, organize frequent rallies that help you build up your might and so on.
Use the leaderboard to find suitable alliances by clicking on your profile picture, selecting the Leaderboard, and navigating to the Alliance Power section. For the top alliances, you will most likely have to approach the alliance leader first and ask to be allowed in.
And don’t stick to an alliance that’s no longer active. Especially in older servers, this can happen. It’s sad and might even set you back a bit, but it’s easier to join another active alliance than stick to the ghosts of former allies.
If it gets to this, you might even consider teleporting to a new State – make sure to read my guide to learn how to do it.
4. Focus on the Furnace
The Furnace is the heart of your city, and probably the most important building in the game. You want to level it up as quickly as possible (and as much as possible) because it comes with a ton of advantages.
Your furnace keeps your city warm to books survivors’ comfort, but most importantly it provides access to critical building like the Command Center and Research Center. It also determines the level cap of other buildings, which unlocks advanced troop and building upgrades.
Upgrade your Furnace consistently to ensure your city’s growth can continue. The Furnace is also essential in unlocking Pets (and upgrading them). Read everything about the Whiteout Survival pets here.
5. Be patient!
Whiteout Survival is, in the end, a waiting game. No matter how strategically-prepared you are, no matter how good your alliance and how active you are, everything takes real life time to complete.
Some things simply can’t be rushed in the game – and many of the things that can will end up costing so much if you’re not patient that it makes little sense to do it.
After all, the waiting game is part of what makes Whiteout Survival so great. So be patient, take it slowly and methodically and understand that this is not a race to the finish – there’s no finish to speak of.
While waiting, you can even check out a few other games like Whiteout Survival, if you want some alternatives while you wait for troops to train and buildings to upgrade.
6. Important events & what you should know
The game is kept entertaining through a series of events – while some are unique, some are repeated at various time intervals. Below you can learn about them.
Bear Hunt
Alliance leaders coordinate this 30-minute event, where members rally to defeat a bear at the Bear Trap. You can win great rewards here, based on damage contributions, as well as total damage dealt by the alliance.
Timing and coordination within the alliance are key to maximizing these rewards – another reason to be in a solid, active one.
I have an in-depth guide to the Bear Hunt Event here.
Hall of Chiefs
This is a more complex event that takes place in multiple stages and is usually won by the top players. It takes place over five days and includes key stages like Hero Development, Troop Training and Resource Management.
You should always play the game preparing for this event, stockpiling resources for specific stages to maximize your ranking and rewards, but also speed boosters and any other items that might give you the edge.
Foundry Battle
A biweekly event involving alliances with Furnace levels of 16 or higher, the Foundry Battle features PvE and PvP scenarios.
To get the most out of this event, you should work closely with fellow alliance members and do the following:
- Focus on occupying the Imperial Foundry for maximum points, followed by Prototype Sites.
- Use troops Tier-7 or above for optimal performance.
- Rotate substitutes strategically to maintain field presence.
- In preparation for this event, but also during the Foundry Battle, gather healing speedups mainly, as well as teleports (ideally advanced teleports) to stay flexible and capable of rapid movement.
- Extinguish fires quickly to maintain control and leverage the 12-minute reentry cooldown strategically.
To help you with some mechanics in this event, you should read my previous guide to teleporters in Whiteout Survival.
Gina’s Revenge Event
Unlock the hero Gina early by participating in rallies to defeat Berserk Cryptids. Her stamina reduction buff can significantly ease the cost of attacking Beasts and Polar Terrors, enhancing long-term efficiency.
Frostfire Mine event
The Frostfire Mine is another biweekly event, but this time it’s a solo one. Here, Chiefs compete to collect Orichalcum, a rare resource essential for crafting elite weapons and armor.
Since you’re working alone, you have to prepare in advance and be extremely active for the entire duration of the event. Here are other strategies that will help:
- During the 3-minute preparation phase, teleport closer to the center of the map, where higher-level veins and the Smelter are located. This positioning ensures access to high-yield Orichalcum sources.
- Prioritize skills that enhance Orichalcum rewards from Mine Patrols and boost march speed in the early game. As the event progresses, focus on skills that improve vein gathering efficiency and troop damage for Smelter contention.
- Occupy a vein, gather resources, then teleport to another vein to maximize Orichalcum collection. Deploy squads strategically to minimize travel time and enhance efficiency.
- In the final minutes, prepare to contest the Smelter, which unlocks 23 minutes into the event. Activate skills that boost troop damage and march speed, and coordinate attacks to secure control.
Learn more about your troops here.
7. Manage resources like a PRO
Resource management is essential in the game, especially later on. So even though initially it might seem that you have all the resources in the world (and maybe some on top), things will quickly change as you level up your Furnace and unlock new things.
So always think ahead and micromanage your resource gathering, storage and spending.
You should log in daily to gather VIP points that unlock buffs like reduced construction times (VIP 4) and additional squad slots (VIP 5).
Take advantage of the in-game shops to buy important items and especially teleporters. Don’t waste the latter – reserve Advanced Teleporters for important battles and events only!
Gathering tasks should always and only be done with heroes that give boosts to various resources (like Eugene or Clawris, for example).
Upgrade storage facilities to avoid resource overflow and ensure availability for upgrades and training.
At the same time, avoid unnecessary microtransactions. Unlocking the second building slot is not one of them – I recommend unlocking it as soon as you afford it, to progress faster in the game.
Finally, learn everything about Fire Crystals which are one of the most important resources in the game.
8. Strategies for Battles
When it comes to battling other players or even PvE fights, there are also plenty of things that you should keep in mind. It’s not all about sending a ton of troops with whatever hero you have on hand!
I recommend pre-configuring troop and hero lineups to save time during rallies. Adjust squads as VIP and Furnace upgrades unlock more slots – and always work on perfecting them.
Your troop formation is important, and you can vary things around depending on your purpose with the army:
- Go aggressive with a high Lancer and Marksman composition that boosts offence (for events like Bear Hunt, where there’s no retaliation).
- Go defensive with Infantry-heavy setups for holding territory.
- Balanced: Mix all types for versatility – this is usually the best approach in PvP and even battles.
Constantly talking to fellow alliance members is also essential: develop strategies to hold occupied buildings while countering enemy advances and work with other alliance members to launch synchronized assaults.
I also recommend enabling the feature to auto-join rallies. This way, you will passively gather resources when offline and progress faster. Keep in mind that you have to reactivate this every 8 hours.
9. Exploration Mode Strategies
Exploration mode usually happens in auto battle and, like most things in the game, is seemingly endless and time-consuming.
As you progress through the stages, you earn all sorts of goodies like Hero EXP, Steel, and Gear (starting stage 200, so make it your goal to get here ASAP).
In all exploration battles you should use your best 5 Heroes of the job. I recommend going for traditional formations with tanks up front and damage dealers at the back. Great heroes for this mode include those with healing capabilities and AoE damage.
If a battle seems difficult to win on auto mode, you can switch over to manual – this way, you can probably progress an important number of stages before truly hitting the wall. But generally, letting this go on auto-mode is the fastest and most convenient way to go.
10. Get the best from your heroes
Heroes can make it or break it for you, each one excelling in certain areas (while sucking at others), so pay attention to their stats and abilities when deciding which one to focus on.
I recommend checking my list of all heroes in Whiteout Survival to know everything about them and plan your moves. Also check out the rankings of the best heroes in the game to know which ones to focus on building.
Back to the heroes themselves, you should pour resources into those who fit your playstyle, focusing on skill upgrades and gear that amplifies their strengths. When deciding who to enhance first, consider a hero’s utility in both PvE and PvP modes to get maximum value.
Keep an eye on your heroes’ progress, and don’t hesitate to swap out underperformers for fresh picks that round out your team (usually in the form of newer generation heroes)
Bonus: Additional Tips for Experienced Players
As you progress and gain more experience, you will want to focus on some more specific things.
One of these is upgrading your troops. I have a full guide on troop trainings vs upgrading here, but the idea is that you want to upgrade lower-tier troops quickly to increase your power and also reduce infirmary capacity usage.
Also, once you have a fair number of heroes, concentrate on the ones that are really good in battles, either offensively or defensively (like Blanchette or Gregory for the latest generation).
Next, use advanced teleporters when needed. I mentioned them briefly before, but as a more experienced player, you should really put them to good use.
Strategic teleportation can shift the tide of battles and events and for that, you need to stockpile Advanced Teleporters and use them when needed, like repositioning during Foundry Battles or moving closer to resource nodes or strategic targets.
As a final bit of advice for experienced Whiteout Survival players – save Arena Tokens for the Custom Mythic Hero Gear Chest. It takes a lot of time to gather all the needed ones, but it’s worth the wait and the gains are much better than wasting those Arena Tokens on other things in the Arena Shop.
Wrapping up
Whiteout Survival is a complex game that offers plenty of things to do, but which also requires at least a bit of planning and being active.
By following my strategies above, you will maximize your progression, do better in the events and eventually become a real power in the game.
If you have additional strategies that you think should be shared with fellow players, don’t hesitate to share them down below.

- Clover Retribution Codes: Free Goodies to Redeem [NEW UPDATE!] - February 12, 2025
- BRAND NEW Black Grimoire Legacy Roblox Codes [UPDATED!] - February 11, 2025
- Black Grimoire Odyssey Codes & Trello [UPDATED!] - February 11, 2025